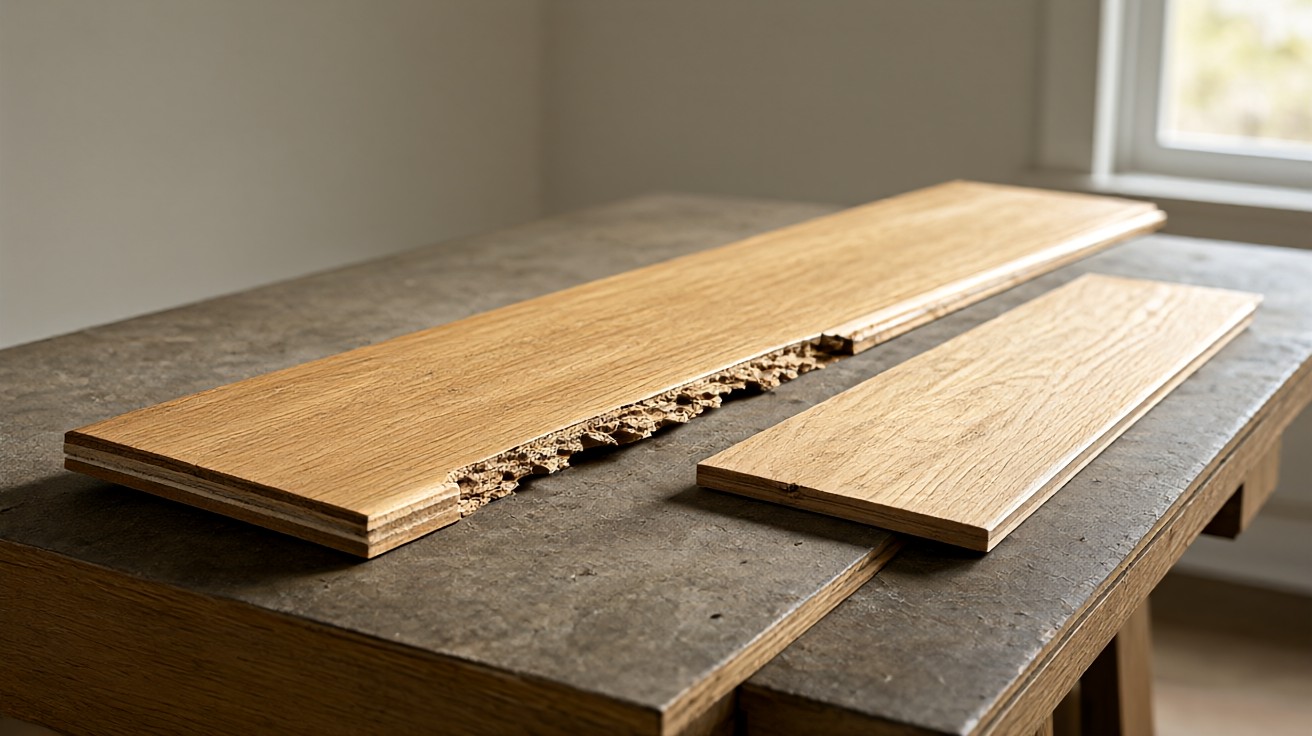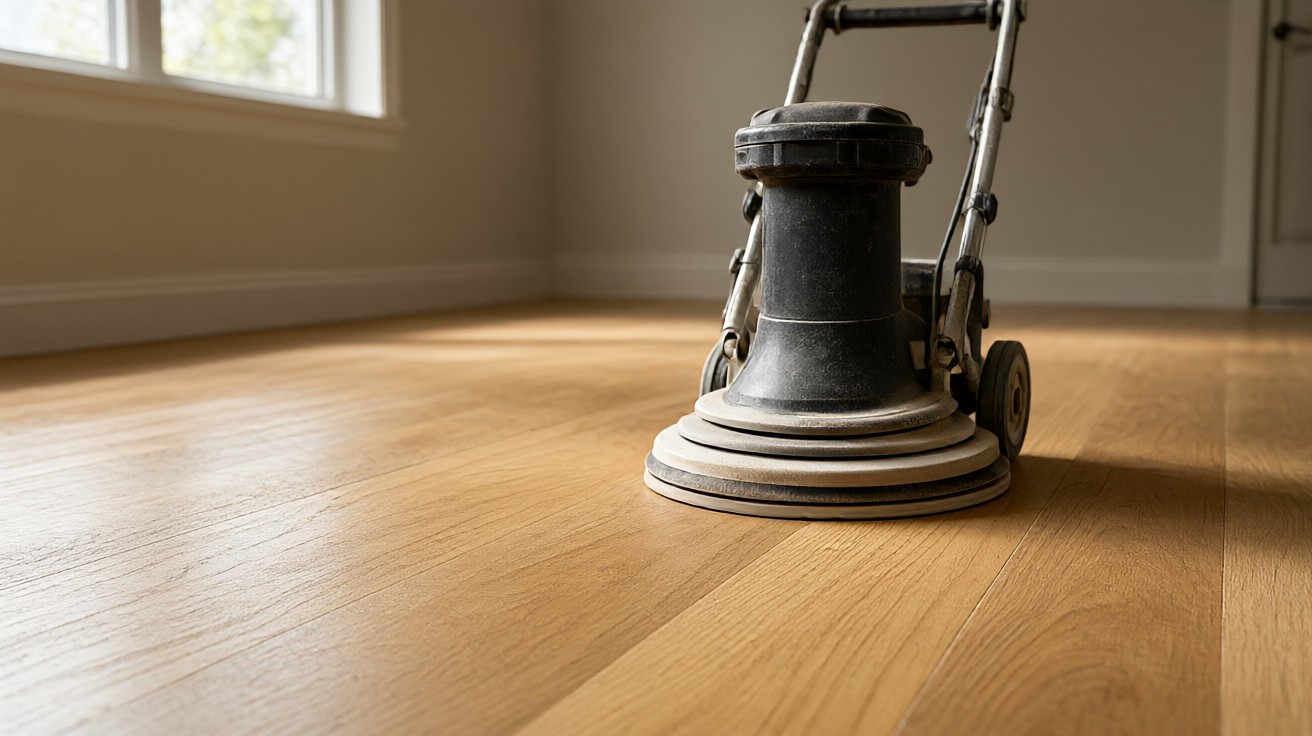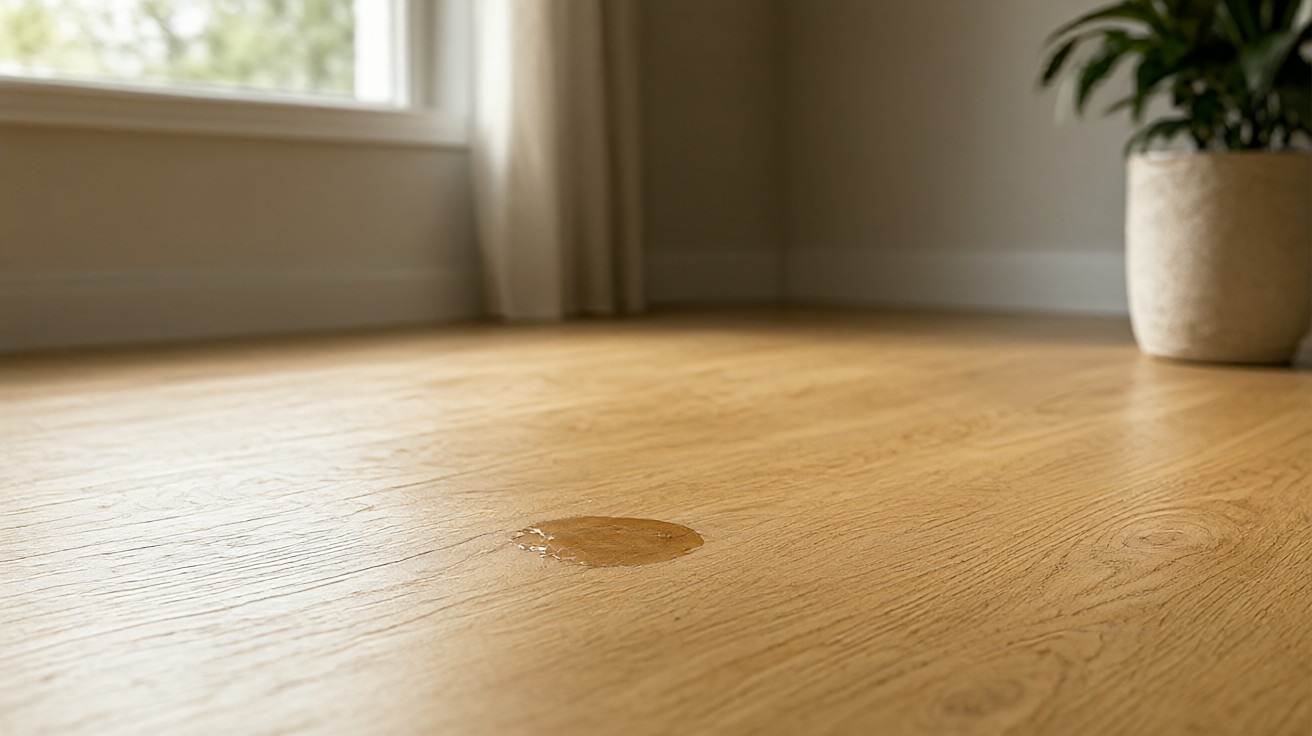

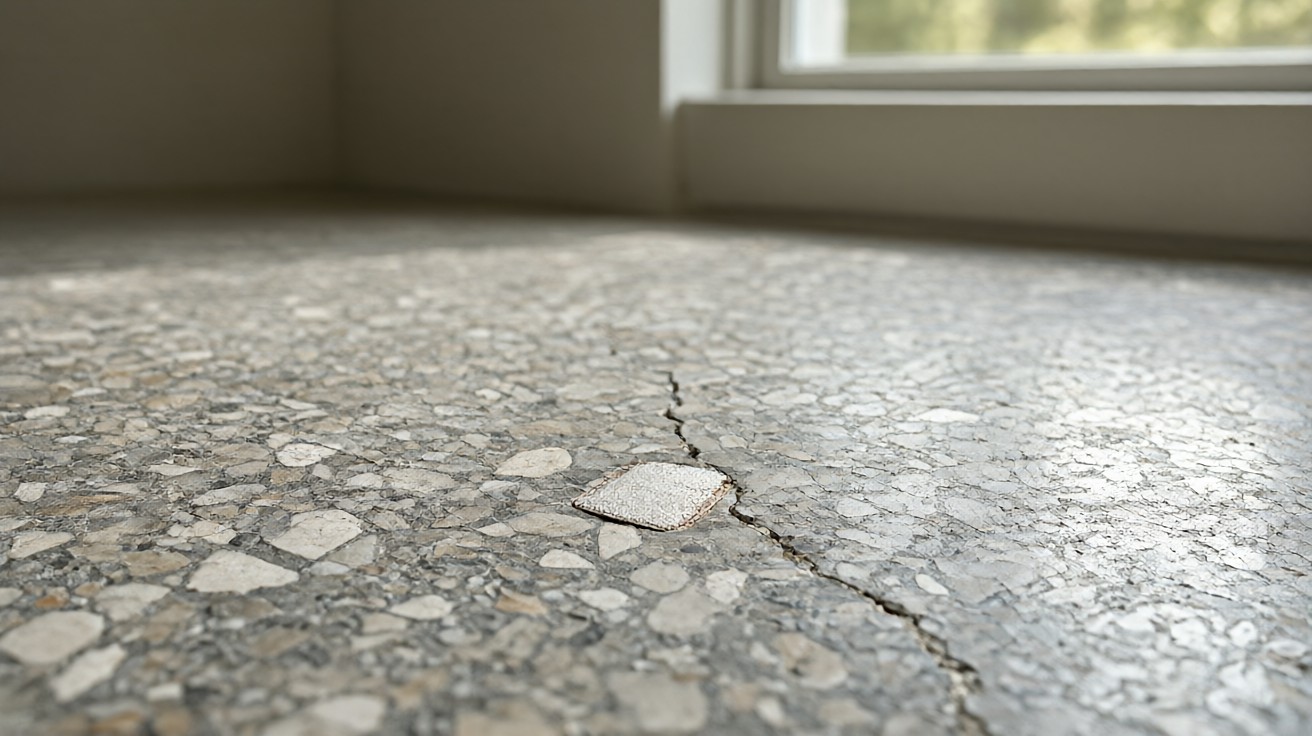
You lifted the old carpet and found a terrazzo floor underneath, dull, etched, and cracked, and now you need to know if it can be restored or must come out.
Restoration is the right answer when the binder and aggregate are intact. Most dull, etched, or lightly cracked terrazzo comes back with grinding, honing, and polishing. Moving cracks, delamination, or a topping worn through to the slab mean replacement instead.
The Short Answer: Restore, Repair, or Replace?
Terrazzo is a composite wear layer: marble or glass chips in a cement or epoxy binder, poured and ground flat. A cement topping runs 1/4 to 7/8 inch thick, and the chips run through that depth, so surface damage is usually reversible.
It is not a coating you strip and repaint. It is stone you cut back until the damage is gone.
One question sets the outcome: surface or structure? Etching, traffic dullness, yellowed wax or sealer, and hairline cracks respond to restoration. Structural cracks that move, delamination, spalling, or a worn-through topping need repair or replacement.
Can terrazzo floors be restored?
Yes, when the binder still holds the aggregate and the topping has depth left. A dull, etched floor with hairline cracks under 1/32 inch is a candidate. One that moves, sounds hollow, or has lost its topping to the slab is not.
The verdict changes with the system. Cement hides more depth and tolerates more grinding; epoxy thin-set is a veneer you can burn through. Identify the binder before you promise a result.
Diagnose Before You Touch the Floor
Diagnosis decides the scope. Read the floor in daylight and wet a patch: a mark that vanishes when wet is surface-deep, one that stays is deeper. Map every crack, chip, and dull zone before anyone buys a diamond.
Acid etching is the most common surface defect. The Natural Stone Institute groups terrazzo with marble, travertine, limestone, and onyx as calcite that reacts to mild acids. The pH scale is logarithmic, so a cleaner at pH 5 is ten times more acidic than one at pH 6.
Etching is a dull whitish chemical burn, not a stain. Cleaning, polishing, or resealing will not remove it; the damage has to be ground out to its depth. Vinegar, citrus, wine, and many bathroom cleaners etch calcite on contact.
Traffic dullness is wear, not chemical attack. Marble chips are calcite at Mohs 3, softer than the quartz grit at Mohs 7 tracked in on shoes, so foot traffic micro-scratches the polish flat. It hones out.
Yellowed wax or sealer is a coating failure, not a stone failure. Old wax yellows, traps dirt, and hides sound aggregate underneath. Stripping reveals it; grinding over wax smears the coating and clogs the abrasives.
How do I know if a terrazzo crack is structural?
Width is the first clue. The NTMA restoration spec classifies hairline cracks as under 1/32 inch (0.030), a surface repair, while a crack wider than 1/4 inch takes aggregate in the fill. But a thin crack that opens and closes with the seasons, or mirrors a slab joint or column line, is structural.
Tap along the crack. A hollow sound means delamination; flaking or crumbling means spalling. Either moves the job from polish to repair or replacement.
Do the cement vs epoxy identification before choosing a stripper, grind, or patch, because the binder decides the chemistry. Historic floors are usually cement matrix; epoxy thin-set is a later, thinner system. For the composite itself, see how terrazzo floors are built.
Thickness and weight separate them. The NTMA reference guide lists epoxy thin-set at 3/8 inch (optional 1/4 inch) and 5 to 6 pounds per square foot; cement monolithic at 1/2 inch and 5 to 7 pounds; bonded at 2-1/4 inches total and 18 to 22 pounds; sand-cushion at 3 inches and 25 to 30 pounds.
Confirm at an edge or core: cement is porous, matte, and etches, while epoxy is dense and resinous. Polyacrylate, a polymer-modified cement at 3/8 inch and 4-1/2 pounds, suits high moisture vapor or limited depth; test the slab (ASTM F2170 is the relative-humidity method) before assuming a bond.
The NTMA spec calls for a letter identifying the system and product compatibility, and the GSA procedure lists written identification of the existing system. For the binder comparison, see epoxy versus cement terrazzo.
| Symptom | What it usually is | First fix | Scope |
|---|---|---|---|
| Dull whitish marks, glossy elsewhere | Acid etching, a calcite reaction | Grind to the depth of the etch, refinish | Hone and polish |
| Flat gloss in traffic lanes | Traffic dullness, micro-scratches | Hone and repolish | Hone and polish |
| Yellow, dirty film over the floor | Yellowed wax or sealer | Strip the coating, then assess | Clean/reseal or strip and polish |
| Crack under 1/32 inch, no movement | Hairline crack | Clean, fill with matched resin | Repair (RC) |
| Crack over 1/4 inch, or seasonal movement | Structural crack | Find the cause; joint or membrane; aggregate fill | Repair or replace |
| Hollow sound, flaking surface | Delamination or spalling | Rebond or replace the panel | Replace (RT) |
| Chips, gouges, voids | Impact or wear damage | Color-matched matrix patch | Repair (RC) |
The Restoration Scope Ladder
Terrazzo floor restoration is not one job. It is a ladder of four rungs, and each solves a different problem.
Pick the lowest rung that fixes the floor. Climbing higher costs more and removes more material.
Clean and reseal is for a sound floor with a tired coating. Hone and polish is for dull or etched surface wear. Full restoration adds stripping, crack and chip repair, and regrinding. Replacement is for structural failure or a topping with no depth left.
Cracks, voids, delamination, or suspected substrate movement have to be assessed before the finish scope is set, because grinding and repolishing alone only renew a sound surface.
| Rung | What it includes | Typical duration | Choose it when |
|---|---|---|---|
| Clean and reseal | Deep clean, penetrating sealer | 1 day | Floor sound, coating tired |
| Hone and polish | Diamond hone and polish | 1 to 2 days | Dull or etched surface, no structural damage |
| Full restoration | Strip, regrind, grout, repair, polish, seal | 2 to 5 days | Deep wear, cracks, and old coating together |
| Replacement | Remove and repour, panel or wholesale | Project-specific | Movement, delamination, or no depth left |
A covered floor stays provisional until the covering comes up. Adhesive residue, old patches, stains, and cracks only show after removal, so the scope can change once the floor is exposed. Test before you promise.
Stripping Old Wax and Sealer
Sealer stripping comes first when the floor is buried, not worn. Old wax yellows, traps dirt, and obscures the aggregate, and no amount of cleaning on top of wax makes terrazzo look good.
Wax also clogs diamond abrasives. Grinding over a coating smears it, loads the pad, and gives a false read of the stone underneath.
Strip first, then grind. That order is why stripping is the most transformative step on a traditionally waxed floor.
Identify the coating chemistry first. The IMI guidance is to understand the topping composition, the existing sealer chemistry, whether it can be removed, and which strippers are designed for terrazzo. A stripper safe on epoxy may attack cement, and an acid-based stripper etches calcite.
Choose a low-VOC stripper formulated for terrazzo and test it in a closet before committing the whole floor. Mechanical stripping removes coating and stone together, so on a thin epoxy veneer it risks cutting through the 3/8 inch topping; chemical stripping preserves depth.
Under carpet or tile the adversary is mastic, not wax. Test old adhesives before grinding: some smear, some burn, and some carry hazardous material. The GSA procedure handles lead-based paint under OSHA and EPA rules. Adhesive removal is its own line item.
Diamond Re-Grinding and the Honing/Polishing Sequence
Diamond re-grinding cuts the damage layer away and exposes fresh aggregate. A diamond pad does not shine terrazzo so much as shave it, removing a microscopic layer until the marble chips stand level with the matrix and catch the light. Wet grinding controls dust and heat.
The sequence runs coarse to fine: metal-bond diamonds take the heavy cuts, resin-bond diamonds hone and polish. A Florida contractor ladder runs metal-bond at 30, 60, and 120 grit, then resin-bond from 50 up to 3000 grit for a natural polish without wax.
The NTMA spec wet-grinds at 50 grit or higher before grouting, then finishes the restoration grind at 120 grit carborundum or 200 grit resin diamond until the grout is removed.
Does grinding remove the chips?
No. It exposes them. A cement topping is roughly 70 percent chip in 30 percent matrix, so the aggregate runs through the depth and grinding reveals fresh chip rather than cutting it away.
The limit is depth. An epoxy thin-set at 3/8 inch (or 1/4 inch) has little to give, while a cement topping at 1/2 inch or more tolerates deeper cuts. Grind past the topping and you hit the underbed or the slab.
Honing stops at a matte or satin finish; polishing carries the ladder finer and adds a compound for gloss. A high-gloss polish shows every scratch and can be slick when wet, while a honed finish hides wear and offers more traction. Choose by use, not habit.
The final-grit numbers disagree because the scopes disagree. The NTMA and GSA endpoints finish the restoration grind where grout is removed, not at a mirror polish; a consumer DIY method runs the full polish ladder much finer. Averaging them produces a floor neither properly restored nor properly polished.
| Source and scope | Grout cure | Final grind or polish grit | What the endpoint means |
|---|---|---|---|
| NTMA Restoration of Terrazzo (2021), general restoration | Minimum 12 hours at 70°F to 80°F | 120 grit carborundum or 200 grit resin diamond | Grout removed; restoration grind complete |
| GSA Terrazzo Repair, historic federal preservation | Minimum 72 hours at 70°F to 80°F, covered with paper or polyethylene | #80 or finer grit stone | Grout removed; least-damage historic finish |
| This Old House, consumer DIY polish | Per product; sealer dries a few hours to 24 hours | 10 stages up to 3500 grit | Full high-gloss polish ladder |
The cure gap is scope-bound, not a contradiction to average. Historic federal work follows the GSA 72 hours; a general restoration follows the NTMA 12 hours or the executed project documents, both at 70°F to 80°F. Never split the difference.
One scope label matters on polish chemistry. This Old House finishes with an acid-based polishing compound, a professional step on a cement matrix. That is not a licence for acid cleaners at home: the Natural Stone Institute is clear that acid etches calcite, and terrazzo is calcite.
Match the grout to the system, cement on cement and epoxy on epoxy. Fill every void, cure to the governing spec, then grind the excess off. Rushing the cure is how a patch shrinks, cracks, or pulls out under the next grind.
Crack and Chip Repair: Color-Matched Patching
Investigate the cause before filling anything. The NTMA crack guidance starts with why: thermal movement, settlement or shrinkage, heaving, or a crack aligned with a column or joint line. Chisel out a small section to see whether the concrete below is cracked too.
A surface fill over a moving slab fails.
The NTMA restoration spec sorts every crack into NA (no action), RC (repair crack), or RT (replace terrazzo), and the owner and contractor walk the whole floor to map it. Hairline cracks under 1/32 inch get cleaned and filled with matched resin; cracks wider than 1/4 inch take aggregate in the fill.
A non-moving crack can be grouted with epoxy and made nearly invisible. A moving crack needs a membrane, a new joint, or both, and wherever there is a joint there must be a divider strip. The reason is stress relief: a rigid fill transfers stress to the next weakest point, so the crack reopens beside the repair.
For a bad crack, open it at least 1 foot on each side. Color-matched matrix patching rebuilds the panel with small batches matched to the existing matrix and chips in color, size, gradation, and type, sometimes hand-placing chip by chip. Polyester stone adhesive with cream hardener is the DIY patch; epoxy or cementitious grout is the system-matched professional patch.
Sand the patch flush: the GSA procedure sands at 40 grit then 80 grit and seals with a clear penetrating sealer, while a consumer DIY method sands at 40 then 120. Grind the floor before patching, not after, so you see the true background color the patch has to match.
Here is the honest limit. A patch can be structurally seamless and still not visually exact. Contractor marketing calls patches seamless, but the NTMA guidance holds that an exact match is often impossible because the original marble came from a quarry vein that has since changed or run out. On a 50-year-old floor the aggregate may be unobtainable.
Where a panel is too far gone, replace it strip to strip with a complementary color rather than chasing an invisible match. The eye cannot jump across a divider strip, so a deliberate contrast reads as design while a near-miss reads as a mistake. For the wider pattern, see flooring problems and repair.
Divider Strips and Movement Joints
Divider strips are not decoration first. They control cracking.
The IMI guidance places brass, copper, or zinc strips over beams and girders and parallel with columns and walls, dividing the expanse so the slab has planned places to move. A decorative layout does not prevent cracking; movement joints have to be coordinated with the concrete.
Divider strip repair means resetting loose strips, replacing corroded or bent sections, and re-adhering popped lengths. A DC-area restoration guide lists divider strip reset at $20 to $45 per linear foot.
Honor the concrete joint: wherever the slab has one, the terrazzo needs a divider strip above it. The NTMA reference guide runs strips from 18 gauge to 1/2 inch, with 16 gauge or 1/8 inch as standards; zinc and brass suit cement, while epoxy allows zinc, brass, and aluminum.
Keep the grinder off the strips. Coated divider strips are easily damaged, and the GSA procedure treats grinding near them as a caution. A ground-down strip loses both its joint function and its design line.
When a panel is replaced, the strip is the boundary. Replace from architectural break to architectural break, or strip to strip; if the replacement does not reach a break, the joint edge is saw-toothed to bond the new pour.
Historic Terrazzo Under Carpet or Tile
Historic terrazzo under carpet is one of the best finds in an older house. Mid-century homes, often 1950s to 1960s in the DC area and 1950s to 1970s in Florida, hid terrazzo when tastes changed, and a 1950s school floor is the same story. The floor underneath is frequently sound.
Removal is the first cost. Pull the carpet, tack strips, and adhesive, then fill the nail holes; under tile, add tile removal. A DC-area guide adds $2 to $5 per square foot for mastic removal, and a Southwest Florida guide lists tile removal at $3 to $6 per square foot.
Test old adhesives before grinding. Some mastics smear under a diamond pad, some burn, and some carry hazardous material. The scope stays provisional until the floor is exposed, so do not promise complete stain or defect removal before that assessment.
Is it worth restoring terrazzo found under carpet?
Almost always, if the floor is intact. Restoration costs a fraction of new flooring, and the original material has character no new floor replicates. A Southwest Florida guide runs full restoration from under carpet or tile at $6 to $12 per square foot, including adhesive removal, hole filling, and crack repair; an exposed floor in fair shape runs $3 to $6.
The exception is a floor that is heavily patched, cracked, or delaminated. There the terrazzo becomes a solid base for a new floor rather than a finish to restore. Run a test area before committing the whole house. Historic thin-set over a wood substrate adds complexity, so identify the system and substrate first.
What Restoration Costs by Scope
Restoration cost is a set of regional bands, not one national number. They differ by region, by what each scope includes, and by condition.
Keep them separate. Averaging a DC historic rate with a Florida exposed-floor rate produces a figure that applies to neither.
How much does terrazzo restoration cost per square foot?
A national cost guide gives restoration at $3 to $8 per square foot on average, with a range from $1 to $20. That average blends every scope and region, so it is a starting reference, not a quote. The regional bands below stay separate.
| Scope | National average | DC metro 2026 | DC metro guide | SW Florida 2026 |
|---|---|---|---|---|
| Overall restoration | $3 to $8 (range $1 to $20) | $6 to $18 | Not published | $3 to $12 |
| Clean and reseal | Not published | Not published | $1.50 to $3 | Not published |
| Light polish / hone and seal | Not published | $6 to $9 | $3 to $7 | $3 to $6 |
| Full refinish / restoration | Not published | $9 to $14 | $6 to $15 | $6 to $12 |
| Heavy damage / deep hone | Not published | $14 to $18 | Not published | Not published |
| Crack repair | Not published | $100 per hour | $150 to $600 per spot | Quoted separately |
| Divider strip reset | Not published | Not published | $20 to $45 per linear foot | Not published |
| Mastic / adhesive removal | Not published | Not published | +$2 to $5 per sq ft | Tile removal $3 to $6 |
| Lab-match sample | Not published | About $39 per sq ft | Not published | Not published |
The scope definitions are not identical. One guide’s full restoration includes adhesive removal and crack repair; another’s starts after the floor is exposed. Read what each band includes before comparing. Small rooms carry minimum charges because the setup is the same, while large lobbies scale down per square foot.
Consider a 2,000-square-foot lobby. At the DC metro band of $6 to $18 per square foot, the arithmetic runs $12,000 to $36,000. That is a computed range from the published band, not a quoted job, and it moves with condition, access, and finish.
Against replacement, restoration is usually cheaper. New poured terrazzo runs $20 to $70 per square foot installed, and a DC metro rule of thumb sets restoration at 20 to 30 percent of replacement cost. For new-installation pricing, see cost of new terrazzo flooring.
When Replacement Beats Restoration
Replacement wins when the structure, not the surface, has failed. The IMI guidance is direct: severely cracked, spalled, or eroded cement terrazzo is commonly replaced rather than repaired, between divider strips or wholesale, depending on the damage.
Active substrate movement is the clearest trigger. If the slab is still moving, a new pour will crack too unless the joints and membrane address the movement first. An engineering review belongs in the discussion when assessment cannot support a repair pathway.
Depth exhaustion is the other trigger. A thin epoxy veneer ground through to the underbed, or a cement topping worn to the slab, has no wear layer left. At that point the restoration vs replacement decision is made by the material, not the budget.
Cost crossover decides the close calls. When heavy restoration at $14 to $18 per square foot approaches the cost of a new floor and the existing floor still carries structural risk, replacement is the better spend. A heavily patched terrazzo can also serve as a solid base for a new floor. For the general framework, see repair versus replace flooring.
Keeping the Restored Floor: The Care Handoff
A restored floor is only as good as its care. The chemistry constraint is the one to remember: terrazzo is calcite, and acid etches it. A penetrating sealer repels oil and water but does not stop acid etching, because etching is a chemical reaction with the calcium carbonate, not a stain the sealer can block.
The GSA procedure sets a penetrating sealer at pH 7 to 10, odorless and slip- and stain-resistant, that does not change the color. After a high-gloss polish, traction matters: a polished floor can be slick when wet, so a honed or satin finish, or a slip-resistant treatment, is safer in wet areas.
Routine cleaning, sealer cadence, and the honed-versus-polished upkeep schedule live in routine terrazzo floor care. Keep the acid cleaners away, and the restored finish holds.
How to Hire and Brief a Restoration Contractor
Qualifications are checkable. The NTMA spec calls for an installer with 5 or more years of documented terrazzo restoration experience and NTMA contractor membership in good standing. The GSA procedure sets a minimum of 5 years plus at least 3 projects of similar scope in the past 5 years, and NTMA membership.
Insist on a mockup before the whole floor. The NTMA spec asks for a sample area for each crack repair type (hairline 1/64 inch to 1/16 inch, and cracks or voids larger than 1/8 inch) plus an on-floor patch sample. The GSA procedure builds mockup panels per worker and defines the best method as the one causing no damage, or the least unavoidable damage.
Disagreement about color is cheap in a shop and expensive in a finished lobby. An approved physical sample with written acceptance criteria is what makes the match enforceable at closeout. Set the expectation honestly: an exact match to aged aggregate is often impossible, and not every stain will come out.
Brief the contractor on the governing spec, not just the finish. Name the system, the scope rung, the cure time (12 hours NTMA or 72 hours GSA historic), the final grit, the patch-match standard, the divider-strip handling, and the sealer pH. A contractor who commits to means and methods before seeing the floor is guessing.