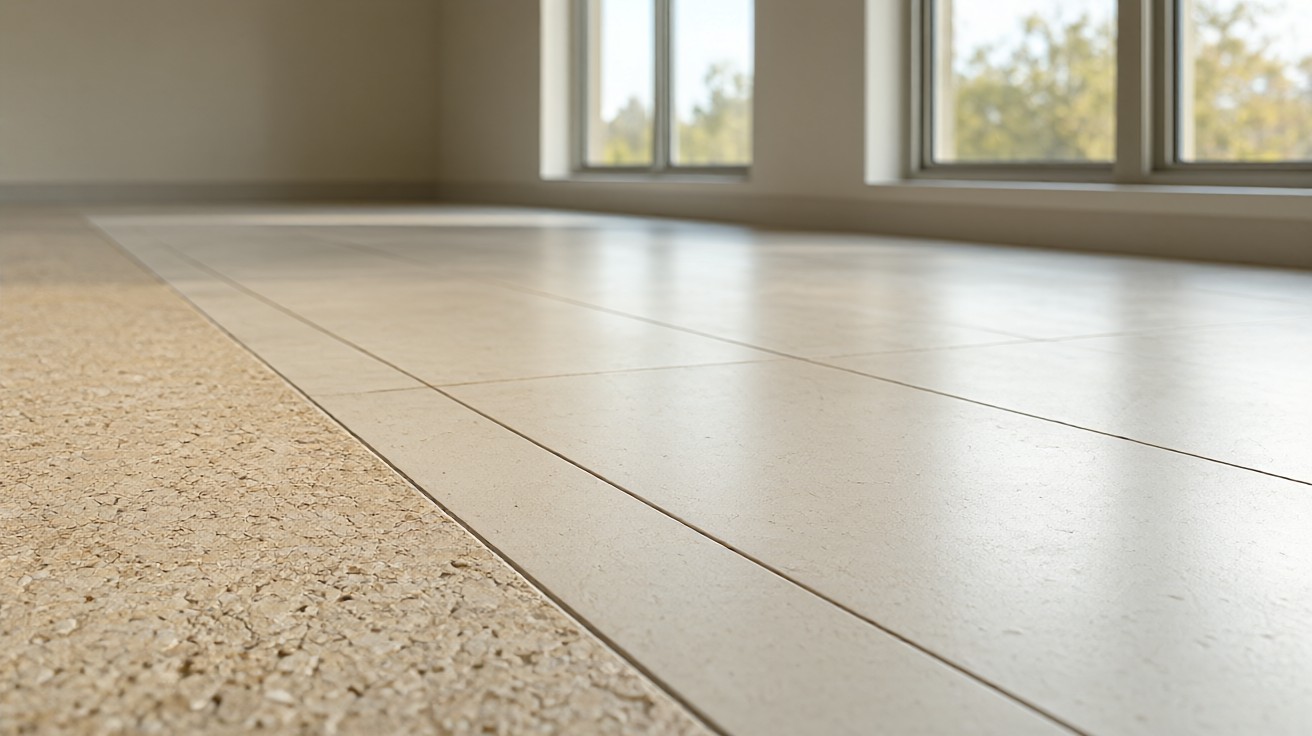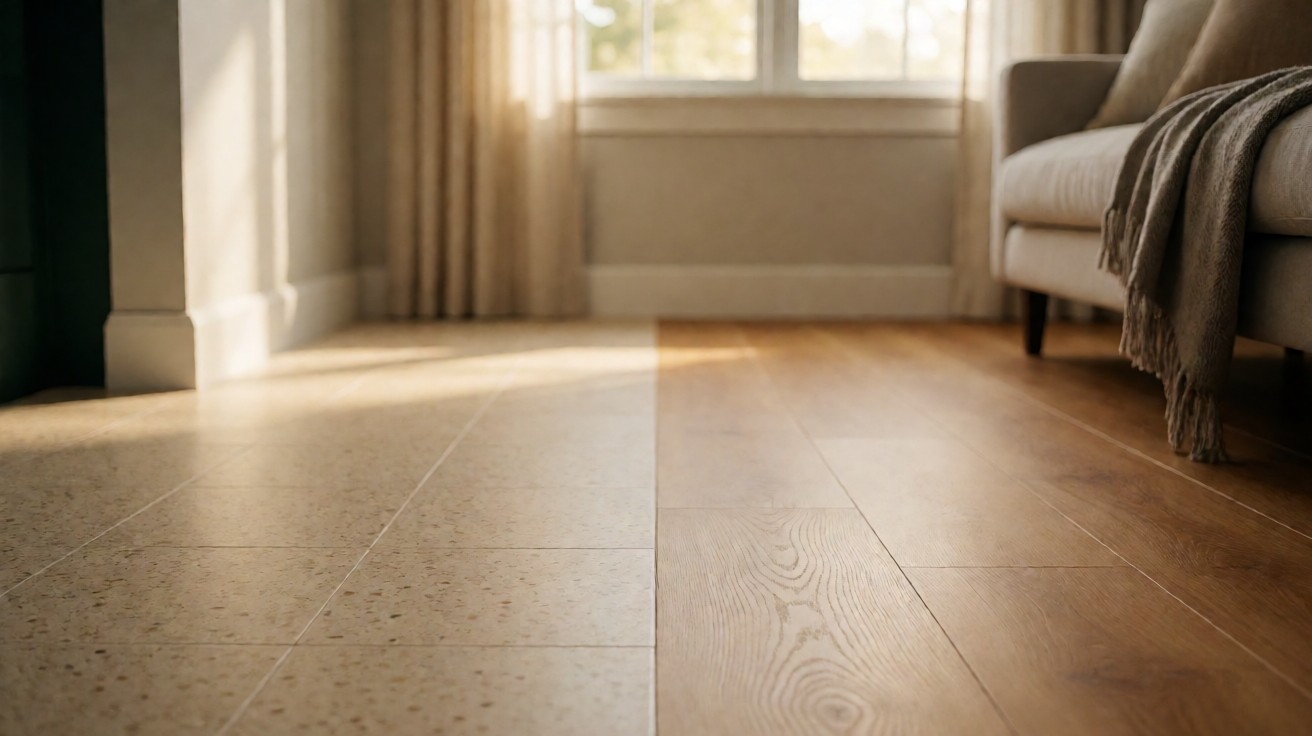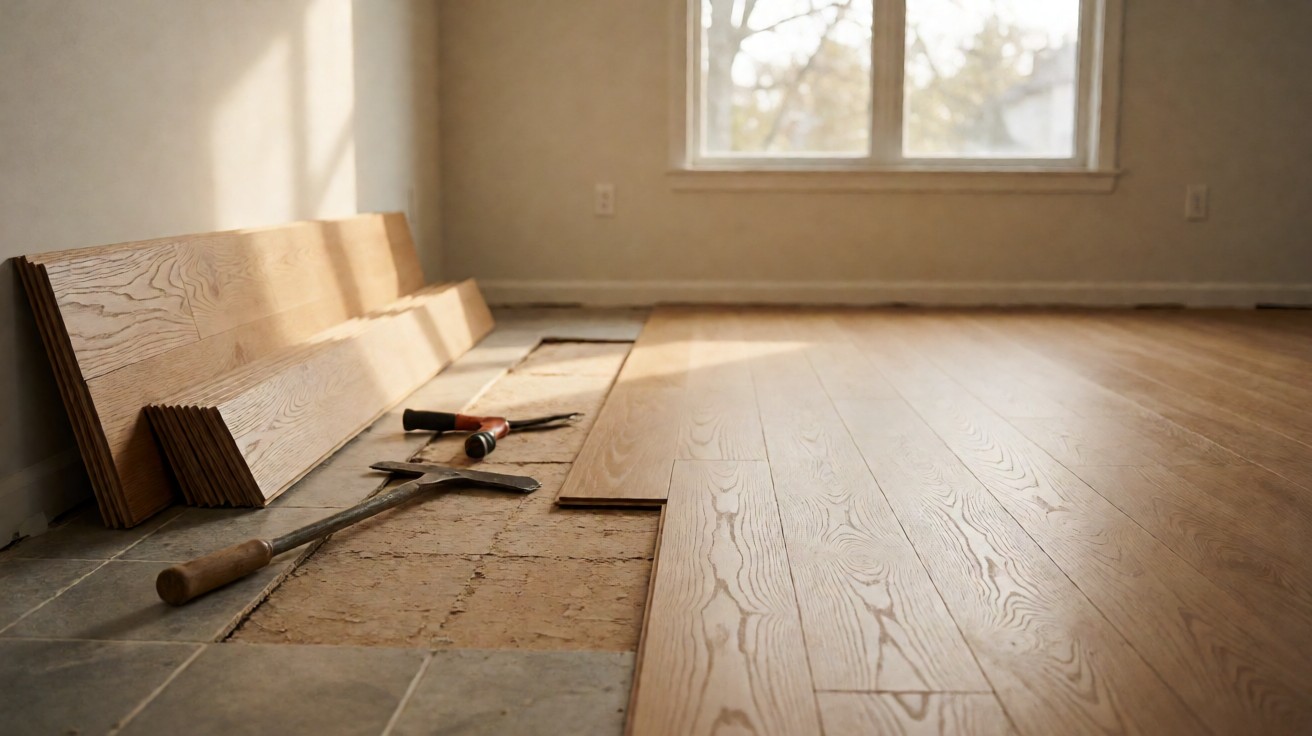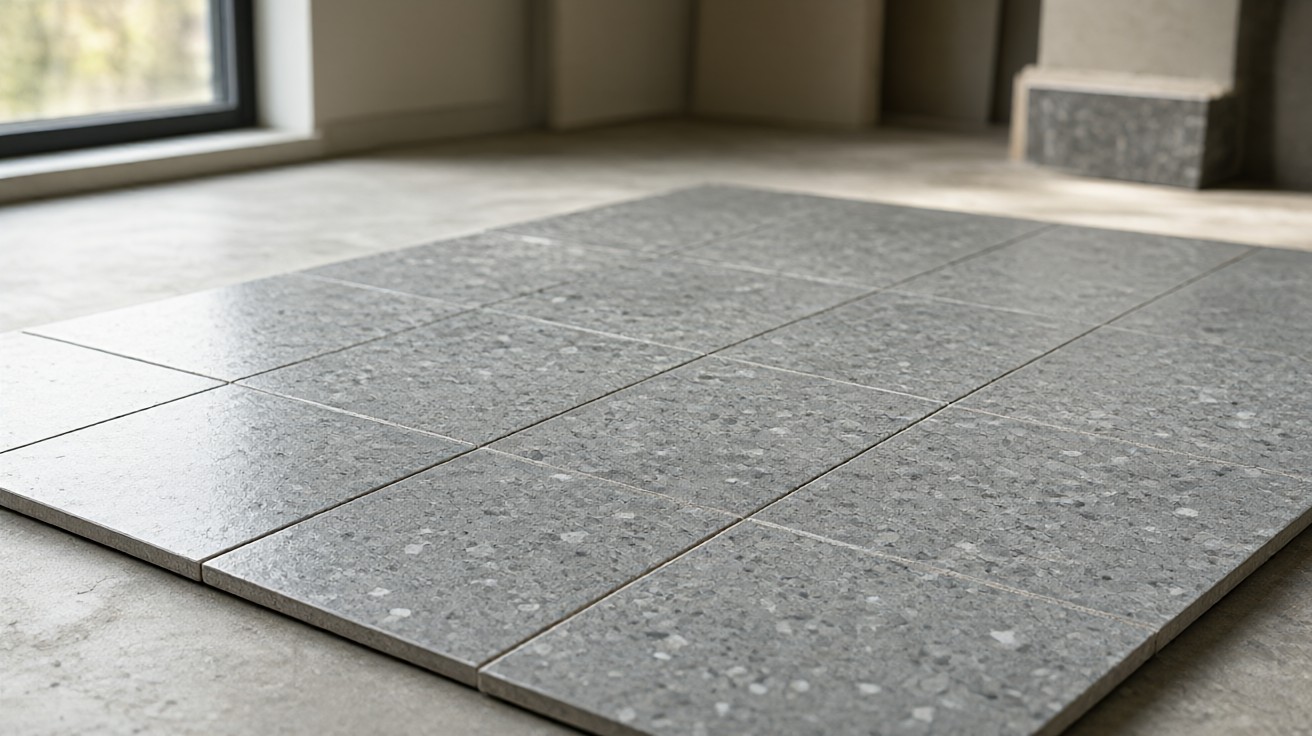

Poured terrazzo and terrazzo tile are the same material finished in two different places, and that one difference decides joints, depth, weight, and cost.
Our read is that tile wins bounded rooms, tight schedules, and modular designs, while poured wins large continuous fields and custom layouts. The conditions that flip the call are slab depth, structural stiffness, lead time, and whether a grinding crew can work in your space.
The Short Answer: Which Format Fits Your Floor
Choose tile for bounded rooms, modular design, and a finish without heavy site grinding. Choose poured for large continuous fields, custom layouts, and a slab that can carry the depth.
The flip conditions are structural: a wood-framed upper story, thin slab, or occupied home can turn the poured default into tile; a seamless sanitary field or curved medallion can turn it back.
Same chips. Same binder. Different trade.
The One Difference That Drives Everything Else
Terrazzo is a composite of marble, granite, glass, or other chips in a cement or resin binder, ground flat to expose the chips in cross-section. For background, start with how terrazzo is made.
The poured terrazzo vs terrazzo tile split is where that grinding happens. Poured terrazzo is mixed, placed, cured, ground, filled, ground again, polished, and sealed in your building. Precast tile is cast, cured, ground, and finished in a factory, cut into modules, shipped, and set in mortar on site.
Factory finishing means the surface arrives done, but the field is only as flat as the setting bed and the modules only as consistent as the producer’s tolerances. Site finishing lets the crew flatten lippage after the material is down, but brings wet grinding, slurry, and machine work into your space.
Think of a terrazzo tile as a slice of a poured floor that someone else already ground, polished, and cut into squares.
Poured terrazzo is not polished concrete: the chips are the surface, not an additive to a slab. See terrazzo versus polished concrete.
Poured Systems Are a Family of Depths
Poured terrazzo is not one thickness. The National Terrazzo and Mosaic Association (NTMA) 2025 guide describes a family from a nominal 3/8 inch epoxy topping to a 3 inch sand cushion assembly; depth is a structural decision before a design decision.
Binder choice narrows the family; for the chemistry, see epoxy versus cement terrazzo. Here the point is depth and weight.
| Poured system | Thickness | Weight (lb/sq ft) | Use |
|---|---|---|---|
| Epoxy thin-set | 3/8 in (1/4 in option) | 3-4 online; 5-6 guide | Sound slab, interior |
| Polyacrylate | 3/8 in | 4-1/2 | Fast-cure interior |
| Monolithic | 1/2 in bonded | 5-7 | New slab-on-grade |
| Bonded | 2-1/4 in total | 18-22 | Bonded mortar bed |
| Sand cushion | 3 in total (2-1/2 min) | 25-30 | Uneven or historic slabs |
The epoxy weight is where references part ways: NTMA’s online system page lists 3 to 4 pounds per square foot, its 2025 guide 5 to 6 for the same nominal system. We have not found a reconciliation, so design for the heavier value until the system spec confirms the lighter.
Divider strips are control joints and design lines in one. The guide describes widths from 18 gauge to 1/2 inch, with 16 gauge or 1/8 inch standard, in zinc or brass for cement and zinc, brass, plastic, or aluminum for epoxy.
In sand cushion work, strips divide the floor into bays, ideally 4 foot by 4 foot or smaller, rectangles up to 25 square feet at an aspect ratio no greater than 1.5 to 1. They must follow the concrete joint layout in ACI 302.1; a strip not over a joint is decorative, not a crack preventer.
For thin-set epoxy, NTMA’s joint-spacing rule is three times the slab depth in feet: a 4 inch slab allows joints up to 12 feet apart. A crack-suppression membrane is the alternative for fewer visible lines.
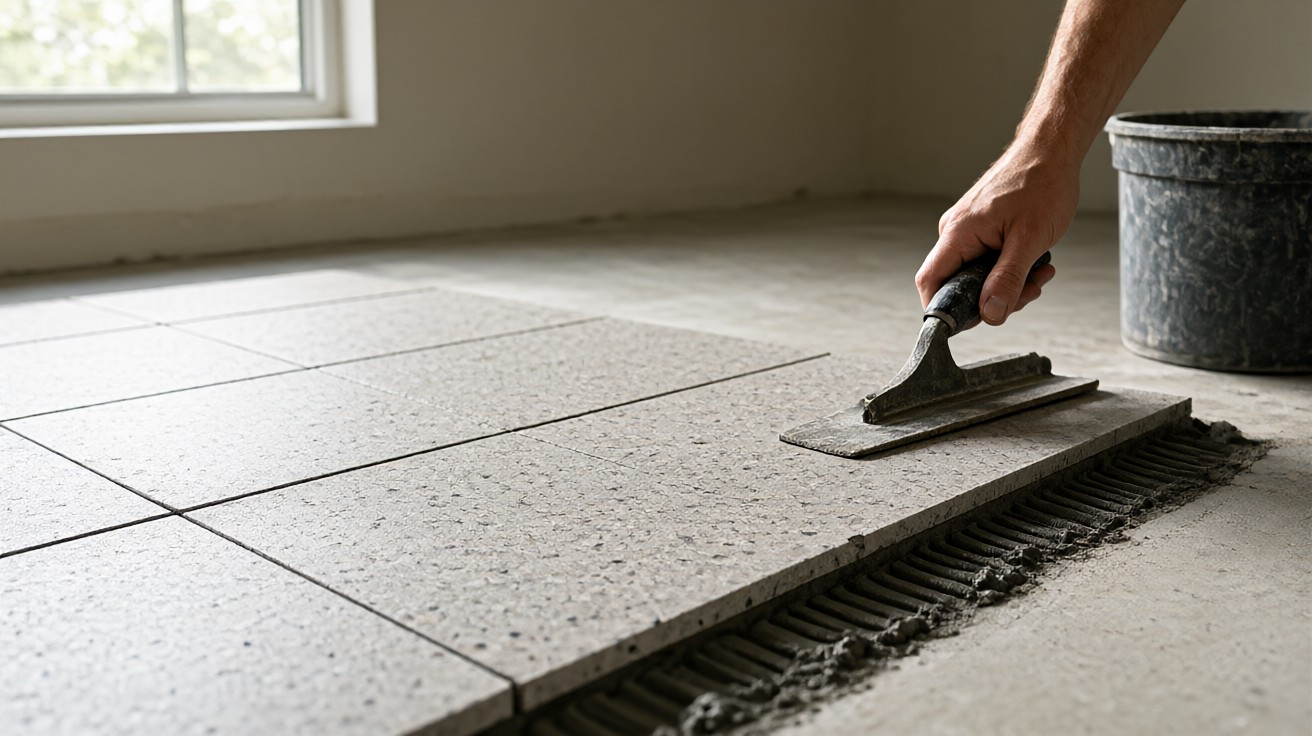
Terrazzo Tile Is a Natural-Stone Install
Precast terrazzo tile is real terrazzo, not a printed look: chips in a binder, factory-ground and cut into modules. The install is a stone install: heavy rigid units on a flat stiff bed, full mortar coverage, and sealing.
The printed lookalike is a separate comparison: the terrazzo versus porcelain tile page separates a through-body composite from an inkjet surface.
If you have set ceramic or porcelain, the mechanics transfer but the tolerances tighten. The basics of setting tile on a flat subfloor apply with stone-grade stiffness. Setting follows the TCNA Handbook and ANSI A108, A118, and A136.1.
Does terrazzo tile crack like regular tile?
It can, and the cause is usually under the tile. Industry guidance limits deflection over wood framing to L/360 for ceramic and porcelain but L/720 for natural stone. Terrazzo tile is largely marble chips, so the stone limit is the safer target; the maker’s instructions govern.
Coverage is the other driver: at least 80 percent mortar contact in dry areas, 95 percent in wet, each tile back-buttered and pressed into combed mortar. A heavy tile over a void bridges the gap until a point load, for example a dropped pan, finds it. The module cracks because the support was never there.
Module sizes are producer-specific, from 8 inch squares to 24 by 48 inch modules. One producer’s spec lists a 12 inch module at 1/2 inch thick and 16 and 24 inch modules at 5/8 inch, weighing 6.7 and 8 pounds per square foot. No industry-wide thickness range is reliable; the data sheet governs.
Its tests show compression over 8,000 psi and absorption under 5 percent under ASTM C140. Factory finishing does not guarantee consistency: an architect quoted in NTMA’s comparison found 1/8 inch thickness differences between ultra-thin tiles, enough to cause setting problems.
Tight-tolerance tile is set with narrow joints and leveling clips; lippage shows on a polished face. Cement tile is porous in the binder and chips, so grout pigment can stain it: seal before grouting and again after the grout cures. Resin tile is less porous, but the maker may still specify sealing.
A 1/8 inch grout joint is the common guidance, with shim or wedge spacers. Joints are narrow, so fine or unsanded grout is usual; sand can scratch a polished face. Acid haze removers are never used, because marble chips etch.
Buy extra: one maker’s guidance is a minimum 15 percent overage for cuts, breakage, and repairs, since handmade tile varies batch to batch. Blend from all boxes and dry-lay first.
Joints: What You Gain and What You Maintain
A poured floor is a monolithic field interrupted only by flush divider strips; a tile floor is a grid of grout joints, recessed lines of a more porous material than the polished face.
NTMA’s comparison calls joints weak spots that harbor dirt and bacteria, the sanitary argument for poured in kitchens, labs, and healthcare. For tile, match grout to the terrazzo background so lines fade, and use a mid-tone that hides dirt better than white.
Both formats are cared for like natural stone: grit is the enemy of a polished face, pH-neutral cleaners only, reseal when water stops beading. The routine is in caring for terrazzo floors; the format difference is how many linear feet of joint you maintain.
A transit-agency station comparison found roughly 66 percent less cleaning labor for terrazzo than porcelain tile. It is one underground station, not normalized for area, traffic, or cleaning standard, and compares terrazzo to porcelain, not poured to tile.
Some tile floors are ground and polished after setting, bringing modules to one plane and easing joints. That is a specified scope, not an automatic feature, and needs a specialist crew. If your quote does not name it, you are getting a set-and-grouted floor, not a seamless one.
Depth, Weight, and the Structure Behind the Floor
A 3/8 inch epoxy topping adds little height; a 3 inch sand cushion assembly changes door thresholds, stair nosings, and transitions. Tile sits between, at module thickness plus setting bed.
Weight is the structural half. NTMA’s tables run from 3 to 4 pounds per square foot for thin-set epoxy (the 5 to 6 disagreement above) to 25 to 30 for sand cushion. A 5/8 inch cement tile at 8 pounds per square foot is lighter than any bonded cement system but heavier than the thin-set resin pour.
Can you pour terrazzo over an existing floor?
Sometimes, and the substrate decides. Epoxy thin-set can go over a sound concrete slab or existing terrazzo, and one manufacturer extends that to structurally sound plywood, wood, and metal. Carpet, vinyl, and VCT are not substrates; they come out first.
The slab has to be in tolerance: out-of-tolerance concrete needs a leveling fill or grinding pass first, and a crack-suppression membrane is the alternative to chasing every joint with a strip. Tile can also overlay, but the same flatness and stiffness rules apply and the height must meet the doors.
Over wood framing, L/720 is the gate. If the joists cannot meet it, tile is out until the structure is stiffened, and a 25 to 30 pound sand cushion pour is out by a wider margin. This is the condition that most often flips a poured default to tile.
Overlay versus demolition is a real line item: published guides list removal at $2 to $7 per square foot for tile and $0.70 to $1.60 for carpet, with subfloor repair at $2.20 to $4.75. Keeping a sound slab avoids that cost.
Lead Time and Schedule
The schedule difference is when material can be on site, not just install days. NTMA describes resin and aggregate typically on site within a few weeks, while manufactured products may have extended lead times for production and transit. One manufacturer’s FAQ gives material lead time at 2 to 4 weeks or less.
Precast tile is often made to order, so the factory slot, curing, cutting, and freight sit in front of the setting crew. Poured raw materials are commodity stock; the schedule risk is the crew, not the supply chain.
On site, published guides give installation at 3 days to several weeks. Epoxy cures overnight at 3/8 inch; cement takes longer, and one manufacturer describes cement installation as four to five times the labor and time of epoxy.
Tile is not same-day either. One maker’s sequence is 48 hours for thinset cure, 24 to 48 hours for the pre-grout sealer, grouting in sections, 48 hours for grout, then 1 to 2 days for topcoat; plan roughly a week from first set to normal use.
The occupied-home constraint is the grinder: wet grinding, slurry, and noise make poured a new-build or gut-renovation trade. Tile setting is quieter, but cutting produces silica dust; wet cutting and a respirator are the controls.
If the house has to stay livable, tile lets you keep one room at a time.
Repair, Refinishing, and the Day Something Chips
Repair is where the formats diverge most. A poured floor can be ground back and re-polished across the whole field, a life-of-the-facility finish; a tile floor is repaired module by module.
Patching a pour is not invisible. Renovation guidance is blunt that repairs rarely blend seamlessly and matching an old mix is difficult, so keep leftover material from the original batch. NTMA’s restoration spec adds that color matching may not be exact because mined products change over time; mockups set expectations before grinding.
Tile repair is a swap: lift the broken module, clean the bed, back-butter a replacement, re-grout. The catch is the match, since handmade tile varies batch to batch and a discontinued line may be impossible to replace. The 15 percent overage is your repair stock, not waste.
Cracks behave differently. Epoxy terrazzo rarely cracks but can, and a crack-suppression membrane is the preventive move. Tile cracks are usually a support failure: a void, an uncured subfloor that deformed, or movement L/720 was meant to prevent; fix the cause first or the new module cracks too.
Service-life figures are not one measurement: a materials manufacturer and a cost guide give poured epoxy 40 to 100 years; a restoration contractor and a renovation guide describe 75-plus years with care; the same contractor points to historic government-building floors still in service after 60 to 80 years.
A home-improvement publisher gives up to 100 years, and NTMA treats poured as a life-of-the-facility finish. None is a warranty; the tile spec’s published warranty is one year against product defects.
Cost Structure: Why the Two Quotes Are Hard to Compare
Is terrazzo tile cheaper than poured terrazzo?
Usually at small scale, not always at large scale. The two quotes are built from different line items, and comparing headline numbers without the scope is how homeowners get surprised. For full per-square-foot pricing, see the terrazzo floor cost breakdown; here the point is structure.
Published guides split terrazzo into materials and labor: poured materials $10 to $50 per square foot and labor $10 to $20; tile materials $7 to $15 and labor $8 to $20. Tile’s labor share is proportionally larger, since setting heavy stone modules is skilled work.
Installers run $35 to $45 per hour.
The installed bands disagree by scope. A national cost guide gives poured at $20 to $70 per square foot installed and tile at $15 to $35 installed, tile materials alone at $8 to $20. A restoration contractor gives new installation at $18 to $60 for both formats.
A contractor’s bid guide gives basic thin-set poured at $15 to $40, complex floors at $25 to $60, and unique or small projects up to $100; tile is product from $18 plus setting at $10 to $15. A home-improvement publisher quoting a cost database lists $9 for basic premade tiles to $35-plus for complex patterns, materials only.
Our read is that these are different scopes, not competing figures for one number; the $15-to-$100 poured gap is design complexity, aggregate, and project size. Never average them.
Scale moves the poured number more than tile. The same contractor describes simple 1,000 square foot floors at $30-plus and 30,000 square foot floors at $18, because the grinding crew, strip layout, and mobilization spread over more area.
Scope traps are where quotes diverge: post-set grinding of tile is a separate scope, not default; demolition, moisture mitigation, membrane, and color matching may or may not be included. Divider strips are a material-and-labor line in a pour; grout and sealer are the tile equivalent.
Design drives the poured cost: one manufacturer’s cost-factor list names larger Venetian chips, more colors, brass strips over aluminum, and higher-grit finishes. Intricate tile patterns often need outsourced waterjet cutting, which NTMA identifies as a cost that can push a tile bid above a hand-bent poured layout.
Acoustics and Comfort in Each Format
Terrazzo is dense and hard, and dense surfaces reflect sound rather than absorb it. NTMA’s acoustics guidance is explicit that the finish is not the sound control; the assembly under it is. A church renovation gained clarity and resonance; a university auditorium set terrazzo over a 3/8 inch recycled-rubber pad to stop impact noise from above.
The lesson is format-neutral: ask for the assembly’s IIC rating, not the finish’s. The acoustic benefit is conditional, not a claim that terrazzo is quiet in a house.
The cement sand cushion assembly is the poured format’s built-in decoupler: its isolation sheet and wire-reinforced bed separate the topping from the slab, and renovation guidance describes it as improving sound insulation and giving a softer step. Thin-set epoxy has no such cushion; it bonds to the slab.
Underfoot, both formats are hard and cool, which suits radiant heat. Renovation guidance confirms terrazzo works with radiant systems and that its thermal mass stores and releases heat slowly. Plan radiant before the floor goes down; guides give radiant heat at $7 to $17 per square foot.
Slip is a finish-and-sealer question, not a format question. One producer’s factory testing under ANSI A137.1 gives polished cement tile a wet DCOF of 0.46 and honed 0.54; another maker’s product lists 0.51. The spread is product and finish, not a contradiction.
The practical rule is honed or textured in wet areas, wider joints or an anti-slip treatment where the floor gets wet, and a sealer chosen for slip resistance rather than gloss; the sealer, not the terrazzo, makes a floor slick.
Where Each Format Wins and Where It Loses
| Dimension | Poured-in-place | Precast terrazzo tile |
|---|---|---|
| Finishing | On site: grind, hone, polish | Factory: modules arrive finished |
| Continuity | Monolithic field, flush strips | Grout-joint grid; lippage risk |
| Depth | 3/8 in epoxy to 3 in sand cushion | Module thickness plus setting bed |
| Weight | 3-30 lb/sq ft by system | 6.7 at 1/2 in; 8 at 5/8 in |
| Lead time | Materials on site in a few weeks | Factory production plus transit |
| Repair | Re-grind field; patch may not blend | Swap module; match risk |
Tile is the wrong choice for a continuous custom field, for a seamless sanitary surface, or when lippage is unacceptable and post-set grinding is not in the budget.
Poured is the wrong choice when the structure cannot carry the depth or weight, when the home must stay occupied through wet grinding, or when the schedule cannot absorb a specialist crew. Thin-set epoxy relaxes depth, not the crew constraint.
- Poured wins: large continuous fields; curves, borders, logos, medallions; seamless sanitary surfaces; life-of-building refinishing; custom color matching.
- Tile wins: bounded rooms and baths; modular design; a finished surface without site grinding; wood framing that meets L/720; small infills matching an existing pour via custom tile; elevator cabs and stairs.
The elevator cab is the clearest example: pouring and grinding inside a cab is impractical, so custom precast tile matching the lobby’s poured floor is the standard move; the call is access, not preference.
How to Decide: A Condition Checklist
Run the conditions in order. The first that fails decides the format; the rest are refinements.
Whether terrazzo is worth it at all is a separate judgement from which format to buy, and the terrazzo pros and cons page makes that call.
- Structure: if wood-framed, check L/720 first. If it fails, tile and heavy cement pours are out; thin-set epoxy may work with engineering.
- Slab: if sound and in tolerance, either format overlays; if uneven or historic, sand cushion poured is built for it, or level and set tile.
- Depth: if thresholds cannot absorb 2 to 3 inches, rule out sand cushion and bonded; thin-set epoxy or tile keeps height down.
- Geometry and use: a large continuous field, custom curves, or a sanitary seamless surface favors poured; a bounded room with modular design favors tile.
- Schedule: if the home must stay livable, tile works one room at a time; on a new build or gut renovation, poured’s grinding is no constraint.
- Budget: at small area tile is usually lower; at large area poured’s scale can close the gap. Get both quotes at the same scope.
- Complexity: if the pattern is intricate, cost tile’s waterjet outsourcing against poured’s hand-bent strips before assuming tile is cheaper.
- Outdoor: epoxy is not an exterior system; UV and thermal movement rule it out. Rustic cement poured or exterior-rated cement tile work outside.
The format call is a condition call, not a taste call. Start with structure and slab, then schedule and geometry, and let the budget confirm. When both fit, the tiebreaker is joints: the seamless field earns its depth over decades; the module earns its grout lines without a grinding crew. Keep leftover material either way.