
Glue-down installation bonds the planks to the slab with adhesive spread in ridges, and the timing of that spread decides whether the floor holds.
Choose the adhesive for the product, spread it with the notch the manufacturer specifies, let it flash, lay the planks into the working time, and roll them in. Miss the timing and the adhesive skins over before the floor goes down.
What Glue-Down Installation Is
Glue-down installation bonds each plank directly to the subfloor with adhesive. There is no underlayment between the plank and the slab on the bonded side, and there are no fasteners through the plank. The adhesive is the only thing holding the floor down.
That is the difference from the other two methods. A floating floor interlocks with its neighbours and rests on an underlayment. A nail-down floor is fastened through the tongue. A glue-down floor is bonded to the slab itself.
The method suits products that are made to be glued: sheet vinyl, some luxury vinyl plank, some engineered wood, and tile. It does not suit a product whose manufacturer specifies a floating or a nail-down installation. The product specification governs, not the installer’s preference.
Preparing The Slab Before Any Adhesive
The slab has to be clean, dry and flat before adhesive goes anywhere near it. ASTM F710, the standard practice for preparing concrete floors to receive resilient flooring, requires the slab to be structurally sound, dry, clean and dust-free, and cleaned by mechanical means only: scraping, brushing and vacuuming. No chemical strippers and no adhesive removers.
Moisture has to be tested. ASTM F1869, the anhydrous calcium chloride test, measures the moisture vapor emission rate over 72 hours, and the limit is 3 pounds per 1,000 square feet per 24 hours. ASTM F2170, the in-situ relative humidity probe test, measures the humidity inside the slab, and the limit is 75 percent.
The slab has to be flat as well as dry. A ridge under a glued plank telegraphs through the surface, and a low spot leaves a void that the plank bridges instead of bonding to. The straightedge method that produces the flatness number is on the subfloor flatness page.
The full sequence, including the pH limit and the vapor retarder, is on the concrete preparation page. Do that work first; adhesive over a wet or dirty slab is a floor that will lift.
Choosing The Adhesive And The Trowel
The adhesive and the trowel notch come from the same place: the manufacturer’s specification for the product you are installing. A notch that is too small leaves too little adhesive and the plank lifts at the edges. A notch that is too large leaves too much and the adhesive squeezes up between the planks.
Trade guides give a range of notch sizes so you can see what the specification looks like. A 1/16 inch by 1/16 inch by 1/16 inch square notch is one common size for vinyl plank. An A1 or A2 notch is another. A 1/32 inch by 1/32 inch U-notch is a third. Which one applies to your product is printed on the adhesive container and in the product’s installation guide.
Check the adhesive is the right one for the product before you open the container. An adhesive made for sheet vinyl will not hold a rigid plank, and a plank adhesive will not hold sheet goods flat.
| Item | What The Specification Gives You | What Happens If You Ignore It |
|---|---|---|
| Adhesive type | The bond the product was tested with | The floor lifts at the edges or creeps |
| Trowel notch size | The correct adhesive thickness | Too little bond or adhesive squeezing up |
| Spread rate | How far one container goes | You run out mid-room or spread too thin |
| Working time | How long the adhesive stays open | The adhesive skins over before the planks go down |
Spreading The Adhesive
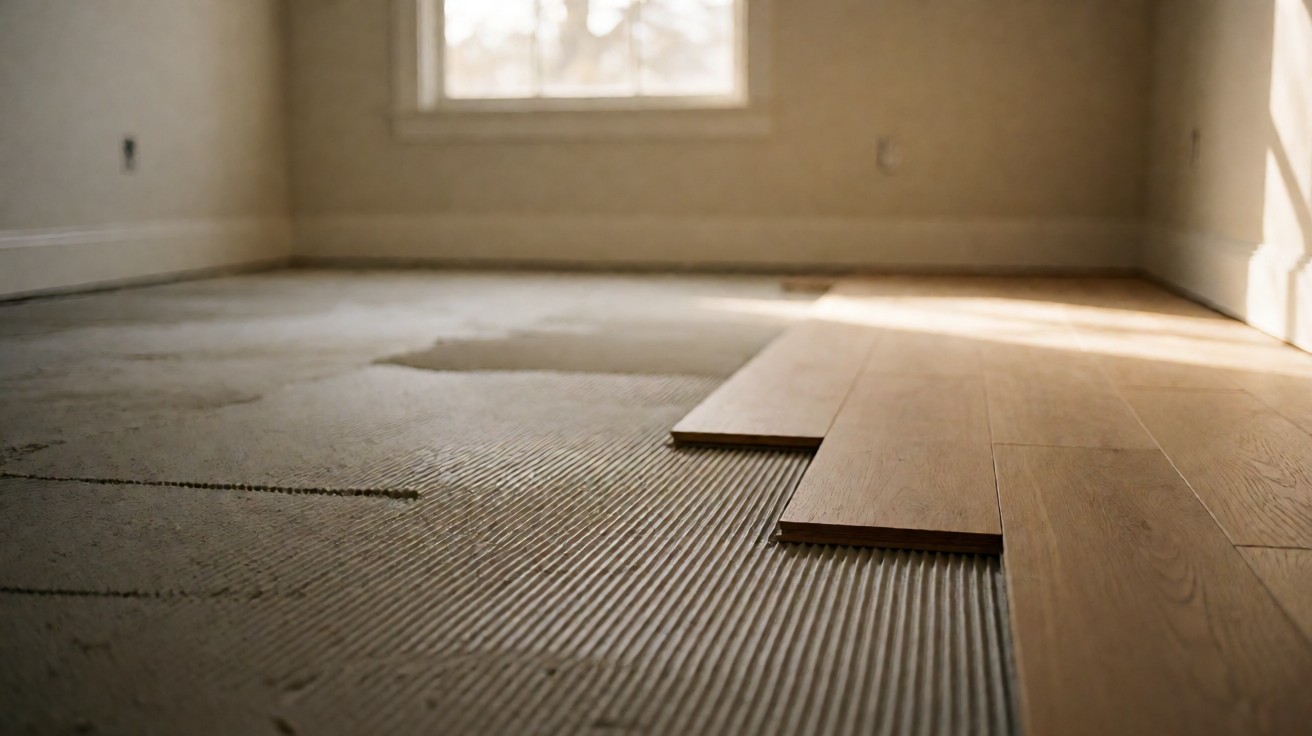
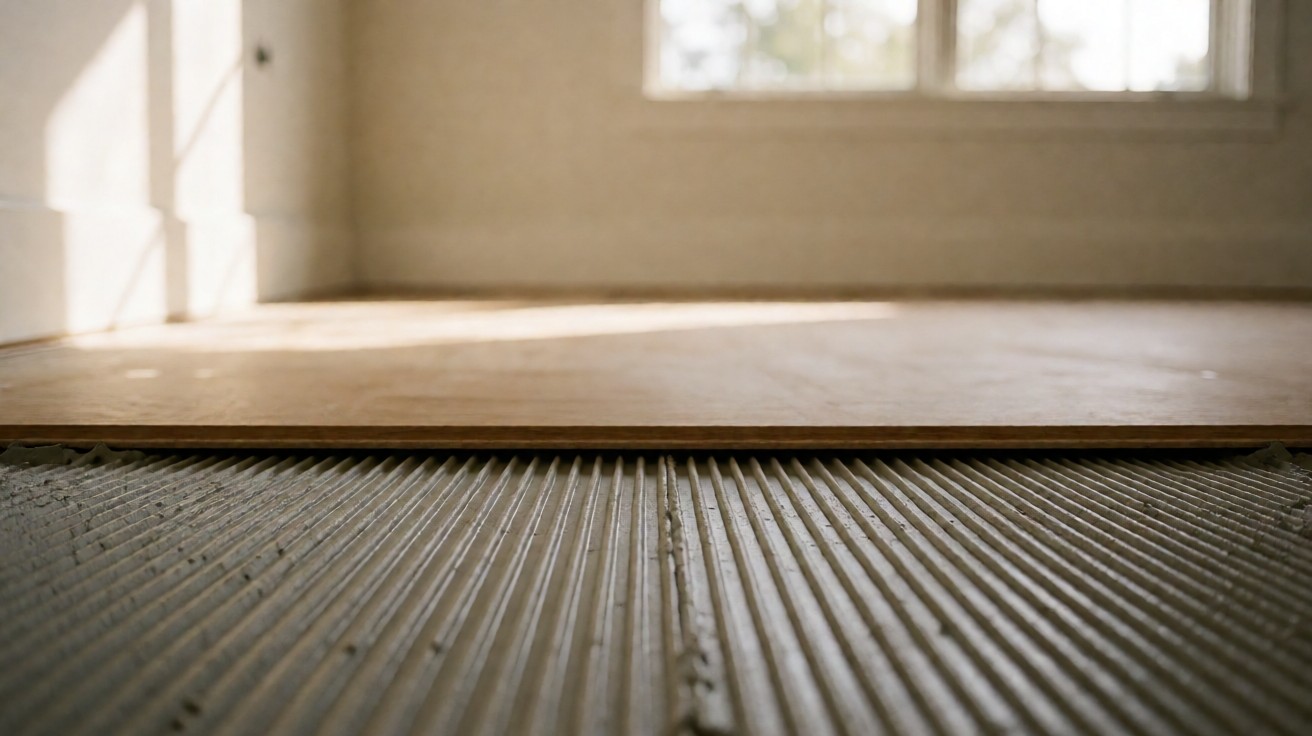
Spread the adhesive with the notched trowel held at an angle, so the ridges stand up evenly and the troughs between them are clean. The ridges are what make contact with the plank; the troughs let air escape as the plank is pressed down.
Spread only as much as you can cover inside the working time. One guide gives about 20 minutes of working time at 70 degrees F and 40 percent relative humidity. Another advises laying only 3 to 5 rows at a time so the adhesive does not skin over before the planks go down.
Work in a section you can finish. A half-spread room at the end of the day is a room where the adhesive has already started to cure, and the planks laid into it will not bond.
Spread rate is a planning figure, not a specification. One source gives 250 to 350 square feet per gallon. The manufacturer’s rate governs, and it changes with the notch size and the slab texture.
Flash Time And Working Time
Most flooring adhesives are pressure-sensitive. That means they are spread wet and left to flash: the solvents evaporate, the adhesive turns from wet to clear and tacky, and only then do the planks go down. Laying into wet adhesive is one of the most common glue-down errors.
Flash time is not working time. The adhesive flashes, and then it has a window during which the planks will bond. If you lay after the window closes, the plank sits on a skin and the bond fails at the edges.
Test the adhesive with a finger before you lay the first plank. It should feel tacky and transfer a little to your skin. If it feels wet and stringy, it has not flashed. If it feels dry and hard, the window has closed.
Temperature and humidity move both numbers. A cold, damp room flashes slowly and works slowly. A hot, dry room does the opposite. Read the container for the conditions it was tested at, and adjust your section size to the room you are in.
Laying The Planks Into The Adhesive
Lay the planks into the flashed adhesive and press them down firmly along their whole length. A plank that is only pressed at the ends leaves a void in the middle, and a void is where a glued floor starts to lift.
Butt the joints tightly. A glued floor has no mechanical lock to pull the joints closed, so the joint is made by hand and held by the adhesive. A gap at a joint shows as a dark line and collects dirt.
Check the first row against the chalk line before you commit to it. Every row after the first follows the first, so an error in the first row runs the length of the room.
Stagger the end joints of adjacent rows so they do not line up. A floor with all its end joints in one line reads as a strip of short boards rather than a floor.
Rolling The Floor
Roll the laid section with a floor roller to press the planks into the adhesive and squeeze out the air. One source specifies a 100 pound roller, with a minimum of 50 kilograms. A lighter roller leaves air under the plank and the bond is incomplete.
Roll in both directions. Rolling along the planks presses the length of the joint; rolling across presses the width. Both directions are needed for a full bond.
Roll the section you have just laid, not the whole room at the end. Adhesive that has started to cure will not re-bond under a roller.
Rows, Boxes And Staggering
Mix planks from several boxes as you lay, to avoid colour banding across the floor. Boxes from the same dye lot can still differ slightly, and a floor laid one box at a time shows stripes.
Stagger the end joints by at least a few inches, and avoid a joint that lands directly beside a joint in the row below. A staggered floor spreads the joints and reads as one continuous surface.
Cut the last plank in each row to fit, and use the offcut from the previous row as the start of the next where it is long enough. A glued floor wastes more offcut than a floating one, because the offcut has to be clean on both edges to bond.
What Makes A Glue-Down Install Fail
The failures come from the adhesive, not from the planks. Lifting at the edges means too little adhesive or a notch that was too small. Adhesive squeezing up between the planks means too much adhesive or a notch that was too large.
A floor that creeps means the planks were laid into wet adhesive and slid as the adhesive cured. A floor that shows voids means the plank was not rolled, or the roller was too light.
A floor that lifts in one area means the slab was wet or dirty there. Moisture under a glued floor breaks the bond from below, and no amount of rolling will fix it. Test the slab before you spread adhesive, and treat a wet area as a slab problem, not a floor problem.
| Symptom | Likely Cause | The Fix |
|---|---|---|
| Plank lifts at the edges | Too little adhesive, or a notch too small | Inject adhesive and roll while it is still open |
| Adhesive squeezes up between planks | Too much adhesive, or a notch too large | Remove wet adhesive; re-notch for the next section |
| Floor creeps or shifts | Planks laid into wet adhesive | Lift and relay into flashed adhesive |
| Voids under the plank | Plank not rolled, or roller too light | Roll with the specified weight before cure |
| A whole area lifts | Slab wet or dirty | Lift the floor and treat the slab |
When The Floor Can Be Walked On
Do not walk on a freshly glued floor until the adhesive has cured. Light foot traffic too soon can shift a plank that has not fully bonded, and a shifted plank leaves a step at the joint.
The cure time is on the adhesive container and it changes with temperature and humidity. The walked-on page sets out the timing for the main floor types, and the adhesive container sets it for the specific product you used.
Wipe adhesive off the surface immediately while it is still wet. Cured adhesive is far harder to remove, and a smear of adhesive on the face of a plank shows as a dull patch for the life of the floor.
A Short Checklist Before You Finish
Run this list once the last row is down and the floor is rolled.
Confirm every joint is tight and every plank is rolled. Confirm no adhesive has squeezed up between the planks. Confirm the expansion gap is open around the perimeter, sized as set out on the expansion gap page. Confirm the room is closed up at the temperature the adhesive needs to cure.
If a plank lifts at the edge, the fix is to inject adhesive under it and roll it again while the adhesive is still open. If a whole area lifts, the slab was the problem, and the floor has to come up to fix it.
For the underlayment that sits under a floating floor, the underlayment page sets out the choices. For the row-by-row method on a click-lock floor, the laminate installation guide carries the sequence.
Where Glue-Down Sits In The Whole Install
Glue-down is one of the three installation methods, and the choice is made by the product, not by the installer. Sheet vinyl and some rigid planks are glued. Click-lock planks and most laminate float. Solid and engineered hardwood over plywood is nailed.
The preparation is the same for all three: a clean, dry, flat slab and an open expansion gap. The difference is what holds the floor down once it is laid.
Do not mix methods in one room. A floating floor and a glued floor in the same space move differently, and the joint between them fails. Pick one method for the whole room and follow the specification for it.