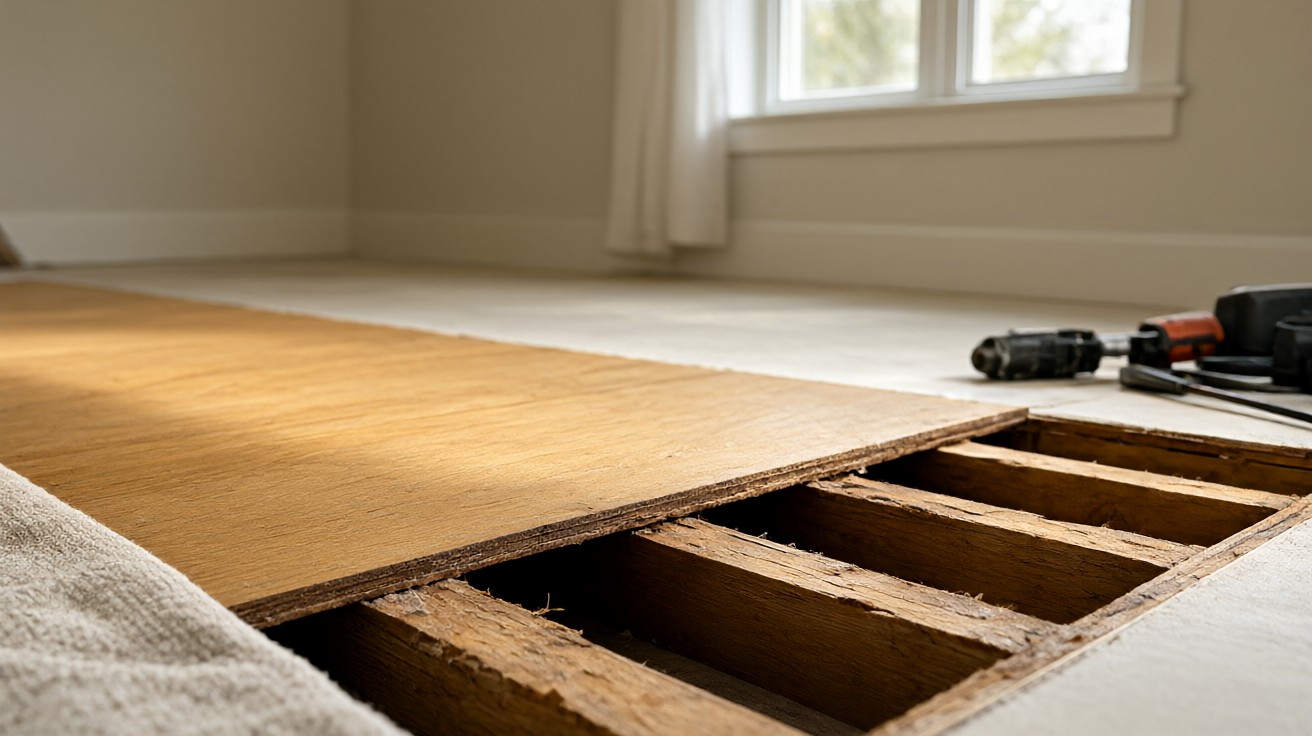

Subfloor panels are the structural layer between joists and finished flooring; when they soften, sag, or rot, every floor installed above them is at risk.
Repairing rewards careful diagnosis. Cutting the wrong area, skipping moisture checks, or fastening a patch poorly can leave squeaks, dips, or repeat failure. Work methodically, and you should treat this as a structural job rather than a cosmetic one.
Before you begin, confirm that your finished flooring can be removed and reinstalled, and that you have access to the joists below. If the damage is extensive or the framing itself is compromised, stop and bring in a qualified contractor.
What Counts as a Damaged Subfloor Panel
A damaged subfloor panel is any plywood or oriented strand board (OSB) sheet that has lost stiffness, fastening grip, or dimensional stability. Common causes include slow plumbing leaks, appliance overflow, high indoor humidity, inadequate crawl-space ventilation, and prolonged exposure to construction moisture. Damage often starts at panel edges or near plumbing penetrations and spreads inward.
Typical failure modes include soft spots that flex underfoot, delamination where plywood plies separate, swelling and ridging at panel joints, and dark staining that signals decay. Some damage is visible only after the finished floor is removed, so a thorough inspection is essential before you commit to a repair plan. See how to inspect a subfloor before installation for a room-by-room checklist.
How to Diagnose Soft Spots, Sagging, and Rot
Start with a visual sweep. Remove baseboards and, if necessary, the finished flooring so you can see the panel surface. Look for staining, swelling at edges, lifted fasteners, and gaps between panels. Then walk the floor in stocking feet and mark any area that flexes, bounces, or feels hollow with painter’s tape.
For example, a dishwasher leak in a kitchen often softens the panel directly in front of the appliance before spreading under cabinets.
Use a flat bar or pry bar to probe suspect areas. Sound wood resists; damaged wood compresses or crumbles. A moisture meter confirms what your eyes and feet suggest.
Soft spots directly over joists usually point to framing issues, while soft spots between joists usually point to panel failure. Sagging across a whole bay suggests an undersized or overloaded joist rather than a panel problem.
How do I tell water damage from normal wear?
Water damage shows as dark staining, raised grain, edge swelling, or white mineral deposits, and it often follows a pattern tied to a leak or a wet room. Normal wear shows as surface abrasion, fastener loosening, or localized compression at high-traffic paths. If the panel is stained but still hard and dry, it may only need sanding and re-fastening rather than replacement.
Moisture Testing Before You Cut Anything
Never cut into a subfloor until you know why it failed and whether moisture is still present. Test the damaged panel and the surrounding panels with a pin or pinless moisture meter.
Compare readings to the manufacturer’s range for your panel type. The International Residential Code (IRC) and industry guidance such as the APA and NWFA publications treat moisture control as a prerequisite for any subfloor repair. Use ASTM F2170 in-situ relative humidity testing where the panel type calls for it. For detailed testing methods, see subfloor moisture testing.
If readings are high, find and fix the source first: repair leaks, improve drainage, add a vapor retarder in crawl spaces, or improve ventilation. Allow the framing and panels to dry to an acceptable level before installing new material. Document your readings with photos and notes so you have a baseline if problems recur.
When to Patch a Panel Versus Replace the Whole Sheet
The decision depends on the size of the damage, its location, and whether the panel’s fastening and edge support can be restored. A small, well-defined damaged zone surrounded by sound wood can be patched. Widespread delamination, rot at multiple edges, or damage that reaches a joist line usually calls for full panel replacement.
| Damage condition | Recommended repair | Notes |
|---|---|---|
| Soft spot smaller than 12 inches across, solid surrounding wood | Patch with a matching plywood or OSB insert | Support the patch on sistered blocking or existing joists |
| Delamination or swelling at a single panel edge | Trim back to sound wood and splice in a new strip | Keep the 1/8 inch expansion gap at joints |
| Rot or softening across more than one-third of a panel | Replace the entire panel | Inspect joists for decay before installing new material |
| Sagging that spans multiple panels | Address framing, then replace panels | May require sistering joists or adding beams |
Can I patch a subfloor without replacing the whole panel?
Yes, if the damage is localized and the surrounding panel is dry, sound, and firmly fastened. A patch must be supported on at least two sides by joists or blocking and fastened to the same standard as the original panel. Never leave a patch floating over an unsupported cavity.
Tools and Materials You Will Need
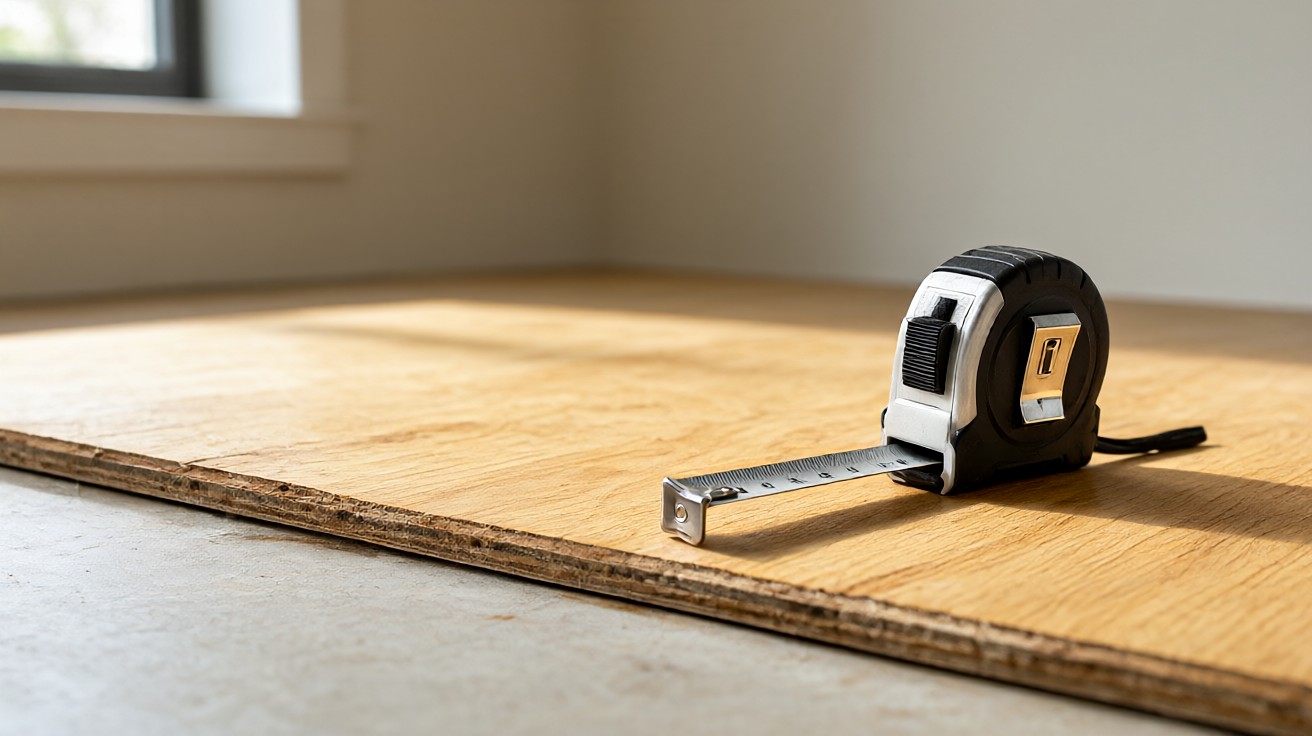
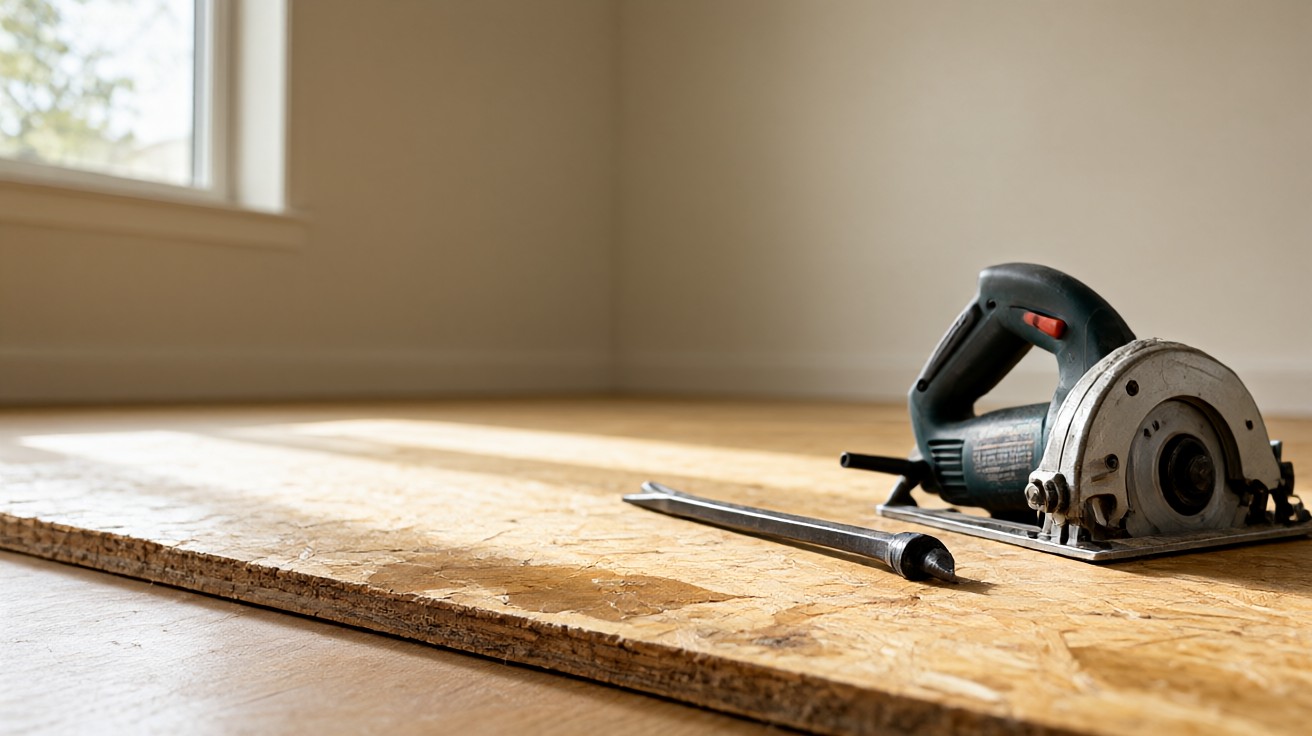
Gather tools before you open the floor. You will need a circular saw with a depth set just shy of panel thickness, a reciprocating saw or oscillating multi-tool for corners, a pry bar, hammer, drill or impact driver, tape measure, straightedge, chalk line, moisture meter, and hearing and eye protection.
For materials, match the existing panel type and thickness, use construction adhesive meeting ASTM D3498 or an APA AFG-01 specification, and use ring-shank or screw-shank nails or structural screws rated for subfloor installation.
When replacing OSB, use a product rated for subfloor use and follow the manufacturer’s fastening and spacing guidance. Huber AdvanTech and Georgia-Pacific are two manufacturers that publish detailed subfloor panel installation instructions, and their guidance should supersede generic advice when you use their products. If you are replacing plywood or OSB, review plywood subfloors preparation and suitability and OSB subfloors preparation and limitations.
Cutting Out and Removing the Damaged Panel
Mark the cut lines so they fall on the center of joists or on solid blocking. Set the circular saw depth to the panel thickness plus a small margin, and make plunge cuts along the marked lines. Stop short of corners and finish with an oscillating tool to avoid cutting into joists or hidden utilities.
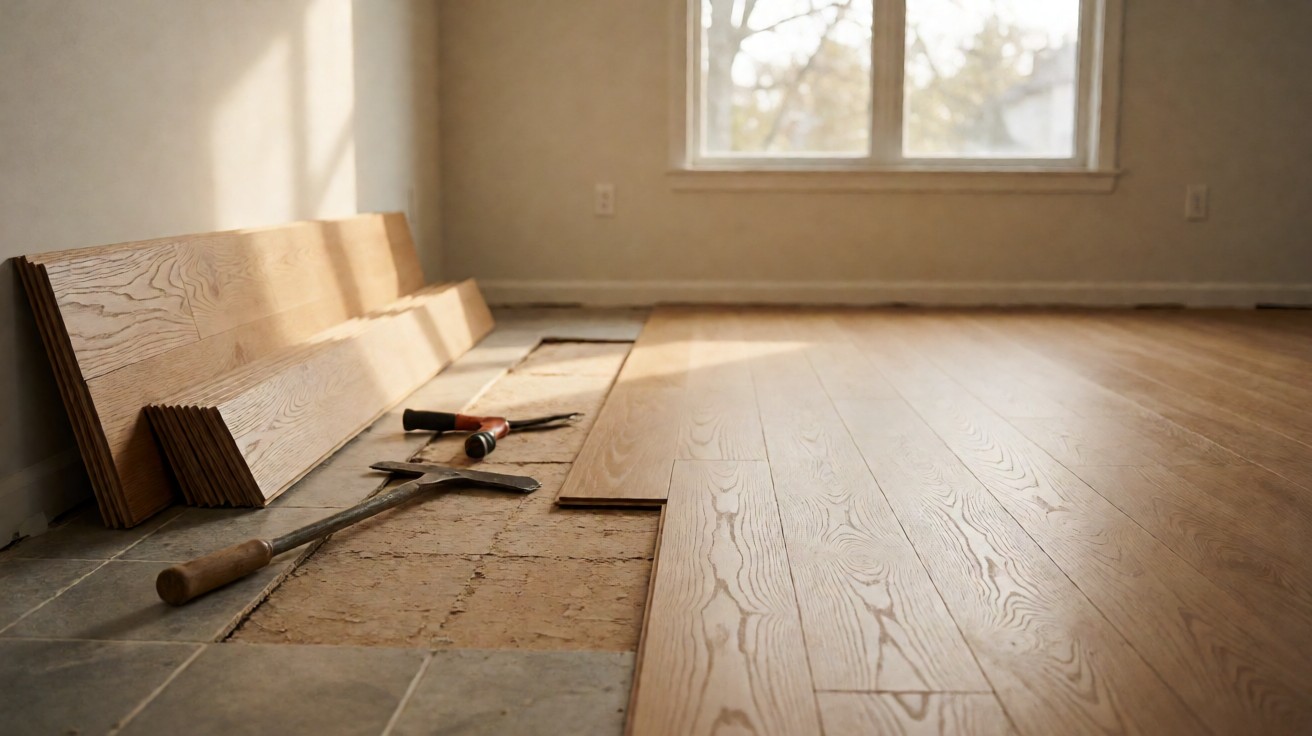
Pry up the cut section carefully, working from one end. Remove all old fasteners, adhesive residue, and debris. Inspect the exposed joists for rot, insect damage, or excessive notching. If a joist is damaged, repair or sister it before installing the new panel. Keep the 1/8 inch gap between panel edges and ends as recommended by APA for plywood and OSB subfloor panels.
Sistering and Bridging Joists for Support
When a joist is weakened or when a patch needs mid-span support, sister a new joist alongside the old one. Cut the sister to span at least three feet beyond the damaged area on each side, apply construction adhesive, and fasten with structural screws or bolts in a staggered pattern.
Bridging or blocking between joists also stiffens the floor and gives panel edges a solid bearing surface. Joists must meet deflection limits such as L/360 under live load.
Do not sister over rotted wood without removing the decay first. If the original joist has lost more than a small fraction of its depth to rot, replace it rather than sistering. When in doubt, have a structural professional evaluate the framing.
Patching Small Areas With a Dutchman or Overlay
For a small damaged zone, a dutchman patch keeps the repair minimal. Cut a rectangular opening with straight edges, then cut a matching patch from the same panel type and thickness.
Support the patch on the existing joists or on new blocking, apply adhesive, and fasten at 6 inches on center at edges and 12 inches on center in the field, matching the pattern used for subfloor panels under the International Residential Code Table R602.3(1).
An alternative for thin or localized damage is a thin overlay panel installed over the sanded area, but only if the original panel is still sound and the added height will not create a trip hazard at doorways. An overlay does not fix rot; it only smooths the surface.
Fastening Patterns and Seam Details
Fastening quality determines whether the repair squeaks. Use deformed or ring-shank nails or structural screws, and follow the spacing in the table below. Drive fasteners flush without overdriving, and avoid splitting panel edges. Where panels meet over a joist, stagger the joints so four corners never meet at one point.
| Panel thickness | Edge spacing | Field spacing |
|---|---|---|
| Up to 3/4 inch | 6 inches | 12 inches |
| 7/8 to 1 inch | 6 inches | 12 inches |
| 1-1/8 to 1-1/4 inch | 6 inches | 12 inches |
When should I replace the entire subfloor sheet?
Replace the whole sheet when damage covers more than about one-third of the panel, when rot reaches a joist line, or when the panel is delaminated across its width. Replacing the full sheet also makes sense when the panel is an older or mismatched product that no longer meets current span or fastening standards.
Leveling and Preparing the Repaired Area for New Flooring
After fastening, check flatness with a straightedge or a 6 foot to 10 foot level. Sand high seams and fill low spots with a cementitious or gypsum-based leveling compound rated for wood subfloors. Re-check moisture before installing finish flooring, and follow the flooring manufacturer’s acclimation and moisture limits.
Common Mistakes That Cause Repeat Failures
The most common mistake is repairing the surface while ignoring the moisture source, which guarantees the new panel will fail again.
Other frequent errors include cutting panels without centering cuts on joists, leaving unsupported patch edges, overdriving fasteners that crush the panel, and mixing incompatible panel thicknesses. Take time to dry the area, match materials, and fasten to the specified pattern, and the repair will last.
Another mistake is assuming a squeak means a loose panel when the real cause is a gap between panel and joist. Adding fasteners without adhesive may quiet the floor temporarily but will not fix deflection. Use construction adhesive in a continuous bead on joists and blocking when installing the new panel.
Safety and Code Considerations
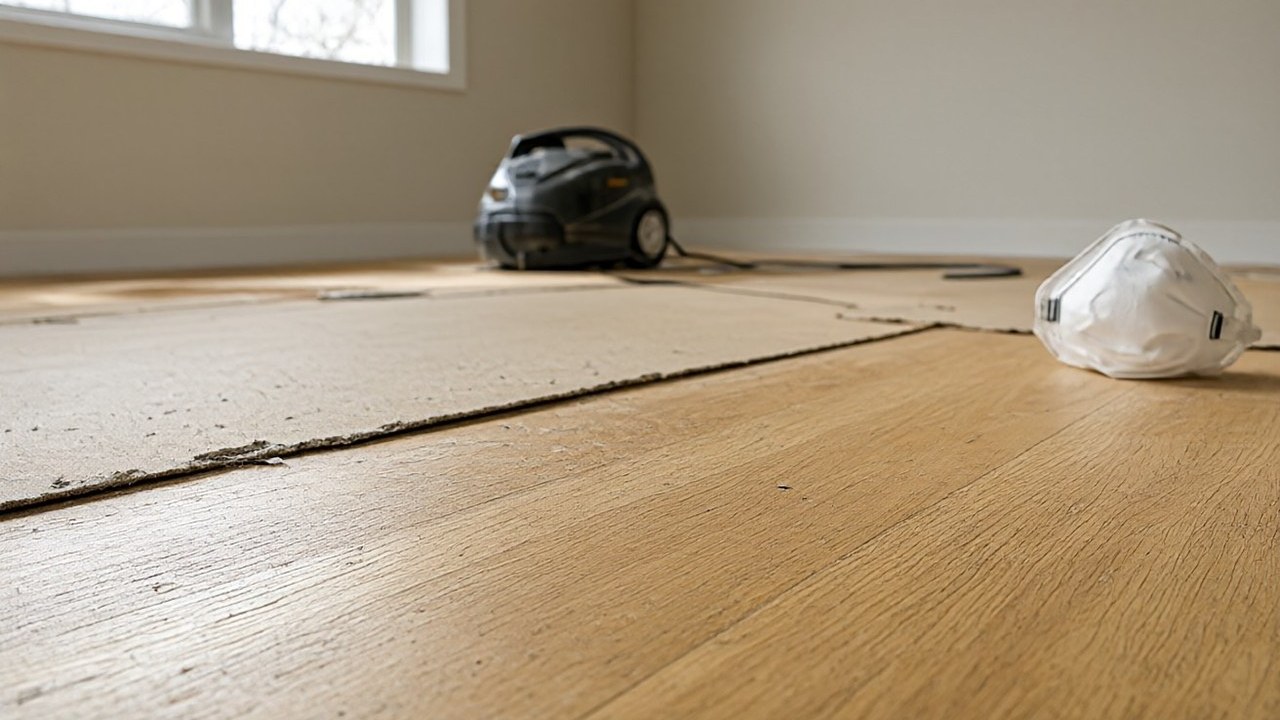
Wear eye and hearing protection, and check for hidden plumbing and electrical lines before cutting. Support the work area so panels do not collapse underfoot. Follow the International Residential Code and local amendments for fastening, span, and edge support, and obtain permits where required. When replacing subfloor in a fire-rated assembly or in a multi-family building, consult the building official before proceeding.
When to Call a Professional
Call a professional if you find decayed joists, sagging floors that span multiple bays, mold growth, or damage tied to a structural or plumbing failure you cannot safely repair.
A qualified contractor or structural engineer can determine whether sistering, replacement, or reinforcement is appropriate. When the framing is sound and the damage is localized, however, a careful DIY repair following the steps above will restore the subfloor for decades of service.