
Terrazzo floor installation lives or dies on the slab: flat within 1/4 inch in ten feet, dry enough to pass a moisture test, and prepared before anyone pours.
Poured terrazzo is specialist work, not a DIY weekend. The substrate decides the outcome; every step has a real cure window. These numbers are the checkpoints to hold a contractor to, from moisture test to final sealer coat. Precast tile is a different job.
What Terrazzo Installation Actually Involves
Start with the slab, because terrazzo is a veneer, not a structure: marble, glass, or granite chips in a binder. what terrazzo actually is explains the mix; installation decides whether it performs.
The order never changes: flat and dry substrate, prep and fill, divider strips over the joints, pour, grind, grout, polish, clean, seal, protected turnover.
Skip a step and the failure shows up months later, not on installation day.
This process follows thin-set epoxy terrazzo, the system most modern commercial floors use, flagging where cement systems differ.
| System | Total thickness | Weight (psf) |
|---|---|---|
| Epoxy (thin-set) | 3/8 inch nominal | 5 to 6 |
| Monolithic cement | 1/2 inch nominal | 5 to 7 |
| Polyacrylate | 3/8 inch nominal | 4.5 |
| Bonded cement | 2-1/4 inches total | 18 to 22 |
| Sand cushion | 3 inches total | 25 to 30 |
Those are NTMA system figures, in pounds per square foot. Sand cushion at 25 to 30 psf is a structural decision; epoxy at 5 to 6 fits a renovation where a 3 inch cement system never would.
The Tools and Materials on Site
The kit is specialized: a shot blaster or diamond grinder, hand and power trowels, an edge grinder, and a floor grinder for the grit sequence. Divider strips, resin and hardener, chips, color-matched grout, neutral soap, and sealer complete the list.
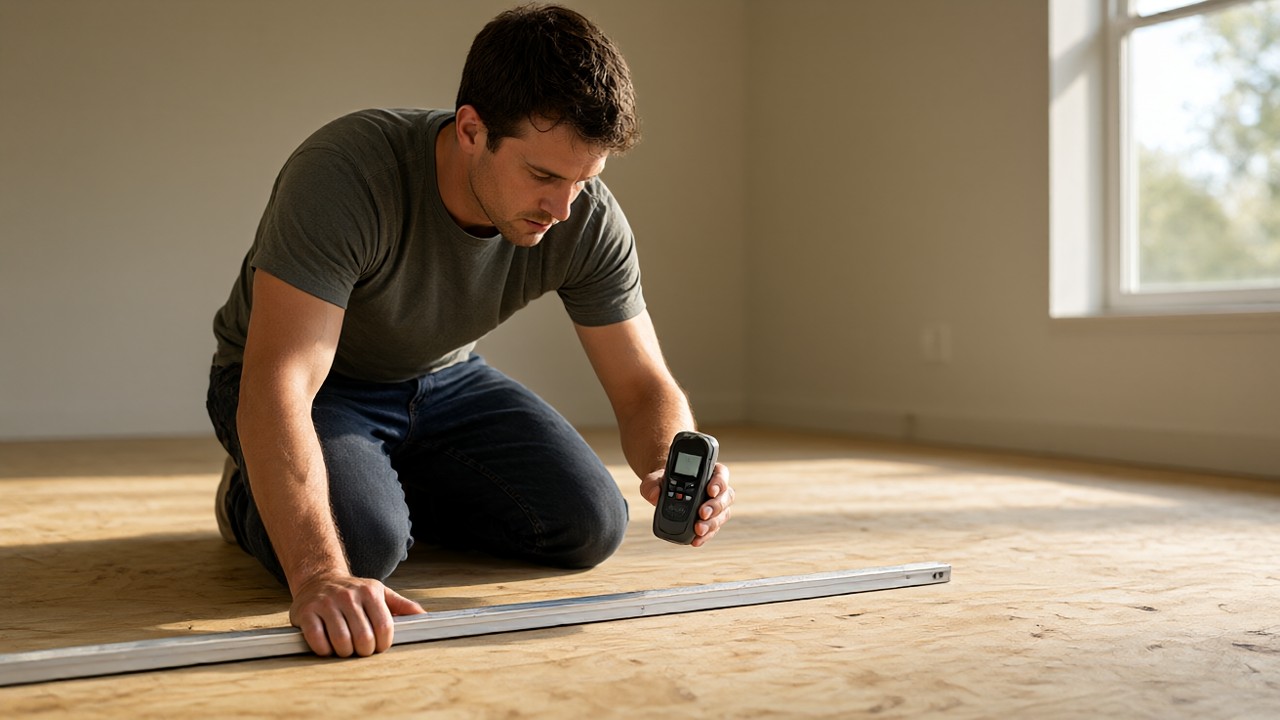
Moisture testing gear comes first: in-situ probes for ASTM F2170 or a calcium chloride kit for ASTM F1869, plus a 10 foot straightedge.
The grinding machines are heavy, wet, and unforgiving; color matching across a multi-day pour is a skill, not a purchase.
Step One: Get the Slab Flat Within 1/4 Inch in Ten Feet
The tolerance is exact: maximum variation of 1/4 inch in a 10 foot span, non-cumulative, on a steel trowel finished surface. No over-troweling to a dark sheen, no curing agents or additives.
A burnished or contaminated surface is a bond failure waiting for a grinder.
Why so strict? A 3/8 inch veneer follows the slab; epoxy terrazzo is not a leveling material. It mirrors every dip and hump, so a flatter finished floor demands a flatter slab.
How flat does a floor need to be for terrazzo?
Two measurement systems exist, and a terrazzo slab needs both.
The straightedge is local: a 10 foot straightedge anywhere, gap within 1/4 inch. ASTM E1155 is statistical: FF flatness from curvature over 24 inch increments, FL levelness from elevation change over 10 feet.
A commonly specified pair is FF 25 and FL 20, local minimums at 60 percent, 15 and 12. F-numbers describe the whole slab; the straightedge catches the one dip that telegraphs through a veneer. checking subfloor flatness covers the measurement.
Flat terrazzo-ready slabs are rare. Expect to grind high spots and fill low ones, usually both.
Step Two: Prove the Slab Is Dry
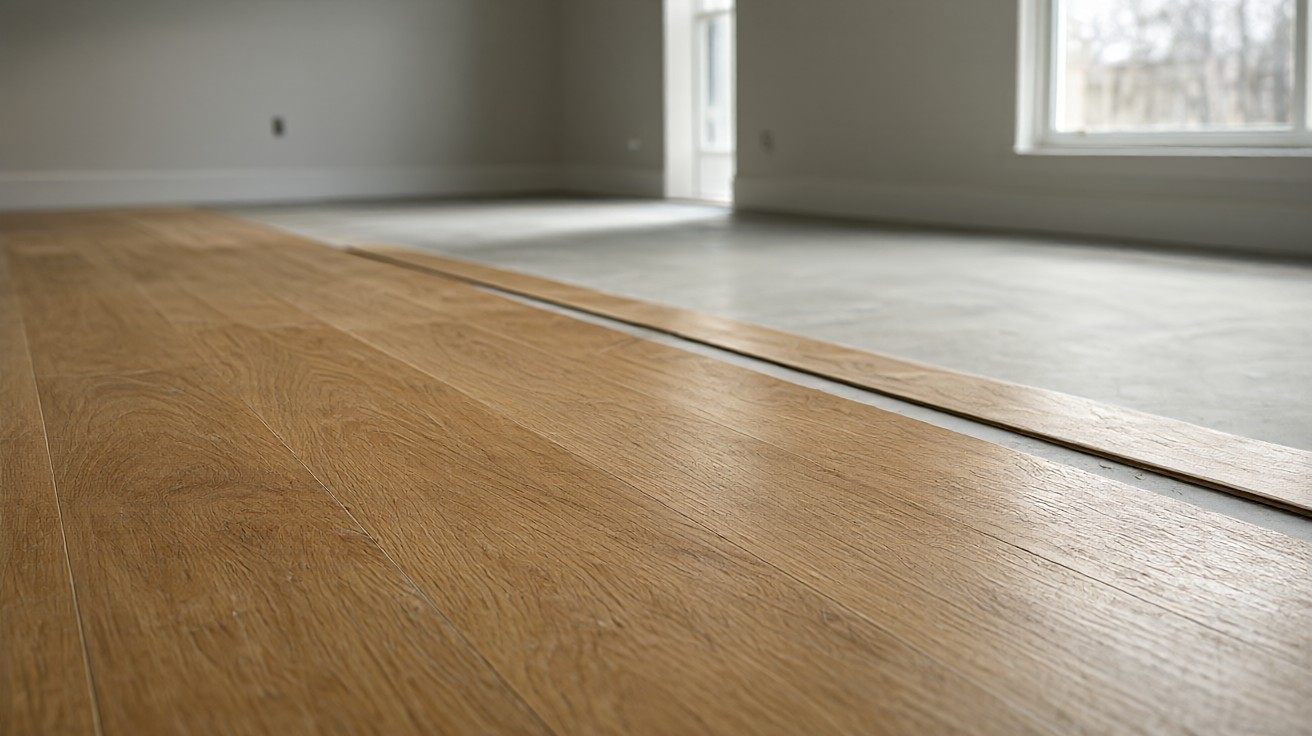
No pour happens before moisture passes. Epoxy does not breathe, so vapor moving up through the slab has nowhere to go. Pressure builds at the bond line until the floor delaminates.
A slab can look dry and still fail.
The working rule is the stricter published ceiling: 75 percent relative humidity maximum by in-situ probe, ASTM F2170, and 3 pounds per 1000 square feet per 24 hours by calcium chloride, ASTM F1869. Probe holes stay sleeved and capped at least 72 hours before readings.
The moisture testing methods are a separate discipline. Sources differ on the ceiling, and the difference is worth naming.
International Masonry Institute guidance sets slab humidity below 80 percent unless a maker demands lower; the NTMA guide specification and maker instructions hold 75. Plan to 75. At 75 or above, a mitigation system goes down first, with its own coverage and cure window.
For example, a slab that cured through a humid summer can still read above 75 percent months later; test before booking the crew.
| Check | Designation | Published ceiling or window |
|---|---|---|
| In-situ relative humidity | ASTM F2170 | 75 percent RH (spec and maker); IMI: below 80 percent unless maker is lower |
| Calcium chloride emission rate | ASTM F1869 | 3 pounds per 1000 square feet per 24 hours |
| Probe hole acclimation | ASTM F2170 | Sleeved and capped 72 hours minimum |
| New slab cure | NTMA and maker guidance | 28 days minimum; IMI asks 30 days, prefers a 7 day wet cure |
Cure time is the other disagreement: NTMA contractor guidance sets a minimum 28 days for new normal weight concrete at 3,500 psi, with an effective vapor barrier and no curing compound; IMI asks 30 days and prefers a 7 day wet cure.
Both are published; neither is an average.
Wet curing wins because curing compounds leave a bond inhibitor that shot blasting must remove. Under a slab on grade, the barrier is ASTM E1745 Class A, directly beneath and in contact with the concrete, at least 15 mil thick, capping permeance at 0.1 perms.
No granular fill or sand between barrier and slab; a punctured barrier stops being a barrier. The slab pour itself is covered in concrete slab subfloors.
Cracks get a membrane, not hope: at least 120 percent elongation per ASTM D412, horizontal movement only, never vertical displacement. IMI guidance budgets crack isolation at 10 percent of square footage; severe cracking means a full membrane, quoted as an extra.
Step Three: Fill, and Choose the Fill Carefully
Preparation opens the surface. Shot blasting is preferred; diamond grinding covers edges and verticals where blasting is impractical. The target is CSP 3 to CSP 5 per ICRI 03732: texture for a mechanical bond without weakening the slab.
Oils, grease, wax, sealers, and curing compounds all come off; each is a bond inhibitor. IMI guidance describes the same step as shot blasting or grinding with a 24 grit aggregate. The broader workflow, preparing concrete for new flooring, is its own topic.
The fill is a chemistry decision. A cementitious self-leveler must reach at least 300 psi tensile strength and contain no gypsum: gypsum disintegrates during grinding, so a gypsum patch becomes pinholes and blowouts where the grinder passes.
Epoxy mixed with sand or aggregate bonds reliably, dries within 24 hours, and pours to any thickness, at higher cost. Cement fill is cheaper but needs days to weeks to cure, may need moisture vapor control, shrinks, and often needs a second fill or grind pass.
Cement fill thickness is limited; its edges cannot be feathered.
The fill is part of the bonded assembly: everything above it is only as strong as the weakest layer underneath. A cheap, shrinking fill is the most expensive shortcut on the job.
Step Four: Lay the Divider Strips and the Joint Plan
Divider strips are not decoration first. For bonded systems, ACI 302.1 joint placement governs: strips sit directly over saw cuts and control joints, and joints run off all corridor intersections and corners, where shrinkage stress concentrates.
For unreinforced plain concrete slabs, ACI 302.1R sets joint spacing at 24 to 36 times the slab thickness, up to 18 feet. Some random cracking is expected; visible cracks in 0 to 3 percent of panel area is reasonable.
The strips do not prevent cracking. They decide where it happens.
Saw cutting timing has two published forms: 12 to 24 hours after placement in the guide specification, or before the concrete starts to cool in contractor guidance, once the surface is firm enough not to tear.
Cut at least 1/3 the slab depth, no wider than 1/8 inch. The intent is identical: create the weak plane before shrinkage picks its own.
Strip material follows the binder: zinc and brass for cement; zinc, brass, plastic, or aluminum for epoxy. Widths run 18 gauge to 1/2 inch, with 16 gauge or 1/8 inch standard. Strips not over a joint are strictly decorative, not leveling devices or crack preventers.
Sand cushion terrazzo differs: its underbed is unbonded, so dividers control contraction in the underbed. Squares of 4 by 4 feet or less are ideal; rectangles no more than 25 square feet, aspect ratio 1.5 to 1 at most. Major movement needs structural inset expansion plates.
Step Five: Pour
Epoxy terrazzo goes down at a nominal 3/8 inch, as thin as 1/4 inch. Aggregate follows thickness: #0 to #1 chips optional, #2 chip for 3/8 inch. The mix is 5 parts resin to 1 part hardener; an off-ratio batch cures soft or not at all.
The pour is hand work first: 100 to 200 square feet hand troweled within the strips, then power troweled. One color per day, each section curing 18 to 24 hours. Grinding starts where the pour started, the longest-cured section.
Temperature is a gate: the guide specification holds the room at not less than 60 degrees F, contractor guidance a consistent 55 degree minimum. Follow the resin maker’s instructions and plan to the stricter number; cold epoxy cures slowly and unevenly, delaying every step behind it.
Before the full pour, a 50 to 100 square foot mockup settles color, chip distribution, and pattern. Approve it in the light the floor will live in: a chip field that reads warm under site lighting can read cold under daylight.
The binder decision itself, epoxy versus cement terrazzo, is a separate question; cement systems pour thicker and cure far longer before grinding.
The cured resin has published floors worth contracting for: Shore D hardness 60 to 85 per ASTM D2240, tensile strength at least 3,000 psi per ASTM D638, compressive strength at least 10,000 psi per ASTM D695.
Specimens cure 7 days at 75 degrees F and 50 percent humidity; bond to concrete is 300 psi per modified ASTM D7234. That is why a thin veneer survives cart traffic that would crush a softer coating.
Step Six: Grind
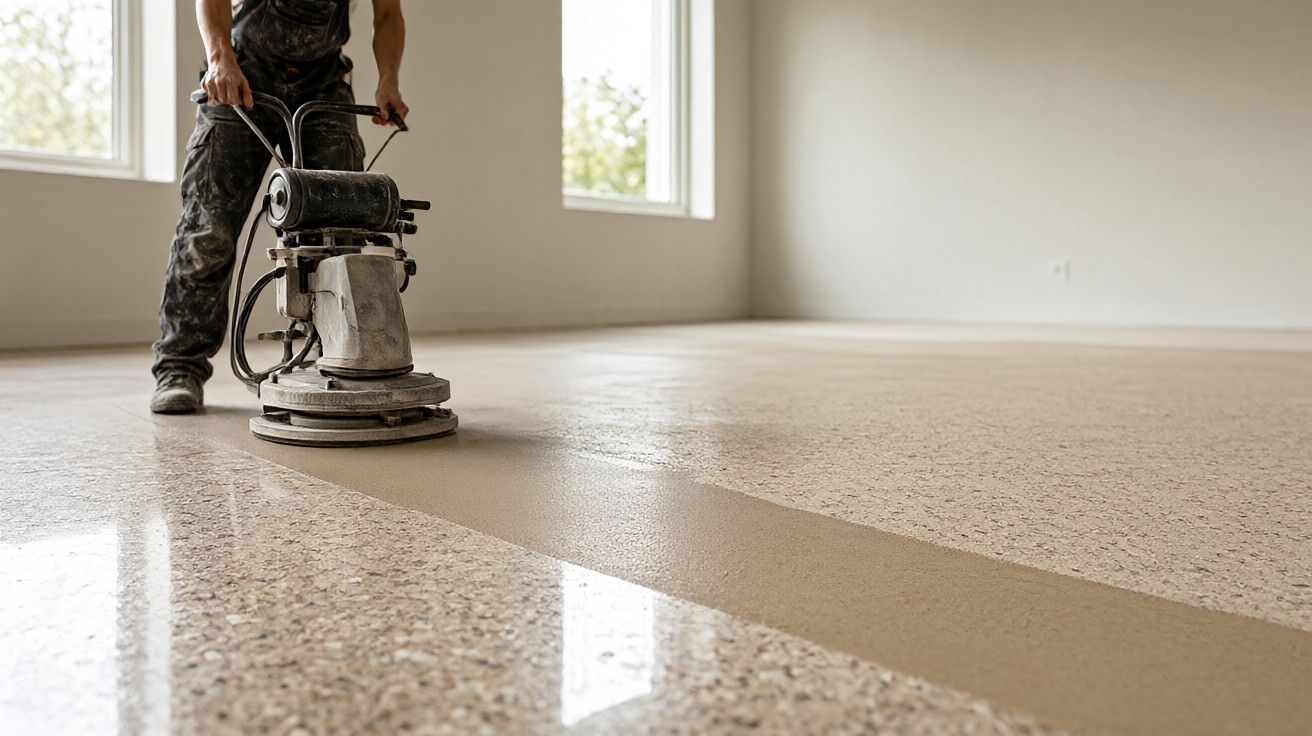
Grinding is where the pour becomes terrazzo: the coarse pass cuts the matrix down to expose the chip field. Two published ladders exist, starting differently because they belong to different documents, a manufacturer’s sequence and the NTMA guide specification.
| Stage | Manufacturer sequence | Guide specification |
|---|---|---|
| Rough grind | 40 or 80 grit diamond, by aggregate hardness | 24 grit or finer, then 60/80 grit |
| Blend before grout | 2 passes of 100 grit diamond | Not named |
| After grout cures | 80 grit carborundum or 100 grit resin, wet | 120 grit until all grout is removed |
| Finish | 200 grit resin or higher | Per specification |
Neither published ladder is wrong.
The manufacturer sequence is written for its own resin and aggregate; the specification is the contractual floor for any approved system. Starting grit follows aggregate hardness. Never average the ladders or swap steps; follow the documents for the installed system.
The work is consistent: forward along a path, back along the same path, side to side so no trench forms. After 4 to 5 passes the crew checks for an exposed divider strip, the signal the matrix is at depth. Walls and columns get an edge grinder.
Step Seven: Grout and Polish
Grinding leaves pinholes and voids; grouting fills them. Scrub with water, vacuum dry, then work color-matched epoxy grout at the same 5 to 1 ratio into the voids with a flat straight edge trowel.
Mix about a quart at a time. Epoxy grout kicks fast, and a bucket that hardens before it is worked in is wasted material and a cold joint.
Not every floor needs it. TERRAZZCO’s groutless resin needed no grouting in over 50 percent of its installations because the matrix cures with fewer pinholes. That is product-specific, not a promise for every epoxy terrazzo; the specification still treats grouting as normal unless the system eliminates it.
After the grout cures, the fine pass removes every trace: 120 grit until all grout is gone per the guide specification, or wet polishing with 80 grit carborundum or 100 grit resin per the manufacturer sequence. Grout haze in the chip field is a defect, not a texture.
Polishing is wet work. Edges get a 120 grit diamond disk then a 200 grit resin pad; the field finishes at 200 grit or higher when specified. Higher polish means repeating steps at finer grits, vacuuming slurry and changing water throughout. The gloss is the matrix itself, refined.
Step Eight: Clean, Seal, and Hand the Floor Over
The final clean is a process: vacuum all slurry, scrub with fresh water and neutral soap on an electric scrubber, rinse, vacuum again, dry completely. Neutral matters: acid or harsh alkaline cleaners etch marble chips and dull the polish.
Sealer goes on in two thin coats, each dried before the next. The guide specification caps sealer VOC at 200 g/L per 40 CFR 59, EPA Method 24. Once both coats are dry, the floor turns over to the general contractor for protection.
Traffic rules are where finished floors get ruined.
- Once preparation starts, no traffic except terrazzo workers.
- After the pour cures, trades may cross during rough grinding if they do not inhibit it.
- During cleaning and grouting, no traffic at all.
- After the grout cures, trades may return with protection in place.
- During polishing, cleaning, and sealing, terrazzo workers only.
- No lifts until the floor is complete, turned over, and protected.
Protection is specific: board over the floor with 1/4 inch masonite or plywood walkways in 4 by 8 sheets; damage after completion is the general contractor’s cost. Overhead work, sprinklers, HVAC, and ceilings complete before terrazzo; painters prime only, final coats after; tile, carpet, and cabinetry after the floor.
The warranty checkpoint is one year from substantial completion, per the guide specification. Get the date in writing at turnover.
The Precast Tile Path Is a Different Job
Precast terrazzo tile is cast, cured, ground, and finished in a factory, so the job is setting, not grinding. Treat it as natural stone: marble chips in a cement or resin binder.
Choosing the module over a seamless pour is a format decision with its own trade-offs, covered in the poured terrazzo versus terrazzo tile comparison.
Stiffness comes first: over wood framing, deflection limits are L/360 for ceramic and porcelain, L/720 for natural stone, and terrazzo tile is largely stone, so the stone standard is the safer target. A rigid, heavy module bridges a dip, leaves a hollow, and cracks under a point load; the maker’s instructions decide.
Coverage is the second gate: at least 80 percent contact in dry areas, 95 percent in wet areas. Set each tile in a polymer-modified mortar the maker approves, often white under light colors, with large-and-heavy-tile mortar for big formats. Back-butter every tile; voids are future cracks.
The mechanics of setting tile on a flat slab transfer directly. For precast units, the guide specification points to ANSI 108.5 for latex Portland cement setting or ANSI 108.6 for epoxy setting.
Lippage, one tile edge proud of its neighbor, shows brutally on a honed or polished face because light rakes across it. Set narrow joints, typically 1/8 inch, flush with leveling clips; use unsanded or fine high-performance grout, because sand scratches a polished face.
The clock runs in stages: subfloor cured at least 30 days; 48 hours after setting before grouting or sealing; sealer cure 24 to 48 hours; grout cure 48 hours; final sealer coat 24 to 48 hours before use.
Cement-based tile is porous in binder and chips: seal before grouting, because grout pigment stains, and again after the grout cures. Resin-based tile is less porous, but its maker may still specify sealing or cleaning.
Work in sections no larger than 2 by 2 feet, blend tiles from all boxes, dry layout first; shade variation is real. Order about 15 percent extra, and press tiles by hand; a rubber mallet can fracture chips.
Never use acid-based haze removers: marble chips etch, and so does a cement binder.
Clean with pH-neutral products only. Thickness and module size have no reliable published range; the producer’s data sheet is the source for your tile.
Is terrazzo tile a DIY job?
Yes, within the stone rules: a careful DIY renovator who can hold flatness, coverage, and cure windows can set it. The poured floor is the opposite; machines, slurry, and multi-day color matching are specialist work.
Installing Over an Existing Floor or on Plywood
Can terrazzo be installed over existing tile?
Over a sound concrete slab or an older terrazzo surface, yes: epoxy terrazzo can be poured over both. The existing floor becomes the substrate, and every prerequisite transfers: flat within 1/4 inch in 10 feet, dry enough to pass the moisture tests, opened by shot blasting or grinding so new epoxy bonds to sound material, not sealer, wax, or a burnished face.
Over existing ceramic tile, the honest answer is no, not as a thin-set pour. The terrazzo bonds to the tile, and the tile is only as bonded as its mortar bed. One hollow tile takes the terrazzo with it; a 3/8 inch veneer cannot bridge that.
The supported routes: remove the tile to the slab, or design a new unbonded concrete topping. ACI 302.1R sets a minimum 3 inch unbonded topping over a bondbreaker for the relevant floor classes, raising floor height and adding weight. A structural decision, not a shortcut.
Plywood is a qualified maybe. NTMA system literature allows epoxy over properly installed and prepared plywood, but the resin maker’s instructions govern, and most are written for concrete. Wood moves with humidity; a thin veneer over a flexing substrate is a crack risk.
On a residential wood subfloor, the predictable route is precast tile over cement backer board at the L/720 stone target. Never set tile or pour over paint; paint is a bond inhibitor.
Failure Modes and the Schedule That Avoids Them
Most terrazzo failures are substrate failures wearing a finish costume.
- Delamination: moisture over the ceiling, curing compound left, or a weak fill. Test first, blast, hold fill to 300 psi tensile, no gypsum.
- Cracks mirroring through: strips not over joints, or no membrane over cracks. Joint plan first; the membrane handles horizontal movement only.
- Pinholes and blowouts: gypsum fill disintegrating under the grinder, or grout skipped where voids remain.
- Hollow spots and cracked tile: coverage under 80 or 95 percent, or a subfloor past the stone deflection limit.
- Color drift: boxes not blended, no approved mockup, or a second color poured before the first cured.
- Early traffic damage: lifts or trades on the floor before turnover and protection.
- Yellowing: propane construction heat adds moisture and can yellow the terrazzo, a real risk in winter builds.
How long does a terrazzo floor take to install?
The pour is the short part. The slab needs 28 to 30 days of cure, probe holes 72 hours of acclimation, and epoxy fill dries within 24 hours where cement fill needs days to weeks.
Then one color per day at 18 to 24 hours of cure, grinding, grouting with its own cure, wet polishing, two sealer coats, and turnover.
The tile path runs its own clock: 48 hours after setting, 24 to 48 hours of sealer cure, 48 hours of grout cure, 24 to 48 before use. The comparison across materials is how long flooring installation takes; terrazzo is front-loaded on patience.
The sequencing checklist that keeps all of it honest:
- Overhead work complete; painters primed only.
- Slab cured 28 to 30 days, 3,500 psi, vapor barrier in place, no curing compound.
- Moisture tested and passed: 75 percent RH or 3 pounds MVER; mitigation if over.
- Flat within 1/4 inch in 10 feet, non-cumulative; high spots ground, low spots filled with approved fill.
- Surface opened to CSP 3 to 5; bond inhibitors removed.
- Divider strips over every saw cut and control joint; decorative strips separate.
- Mockup approved; one color per day, 18 to 24 hour cure per section.
- Grind, grout, polish, clean, seal in order, with the cure windows between.
- Protection down at turnover; tile, carpet, and cabinetry after; warranty date in writing.
Every number on that list is a checkpoint you can ask a contractor to show you. A terrazzo floor is a decades floor when the substrate passes; every shortcut below the surface shows up on top of it.