An unlevel base causes gaps, cracks, and squeaks in every finished floor. Leveling takes one weekend with the right tools. The answer is: measure first.
Two methods dominate: self-leveling underlayment for concrete and wood bases with minor deviations, and plywood overlay or shimming for wood bases with major deviations. The choice depends on the base material, the severity of the deviation, and the finished flooring type. See subfloor preparation for flooring and how to inspect a subfloor for context.
What Leveling Actually Means
Leveling and flattening are not the same thing. Level means the surface is horizontal (no slope). Flat means the surface has no high spots or low spots (no deviation from a straightedge). A floor can be flat but not level (sloped). A floor can be level but not flat (wavy).
Most finished flooring needs flat, not level. Tile needs flat within 1/8 inch over 10 feet. Hardwood needs flat within 3/16 inch. LVP needs flat within 3/16 inch. None of them require the floor to be perfectly horizontal. A slight slope (1/4 inch over 10 feet) is acceptable for most installations.
The exception is floating floors over large areas. A slope greater than 1/4 inch over 10 feet can cause the floor to shift or the joints to separate. For floating installations, level and flat both matter.
Self-leveling underlayment does not make a floor level. It makes it flat. If the room has a 2 inch slope from one end to the other, SLU will follow that slope. It fills low spots but does not correct the overall slope. For true leveling (horizontal), you need a screed or a self-leveling compound with a leveling compound that can be feathered to zero.
Measuring the Deviation
Before leveling, measure the deviation. Two tools are used: a 10 foot straightedge and a laser level.
Straightedge method: lay a 10 foot straightedge on the subfloor in multiple directions. IRC R503.2 governs subfloor panel installation. Concrete slabs are typically 3000 to 4000 psi for residential floors.
ACI 302 and TCNA specify flatness requirements for tile substrates. NWFA specifies flatness for hardwood. ASTM F710 covers concrete floor preparation. Mark high spots (where the straightedge rocks) and low spots (where light shows under the straightedge). Measure the gap with a shim or feeler gauge. Gaps over 1/8 inch for tile or 3/16 inch for hardwood need correction.
Laser level method: set up a rotary laser on a tripod. Mark the laser line on the walls at several points. Measure the distance from the floor to the laser line at multiple points. The difference between the highest and lowest points is the deviation. This method is faster for large areas and gives a numerical result.
Both methods work. The straightedge is cheaper and more portable. The laser is faster and more precise for large areas. Use both for a complete assessment.
Document the results. Draw a map of the room and mark the high and low spots with their measurements. This map guides the leveling process and helps you calculate material quantities. A 200 square foot room with 1/4 inch deviations needs about 3 bags of SLU at $30 per bag.
Method 1: Self-Leveling Underlayment
Self-leveling underlayment (SLU) is a cementitious or gypsum-based compound that flows across the subfloor and levels itself under gravity. It is the fastest method for minor to moderate deviations (up to 1 inch).
Cementitious SLU: works over concrete and wood. Moisture-tolerant. Can be poured from 1/8 inch to 1 inch thick. Requires a primer on the subfloor. Cost: $2 to $4 per square foot for materials.
Gypsum-based SLU: works over concrete only. Not moisture-tolerant. Cheaper than cementitious. Can be poured from 1/8 inch to 1 1/2 inches. Cost: $1.50 to $3 per square foot for materials.
Picture a kitchen remodel in Phoenix: the tile installer finds a 3/8 inch dip over 4 feet near the sink. Self-leveling compound fixes it in one pour. Without leveling, the tile would have lippage and cracked grout within months.
Application: clean the subfloor, apply primer, pour the SLU, and spread with a gauge rake. The compound self-levels in 10 to 20 minutes. Walk on it after 2 to 4 hours. Install flooring after 24 to 48 hours.
Limitations: SLU does not fix structural issues. If the subfloor is flexing or the joists are undersized, SLU will crack. Fix the structure first, then level.
SLU also requires a clean, dust-free surface. Vacuum the subfloor thoroughly before priming. Dust prevents primer adhesion, and primer prevents SLU delamination. The chain is only as strong as its weakest link.
Method 2: Plywood Overlay
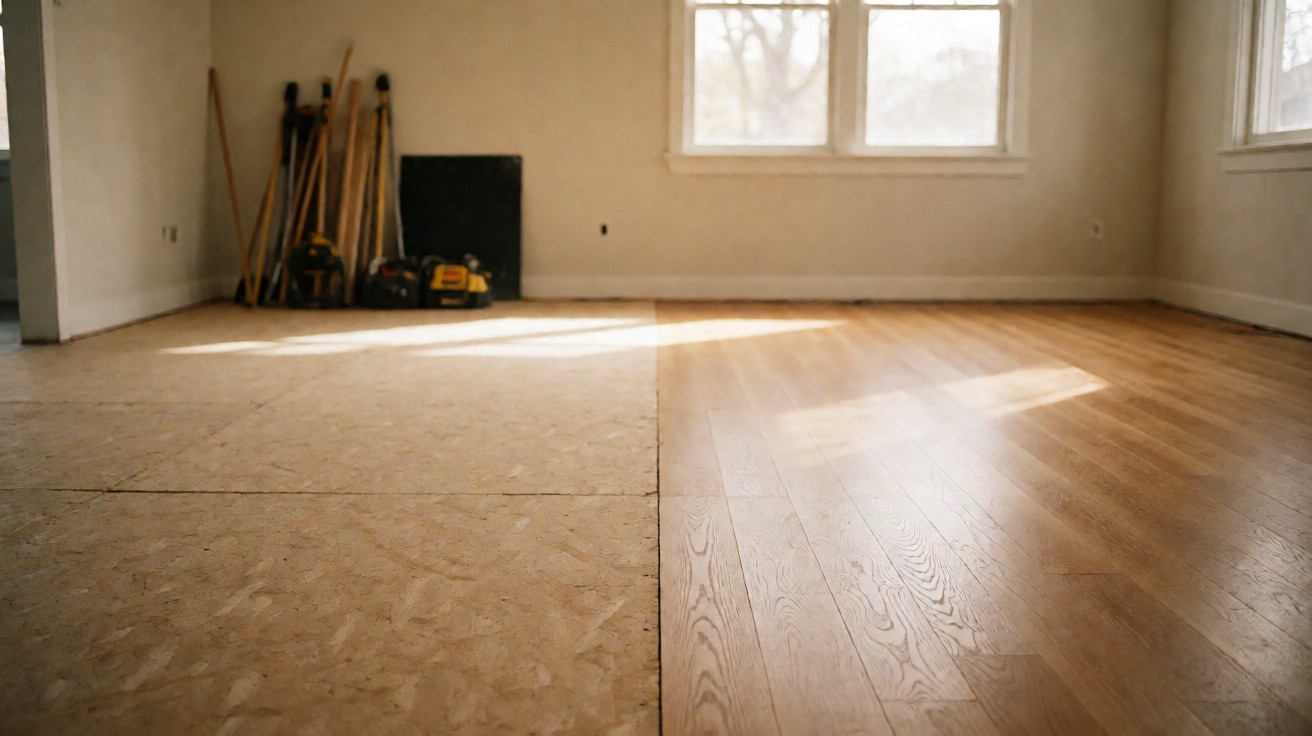
Plywood overlay is the method for wood subfloors with major deviations or for adding thickness to meet tile requirements. A new layer of plywood is screwed over the existing subfloor.
Plywood thickness: 1/2 inch minimum for tile (to reach 1 1/8 inches total). 3/8 inch for hardwood if the existing subfloor is already 3/4 inch. Use exterior-grade plywood (CDX) or underlayment-grade plywood.
Installation: snap chalk lines on the existing subfloor. Lay the plywood perpendicular to the joists. Stagger the joints. Screw every 6 inches along the edges and every 8 inches in the field. Use 1 1/4 inch to 1 5/8 inch screws.
Shimming: for localized low spots, place shims under the plywood before screwing. Use cedar shims or composite shims. Do not use cardboard or wood scraps; they compress over time.
Cost: $2 to $4 per square foot for materials and labor. DIY installation reduces labor cost by 50 percent.
Plywood overlay also improves sound transmission. A second layer of plywood reduces floor squeaks and improves the IIC (Impact Insulation Class) rating. This matters in multi-family buildings where sound transmission between units is a code requirement.
Method 3: Spot Leveling with Compound
For small deviations (under 1/4 inch), spot leveling with floor patching compound is the fastest method. This works over both concrete and wood.
Application: clean the area, apply a bonding primer, and trowel the compound into the low spot. Feather the edges to blend with the surrounding surface. Let it dry (1 to 4 hours depending on depth). Sand if needed.
Cost: $1 to $2 per square foot for materials. A 10 pound bag of patching compound costs $15 to $25 and covers about 20 square feet at 1/4 inch depth.
Spot leveling is the fastest method. A small area can be leveled in 1 to 2 hours. The compound dries in 1 to 4 hours. Flooring can be installed the same day. This makes it ideal for last-minute corrections before installation.
Cost and Time Comparison
Leveling costs vary by method, severity, and subfloor material.
| Method | Severity | Material Cost per Sq Ft | Labor Cost per Sq Ft | Total per Sq Ft | Time |
|---|---|---|---|---|---|
| Spot leveling (compound) | Under 1/4 in | $1 to $2 | $1 to $2 | $2 to $4 | 1 day |
| Self-leveling (cementitious) | Up to 1 in | $2 to $4 | $2 to $3 | $4 to $7 | 2 days |
| Self-leveling (gypsum) | Up to 1.5 in | $1.50 to $3 | $2 to $3 | $3.50 to $6 | 2 days |
| Plywood overlay | Any (structural) | $2 to $4 | $2 to $4 | $4 to $8 | 1 to 2 days |
| Shimming + overlay | Major deviations | $3 to $5 | $3 to $5 | $6 to $10 | 2 to 3 days |
These ranges cover materials and professional labor in the US market as of 2026. DIY installation reduces labor cost by 40 to 60 percent but increases risk if the leveling is not done correctly.
Flatness Requirements by Flooring Type
Different finished floors have different flatness tolerances. Leveling to the wrong spec wastes time and money.
| Flooring Type | Max Deviation (10 ft) | Max Deviation (2 ft) | Leveling Method |
|---|---|---|---|
| Ceramic tile | 1/8 in | 1/16 in | SLU or spot leveling |
| Natural stone | 1/8 in | 1/16 in | SLU (stricter) |
| Large-format tile | 1/16 in | 1/32 in | SLU + grinding |
| Solid hardwood | 3/16 in | 1/8 in | Spot leveling or overlay |
| Engineered hardwood | 1/8 in | 1/16 in | SLU or spot leveling |
| LVP / LVT | 3/16 in | 1/8 in | Spot leveling |
| Laminate | 3/16 in | 1/8 in | Spot leveling |
Common Mistakes
The most expensive leveling failures come from method selection errors, not application errors.
Mistake one: using SLU over a flexing subfloor. The compound cracks within weeks. The fix is to reinforce the subfloor (sister joists, add blocking) before leveling.
Mistake two: not priming before SLU. The compound does not bond to an unprimed surface. It delaminates and cracks. The fix is primer on every surface, every time.
Mistake three: pouring SLU too thick. Cementitious SLU is rated for 1 inch maximum. Pouring thicker causes cracking and extended cure time. The fix is to use a deep-pour formula for depths over 1 inch.
Mistake four: not accounting for door heights. Leveling raises the floor. Doors may not clear the new height. The fix is to measure door clearance before leveling and plan for door trimming or threshold adjustment.
Mistake five: skipping the flatness check after leveling. SLU can leave high spots or ridges. Check with a straightedge after curing and grind or patch as needed.
Mistake six: not allowing enough cure time. SLU needs 24 to 48 hours before flooring. Patching compound needs 1 to 4 hours. Rushing the cure causes the leveling material to compress under the finished floor, creating new low spots.
Quick Reference
Before leveling, verify these points.
- Measure the deviation with a 10 foot straightedge or laser level.
- Identify the cause: structural (joist deflection) or surface (uneven concrete or plywood).
- Fix structural issues before leveling.
- Choose the method: spot leveling (under 1/4 inch), SLU (up to 1 inch), plywood overlay (any, structural).
- Prime before SLU. Always.
- Check door clearance before starting.
- Verify flatness after curing with a straightedge.
- Allow 24 to 48 hours cure before installing flooring.
- For floating floors, check the manufacturer’s maximum slope tolerance. Most allow 1/4 inch over 10 feet.
- For glue-down floors, the subfloor must be both flat and clean. Adhesive does not bond to dust or loose particles.
When to Call a Professional
Most leveling is DIY-friendly. But some situations require professional help.
Call a professional when: the deviation exceeds 2 inches. When the subfloor is flexing or bouncing. When the subfloor is concrete and needs structural repair. When door heights need adjustment and you are not comfortable trimming doors.
A professional leveling job costs $4 to $10 per square foot. For a 200 square foot room, that is $800 to $2000. DIY saves 40 to 60 percent but increases risk if the leveling is not done correctly.
When to Call a Professional
Most leveling is DIY-friendly. But some situations require professional help.
Call a professional when: the deviation exceeds 2 inches. When the base is flexing or bouncing. When the base is concrete and needs structural repair. When door heights need adjustment and you are not comfortable trimming doors.
A professional leveling job costs $4 to $10 per square foot. For a 200 square foot room, that is $800 to $2000. DIY saves 40 to 60 percent but increases risk if the leveling is not done correctly.
Key Takeaways
- Level (horizontal) and flat (no high/low spots) are different. Most flooring needs flat, not level.
- Measure deviation with a 10 foot straightedge or laser level before choosing a method.
- SLU handles up to 1 inch. Plywood overlay handles any depth and adds structural stiffness.
- Prime before SLU. Skipping primer causes delamination.
- Fix structural issues (joist deflection) before leveling. SLU cracks over flexing subfloors.
- Check door clearance before leveling. Raised floors may not clear existing doors.