
Hardwood flooring is the most moisture-sensitive finished floor you can install. Solid hardwood expands and contracts with humidity changes. That move
Unlike tile, which cracks when the base shifts, wood flooring moves with the layer beneath it. The answer is: test moisture and flatness first. That means the layer must be stable, dry, and flat before the first plank goes down.
See subfloor preparation for flooring for the full prep sequence. The NWFA Installation Guidelines and the manufacturer’s instructions are the governing documents, and both are stricter than most homeowners expect.
The Problem Solid Hardwood Creates
Solid hardwood is a living material. It absorbs moisture from the air and the subfloor, then releases it as humidity drops. A 3/4 inch solid oak plank can change width by 1/8 inch across a 5 inch face between winter and summer. That movement is normal and expected. What is not expected is the subfloor moving too.
When the subfloor moves independently of the hardwood, the fasteners loosen, the planks separate, and the floor squeaks. When the subfloor is wet, the hardwood absorbs moisture from below and cups upward. When the subfloor is out of flat, the hardwood bridges low spots and gaps open between planks.
Engineered hardwood is more stable because the cross-ply construction resists movement. But it still needs the same flatness and moisture limits as solid hardwood. The difference is that engineered can go over concrete and radiant heat, where solid hardwood usually cannot.
What Hardwood Is Made Of (and Why It Matters)
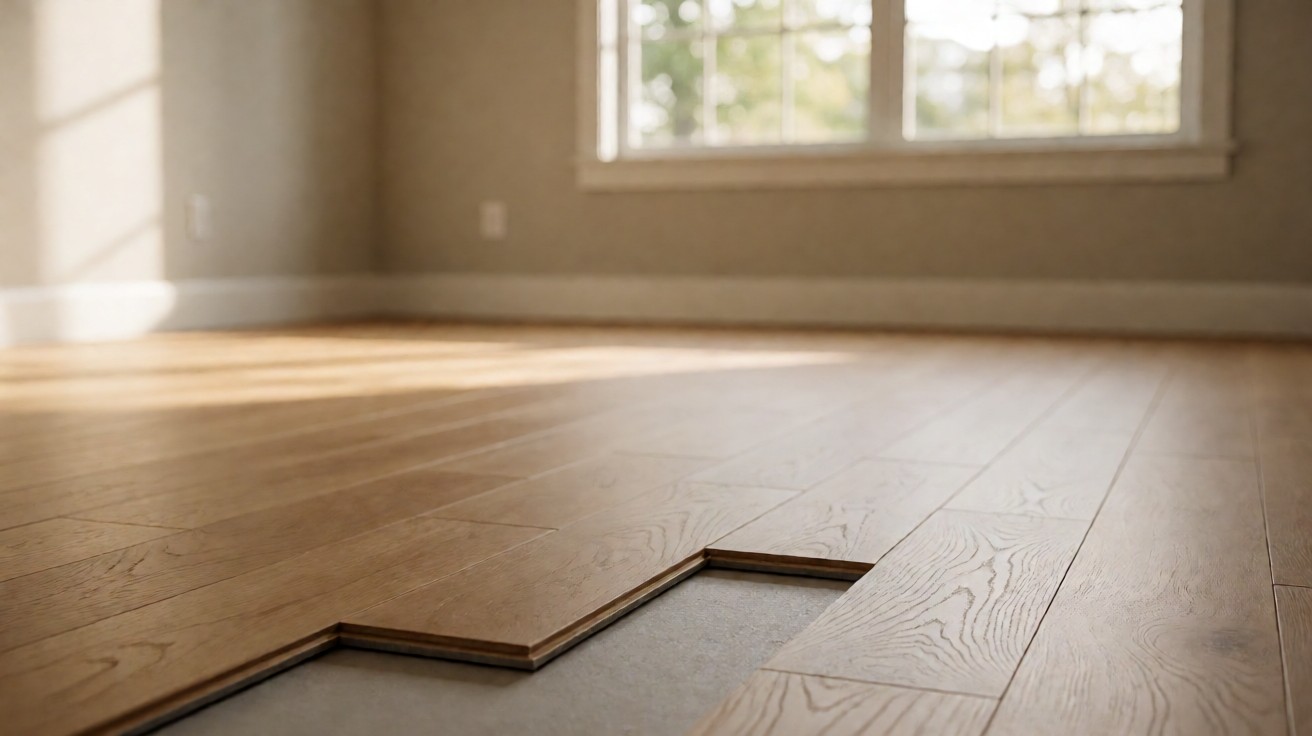
Solid hardwood is a single piece of wood, typically 3/4 inch thick, milled with tongue-and-groove edges. The grain runs along the length of the plank. It is nailed or stapled to a wood subfloor, or glued to concrete with a moisture barrier.
The species matters for hardness (Janka rating) and stability. Oak (red and white) is the most common US hardwood, with a Janka rating of 1290 and 1360 respectively. Maple is harder (1450) but less stable. Hickory is the hardest common species (1820) and the most dimensionally stable. Softer species like walnut (1010) and cherry (995) dent more easily but are easier to work with.
Moisture content is the critical property. NWFA requires hardwood to be within 4 percent of the subfloor moisture content before installation. Solid hardwood is typically delivered at 6 to 9 percent moisture. The subfloor must be at 8 to 12 percent for wood, or below 75 percent RH for concrete.
Where Hardwood Fails (and Why)
Hardwood fails in three ways, and all three trace back to the subfloor.
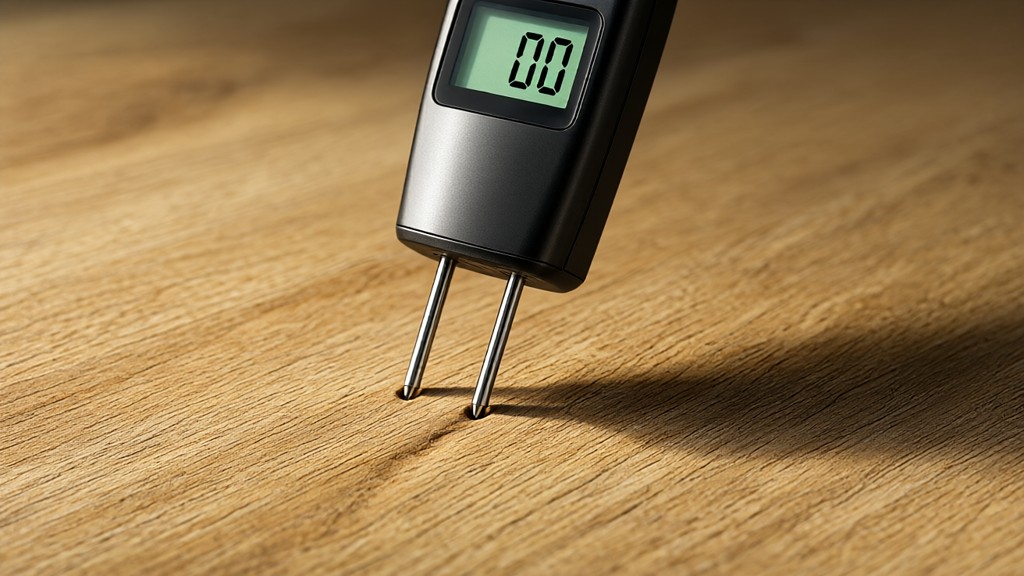
Picture a living room in Seattle in November: the solid oak is delivered, acclimated for two days instead of seven, and installed over a subfloor at 14 percent MC. By January, the planks have cupped enough to catch a sock. The subfloor was wet and the acclimation was short. Both are preventable.
Moisture failure: the hardwood absorbs moisture from a wet subfloor and cups. The edges rise above the center. The floor feels wavy and the finish cracks. This is the most common hardwood failure, and it is entirely preventable with moisture testing before installation.
Flatness failure: the hardwood bridges low spots in the subfloor, creating gaps between planks. The gaps collect dirt and the finish wears unevenly. Over time, the unsupported planks crack under point load. This is the second most common failure.
Movement failure: the subfloor flexes under foot traffic, loosening the fasteners. The planks shift and squeak. This is the third most common failure, and it is caused by insufficient subfloor thickness or joist deflection.
Testing and Measurement
Four tests determine whether a subfloor is ready for hardwood.
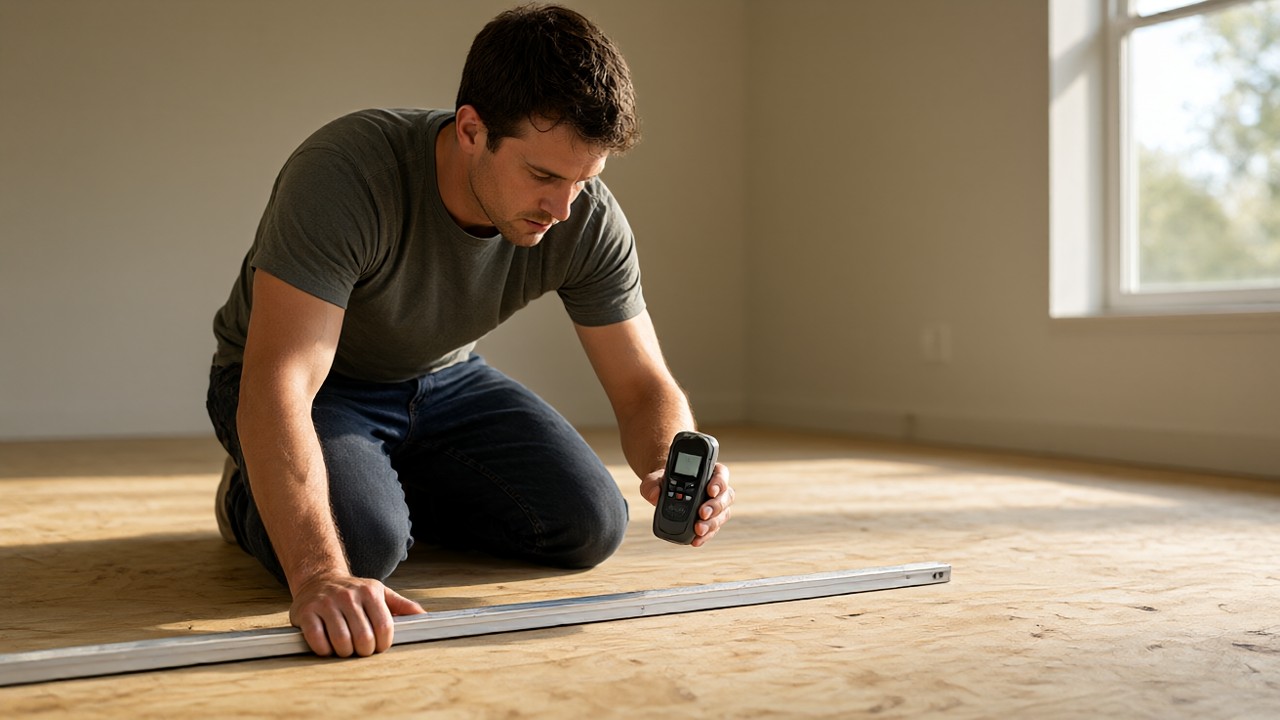
Moisture test: use a pin or pinless moisture meter on wood subfloors. Take 20 or more readings per room. The subfloor must be below 12 percent and within 4 percent of the hardwood moisture content.
For concrete, use ASTM F2170 (in-situ RH) or ASTM F1869 (calcium chloride). Most hardwood adhesives tolerate up to 75 percent RH or 3 lbs per 1000 square feet per 24 hours.
Flatness test: check with a 10 foot straightedge. See how to check subfloor flatness for the full procedure. The maximum deviation is 3/16 inch over 10 feet for solid hardwood. For engineered hardwood, the limit is 1/8 inch over 10 feet. Sand high spots and fill low spots with floor leveling compound before installation.
Deflection test: check the joist span against L/360. Most residential floors built to code pass for hardwood. But wide spans (over 14 feet) with 2×8 or 2×10 joists at 16 inch on center may flex too much. Sistering joists or adding blocking reduces deflection.
Fastener hold test: drive a nail into the subfloor at several points. If the nail pulls out easily or the wood feels soft, the subfloor is deteriorated and needs replacement.
Installation Sequence
Hardwood installation follows a specific sequence that protects the subfloor and the finished floor.
Step one: acclimate the hardwood. Stack the planks in the room where they will be installed. Let them sit for 3 to 7 days with HVAC running at normal living conditions. This brings the wood to the room’s equilibrium moisture content.
Step two: prepare the subfloor. Clean, dry, flat, and free of debris. Remove old flooring and adhesive. Sand high spots, fill low spots. Check moisture one final time before starting.
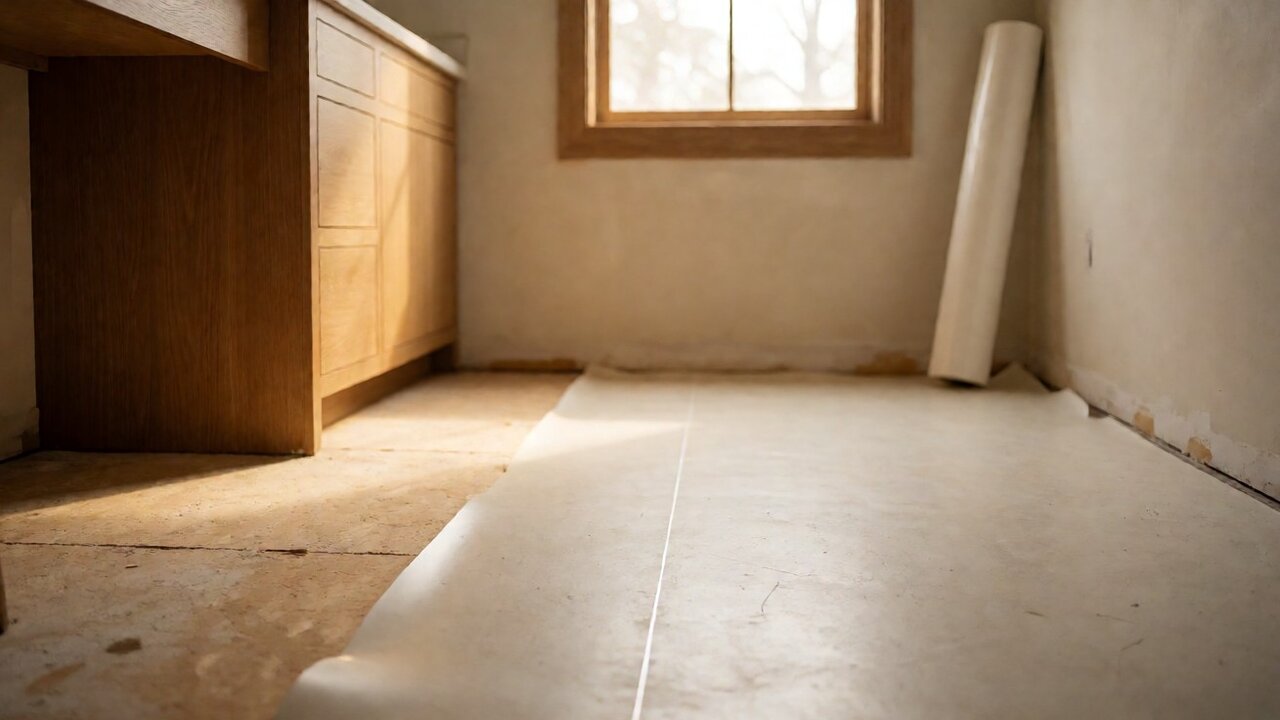
Step three: install the vapor barrier. Over wood subfloors, use 15 lb felt paper or rosin paper. Over concrete, use a moisture barrier system (epoxy or polyurethane) followed by a plywood subfloor or sleepers.
Step four: lay the first row. Start along the longest straight wall. Use a chalk line for reference. Leave 3/4 inch expansion gap at all walls and fixed objects.
Step five: nail or staple. Use a pneumatic floor nailer with 1 1/2 inch to 2 inch cleats or staples. Fasten every 8 to 10 inches along the length and within 2 inches of each end.
Step six: finish. Sand, stain, and apply finish (polyurethane, oil, or wax). Allow 24 to 48 hours before foot traffic.
For concrete installations, the sequence changes. The concrete must be tested and mitigated first. Then a moisture barrier is applied. Then a plywood subfloor (minimum 3/4 inch) is glued and screwed to the concrete. Then the hardwood is nailed to the plywood. This adds $5 to $12 per square foot and 1 to 2 weeks to the timeline.
Cost and Time
Hardwood subfloor preparation costs vary by starting condition and required work.
| Scenario | Material Cost per Sq Ft | Labor Cost per Sq Ft | Total per Sq Ft |
|---|---|---|---|
| Wood subfloor, flat and dry, no prep | $0 | $0 | $0 |
| Wood subfloor, needs leveling compound | $2 to $4 | $2 to $3 | $4 to $7 |
| Wood subfloor, needs plywood overlay | $2 to $3 | $3 to $5 | $5 to $8 |
| Wood subfloor, needs joist reinforcement | $1 to $3 | $4 to $8 | $5 to $11 |
| Concrete subfloor, needs moisture barrier | $3 to $8 | $2 to $4 | $5 to $12 |
| Concrete subfloor, needs plywood subfloor | $3 to $5 | $4 to $6 | $7 to $11 |
These ranges cover materials and professional labor in the US market as of 2026. DIY installation reduces labor cost by 40 to 60 percent but increases risk if the substrate is not verified first.
Hardwood vs Engineered Hardwood Subfloor Requirements
Solid and engineered hardwood have different subfloor requirements. Understanding the difference prevents costly mistakes.
| Requirement | Solid Hardwood | Engineered Hardwood |
|---|---|---|
| Subfloor type | Wood only | Wood or concrete |
| Min subfloor thickness | 3/4 in | 3/4 in (wood) or slab (concrete) |
| Flatness tolerance | 3/16 in over 10 ft | 1/8 in over 10 ft |
| Moisture limit (wood) | Below 12% MC | Below 12% MC |
| Moisture limit (concrete) | Not applicable | Below 75% RH |
| Radiant heat | Not recommended | Allowed (with limits) |
| Acclimation | 3 to 7 days | 48 to 72 hours |
Common Mistakes
The most expensive hardwood failures come from subfloor shortcuts, not wood defects.
Mistake one: installing over a wet subfloor. The hardwood cups within weeks. The fix is testing moisture before installation and letting the subfloor dry. Never install hardwood over a subfloor above 12 percent MC or 75 percent RH.
Mistake two: skipping acclimation. The hardwood is delivered at 6 to 9 percent MC. The house may be at 10 to 12 percent. Without acclimation, the planks expand or contract after installation. The fix is 3 to 7 days of acclimation with HVAC running.
Mistake three: ignoring flatness. A 1/4 inch dip over 3 feet is invisible but creates a void under the plank. The plank flexes and squeaks. The fix is leveling compound before installation.
Mistake four: using the wrong fastener. Staples hold better in softwood subfloors. Cleats hold better in hardwood subfloors. Using staples in hardwood plywood can cause splitting. Using cleats in softwood can cause pull-through. Match the fastener to the subfloor material.
Mistake five: no expansion gap. Hardwood needs 3/4 inch at all walls and fixed objects. Without it, the floor buckles when humidity rises. The fix is proper spacing at installation.
Repair vs Replace
A damaged hardwood subfloor can sometimes be repaired instead of replaced.
Repair when: a single panel is delaminated or water-damaged, the joists are sound, and the damage is localized. Cut out the damaged panel, replace with matching thickness, and refasten. Cost: $200 to $500 per panel.
Replace when: multiple panels are damaged, the joists are compromised, or the subfloor is below minimum thickness. Full replacement means removing all finished flooring and subfloor, inspecting joists, and installing new panels. Cost: $3 to $8 per square foot for materials and labor.
The decision rule: if more than 30 percent of the subfloor is damaged, replace the whole thing. Patching more than 30 percent creates a patchwork that will fail at the seams.
Quick Reference Checklist
Before installing hardwood, verify each of these. A single fail stops the job.
- Moisture: wood subfloor below 12 percent and within 4 percent of hardwood MC. Concrete below 75 percent RH.
- Flatness: 3/16 inch over 10 feet for solid hardwood. 1/8 inch for engineered.
- Deflection: L/360 minimum. Check joist span and size.
- Thickness: 3/4 inch minimum subfloor over joists. Add plywood overlay if thinner.
- Acclimation: 3 to 7 days in the installation room with HVAC running.
- Vapor barrier: 15 lb felt or rosin paper over wood. Moisture barrier system over concrete.
- Fasteners: 1 1/2 to 2 inch cleats or staples, every 8 to 10 inches.
- Expansion gap: 3/4 inch at all walls and fixed objects.
Key Takeaways
- Solid hardwood needs a dry (below 12 percent MC), flat (3/16 inch over 10 feet), and stiff (L/360) subfloor.
- Moisture is the number one cause of hardwood failure. Test before installing.
- Acclimate hardwood 3 to 7 days before installation. Do not skip this step.
- Engineered hardwood is more stable but needs the same flatness and moisture limits.
- Over concrete, use a moisture barrier system and a plywood subfloor.
- Common failures: wet subfloor, skipped acclimation, ignored flatness, wrong fastener, no expansion gap.