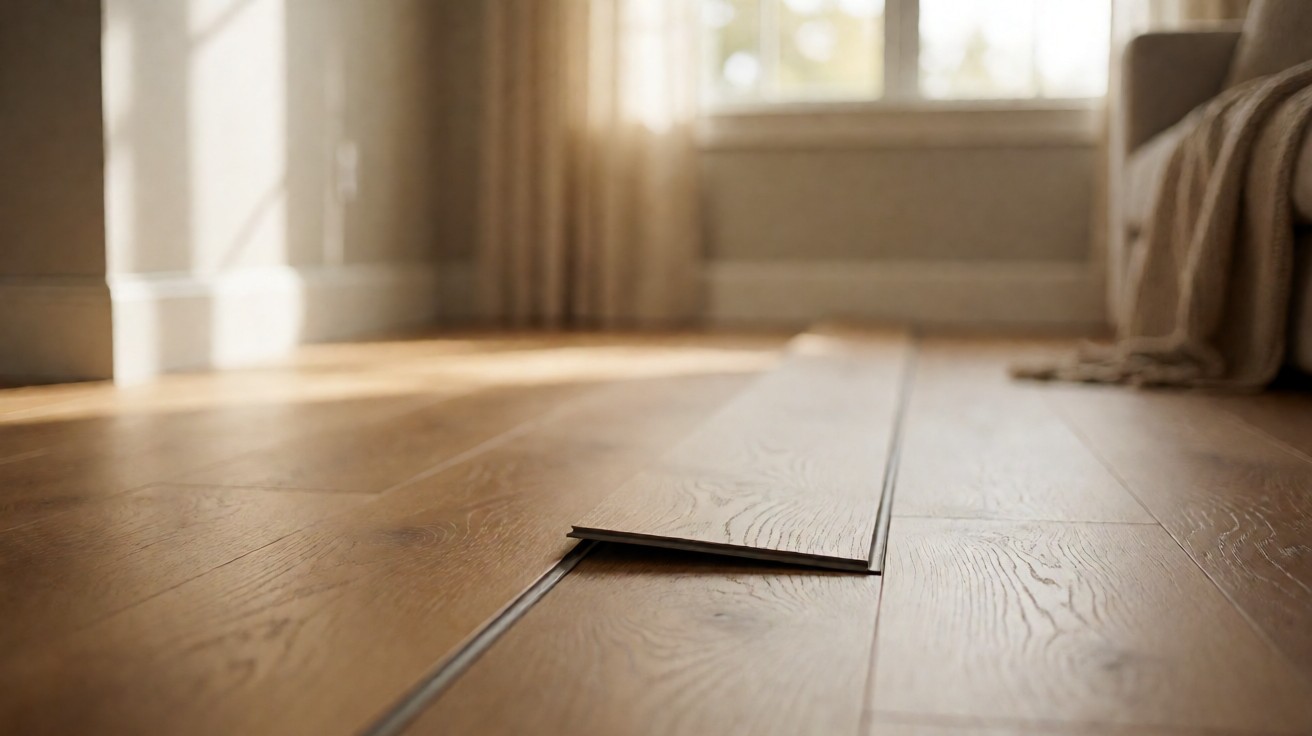
Lifting vinyl planks are one of the most common flooring complaints homeowners face, and the repair stays cheap when you catch the cause early.
The answer is to test for moisture first, then re-adhere or re-click the plank, because most lifts come from water or a bad subfloor rather than the plank itself.
Why Vinyl Planks Lift
Vinyl planks lift when the bond between plank and subfloor breaks or when the locking joint fails. Both failures trace back to a handful of root causes that repeat across homes and climates.
Moisture Under the Floor
Moisture is the leading cause of lifting vinyl. Water vapor rises from a concrete slab or a damp crawl space and breaks the adhesive bond on glue-down floors. On click-lock floors, moisture swells the core and pushes the joint upward.
Poor Subfloor Prep
An uneven or dirty subfloor prevents full contact. High spots rock the plank, low spots leave it unsupported, and dust or paint blocks adhesive. Even a 1/8 inch dip across six feet is enough to cause a visible lift over time.
Adhesive Failure
Glue-down vinyl depends on the adhesive staying tacky. Old adhesive can lose grip, or new adhesive can be applied too thin. Temperature swings make both problems worse because vinyl expands and contracts with heat.
Click-Lock Joint Failure
Click-lock planks rely on a tongue and groove that locks under pressure. A damaged tongue, a forced joint, or heavy point loads can release the lock. Once one joint fails, neighbors follow.
Expansion and Contraction
Vinyl moves with temperature. Without the recommended 1/4 inch perimeter gap, planks push against walls and buckle upward in the middle. This looks like lifting but is actually buckling from trapped movement.
Diagnosis Steps
Diagnosing the lift before repairing saves time and prevents a repeat failure. Work through these checks in order.
Step 1: Map the Lifted Area
Mark every lifted plank with painter’s tape. Note whether the lift is at a seam, in the middle of a plank, or along a wall. Seam lifts point to joint or moisture issues. Mid-plank lifts point to subfloor or adhesive issues.
Step 2: Moisture Test the Slab
Use the ASTM F2170 in-situ probe method on concrete. A relative humidity reading above 75 percent means the slab is too wet for most vinyl adhesives. For wood subfloors, use a pin meter and look for readings above 12 percent.
Step 3: Check Subfloor Flatness
Lay a six foot straightedge across the floor. Measure gaps with a feeler gauge. Any gap over 3/16 inch in ten feet needs leveling before reinstallation.
Step 4: Inspect the Adhesive
On glue-down floors, lift a corner and check the adhesive. If it is dry and powdery, it failed from moisture or age. If it is wet and sticky, water is present. If it is intact but the plank still lifts, the subfloor is the cause.
Step 5: Test the Locking Joint
On click-lock floors, remove one lifted plank and inspect the tongue and groove. Look for chips, compression, or debris. A clean joint that will not stay locked usually means the subfloor is uneven or the planks are out of square.
Repair Methods
Match the repair to the cause and the installation type. The table below compares the common methods.
| Method | Best For | Difficulty | Cost Range |
|---|---|---|---|
| Re-glue with pressure-sensitive adhesive | Glue-down planks with intact adhesive | Low | $10 to $30 per repair |
| Replace the plank | Damaged or delaminated planks | Medium | $25 to $80 per plank |
| Re-click and reseat | Click-lock joint failures | Medium | $0 to $20 per repair |
| Level subfloor and reinstall | Uneven or wet subfloors | High | $2 to $6 per sq ft |
Re-Gluing a Loose Plank
Clean the subfloor and the plank back. Apply a thin layer of pressure-sensitive vinyl adhesive. Press the plank into place and roll it with a 75 pound roller. Weight it for 24 hours before walking on it.
Replacing a Damaged Plank
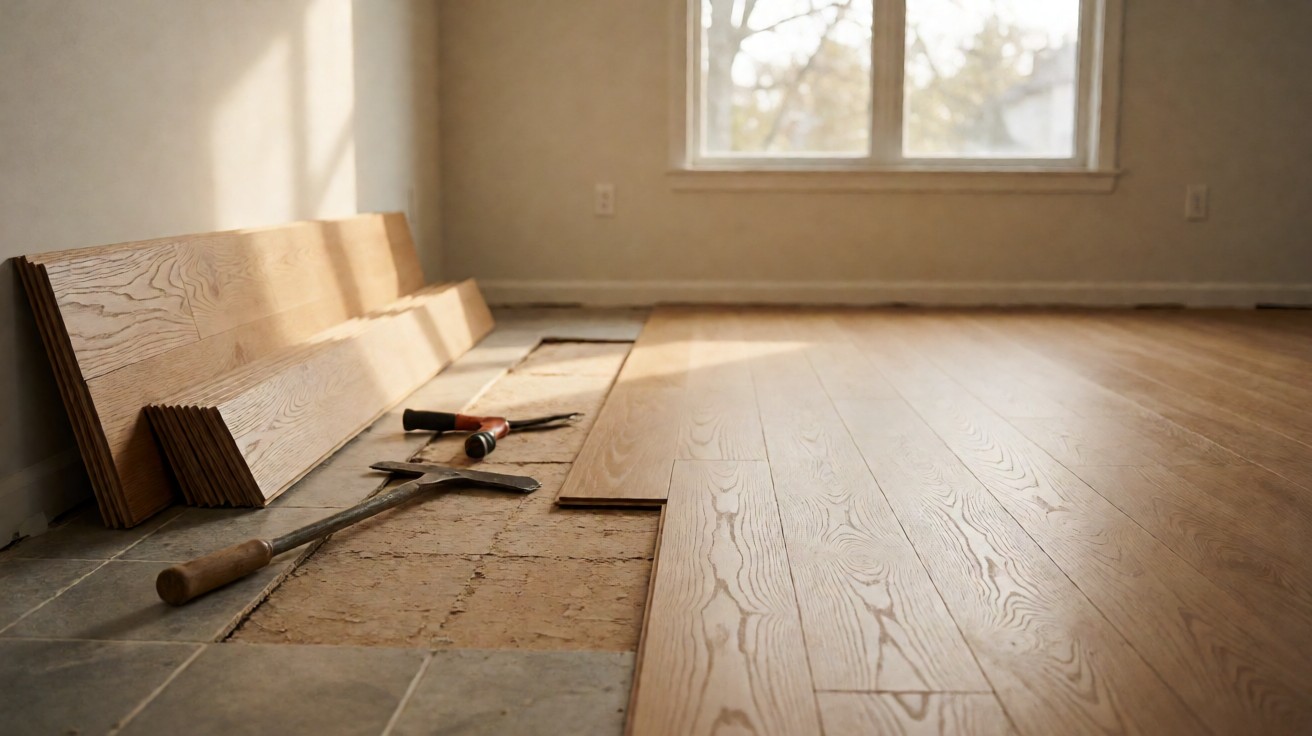
Score the damaged plank with a utility knife and remove it in pieces. Clean the cavity. Cut a replacement plank to fit, allowing for the expansion gap. Glue or click it into place depending on the installation type.
Reseating Click-Lock Planks
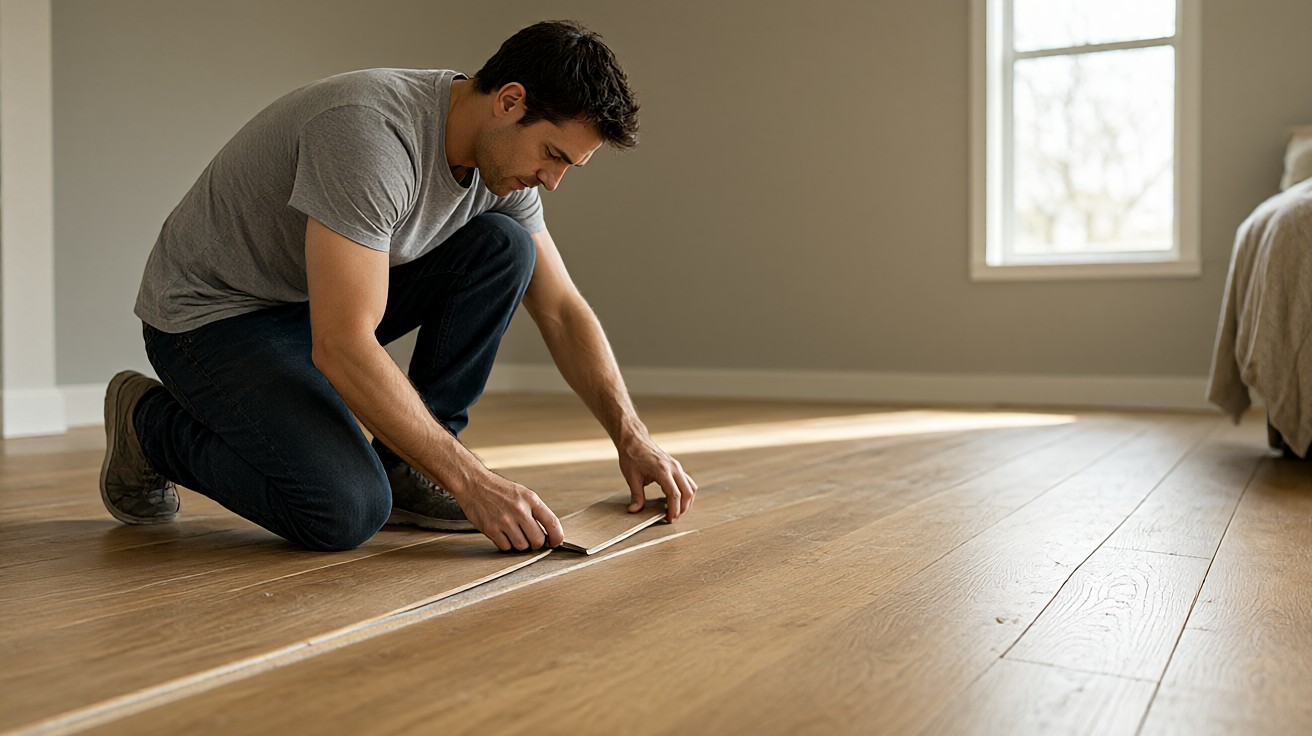
Lift the row back to the damaged joint. Inspect and clean the tongue. Re-click the planks by angling the tongue into the groove and pressing down until it snaps. Use a tapping block and mallet for stubborn joints.
Leveling the Subfloor
Grind high spots and fill low spots with a cement-based leveling compound. Follow the manufacturer’s cure time before reinstalling. A level subfloor is the single most important factor in preventing a repeat lift.
Prevention
Preventing lifts costs less than repairing them. These habits keep vinyl flat for its full service life. Consistent humidity and a flat base solve most cases before they start.
Control Moisture
Test concrete slabs before installation. Use a moisture barrier underlayment on wood subfloors. Fix plumbing leaks and grade soil away from the foundation. Keep indoor humidity between 35 and 55 percent.
Prepare the Subfloor
Follow the flatness standard of 3/16 inch in ten feet. Remove all debris, paint, and old adhesive. Prime porous subfloors before applying vinyl adhesive. A clean, flat base is the foundation of a flat floor.
Respect Expansion Gaps
Leave 1/4 inch at all walls, door frames, and fixed objects. Do not caulk the gap shut. Cover it with baseboard or quarter round that does not pin the plank.
Use the Right Adhesive
Match the adhesive to the subfloor and the vinyl type. Follow the open time and spread rate on the bucket. A trowel with the wrong notch size leaves too little or too much adhesive.
Comparison of Installation Types
Glue-down and click-lock vinyl handle moisture and movement differently. Choose the type that fits the room.
| Factor | Glue-Down Vinyl | Click-Lock Vinyl |
|---|---|---|
| Moisture resistance | Depends on adhesive and slab prep | Better on damp slabs with underlayment |
| Repair ease | Harder, requires re-gluing | Easier, planks can be re-clicked |
| Subfloor tolerance | Strict, needs very flat base | More forgiving of minor unevenness |
| Lifespan | 20 to 30 years | 15 to 25 years |
When Glue-Down Makes Sense
Glue-down vinyl suits commercial spaces and large open rooms where a permanent bond matters. It handles heavy rolling loads better and does not telegraph minor subfloor defects as long as the base is flat.
When Click-Lock Makes Sense
Click-lock vinyl suits residential rooms and DIY installs. It floats over the subfloor, so it tolerates minor movement and is easier to repair plank by plank. It also works over radiant heat systems when rated for it.
When to Replace Instead of Repair
Some lifts signal that the floor has reached the end of its useful life. Replace rather than repair when these conditions appear.
Widespread Lifting
If more than 20 percent of the floor is lifted, the subfloor or the installation method is fundamentally wrong. Patching individual planks will not hold. Remove the floor and address the base.
Delaminated or Swollen Planks
Water damage that has swollen the core or separated the wear layer cannot be repaired. The plank will never lie flat again. Replace the affected planks or the whole floor.
Repeated Failure After Repair
A lift that returns within 6 months of a proper repair points to an unresolved moisture or flatness problem. Stop patching and investigate the root cause before reinstalling.
Common Mistakes
Avoid these errors that turn a small lift into a full replacement.
Ignoring the Moisture Test
Re-gluing without testing moisture almost always fails again. The adhesive re-breaks within weeks. Always test first, even when the lift looks dry.
Using the Wrong Adhesive
Construction adhesive and wood glue do not bond vinyl to concrete. Use a pressure-sensitive vinyl adhesive rated for the subfloor. The wrong product leaves a mess and a failed repair.
Skipping the Expansion Gap
Cutting planks tight to the wall traps movement and causes buckling. The 1/4 inch gap is not optional. Cover it with trim, not caulk.
Forcing Damaged Joints
Hammering a chipped tongue into place damages the neighbor. Replace the plank instead of forcing it. A forced joint fails under load and spreads.
Working With Professional Help
Some repairs need a flooring contractor. Call one when the lift covers a large area, when moisture readings are high, or when the subfloor needs leveling. A pro can test, level, and reinstall in one visit.
What to Ask a Contractor
Ask for moisture test results in writing. Ask which adhesive and underlayment they will use. Ask whether they will level the subfloor or install over it. Get the warranty terms in writing.
Warranty Considerations
Most vinyl warranties require professional installation for the moisture and flatness provisions to apply. DIY repairs on a warranted floor can void coverage. Check the warranty before starting work.
NWFA guidelines set flatness and moisture expectations. ASTM F2170 defines the in-situ probe method. Manufacturer specs govern adhesive type, spread rate, and cure time. Follow all three for a repair that lasts.
Cost and Time Estimates
Small repairs cost little and take under an hour. Re-gluing one plank runs $10 to $30 in materials and 30 minutes of work. Replacing a plank costs $25 to $80 and takes one to two hours. Leveling a subfloor runs $2 to $6 per square foot and a full day. Budget extra time for adhesive cure, usually 24 hours before foot traffic. Labor and travel fees can add $100 to $300 when hiring a contractor, so get a written quote before scheduling. Keeping spare planks from the original install avoids color mismatch and shortens the repair.
For a full overview of vinyl construction and quality, see luxury vinyl tile explained and the vinyl flooring guide. Wear layer and core details are covered in wear layers, cores, and backing. Construction quality evaluation is at how to evaluate vinyl construction. Underlayment guidance is at underlayment for vinyl flooring.
Seasonal and Climate Considerations
Vinyl behaves differently across seasons. In winter, dry heated air shrinks planks and can open seams. In summer, humidity swells them and can cause buckling. Rooms with large south-facing windows see the biggest swings. Keep indoor humidity steady and use window coverings to reduce direct sun on the floor.
Basements and slab-on-grade homes need extra moisture control. Test the slab in both wet and dry seasons because readings vary by 10 to 20 percent. A floor that passes in winter may fail in summer. Plan the installation for the season with the higher reading.
Tools and Materials
Gather these items before starting a repair. Having them on hand prevents mid-job delays.
Basic Tool Kit
Utility knife, straightedge, tapping block, rubber mallet, 75 pound roller, and a moisture meter. These handle most click-lock and glue-down repairs.
Adhesives and Levelers
Pressure-sensitive vinyl adhesive, cement-based leveling compound, and primer for porous subfloors. Buy products rated for the specific vinyl and subfloor combination.
Safety Gear
Gloves, safety glasses, and a dust mask when grinding or leveling. Vinyl dust and adhesive fumes irritate skin and lungs. Ventilate the room during work.