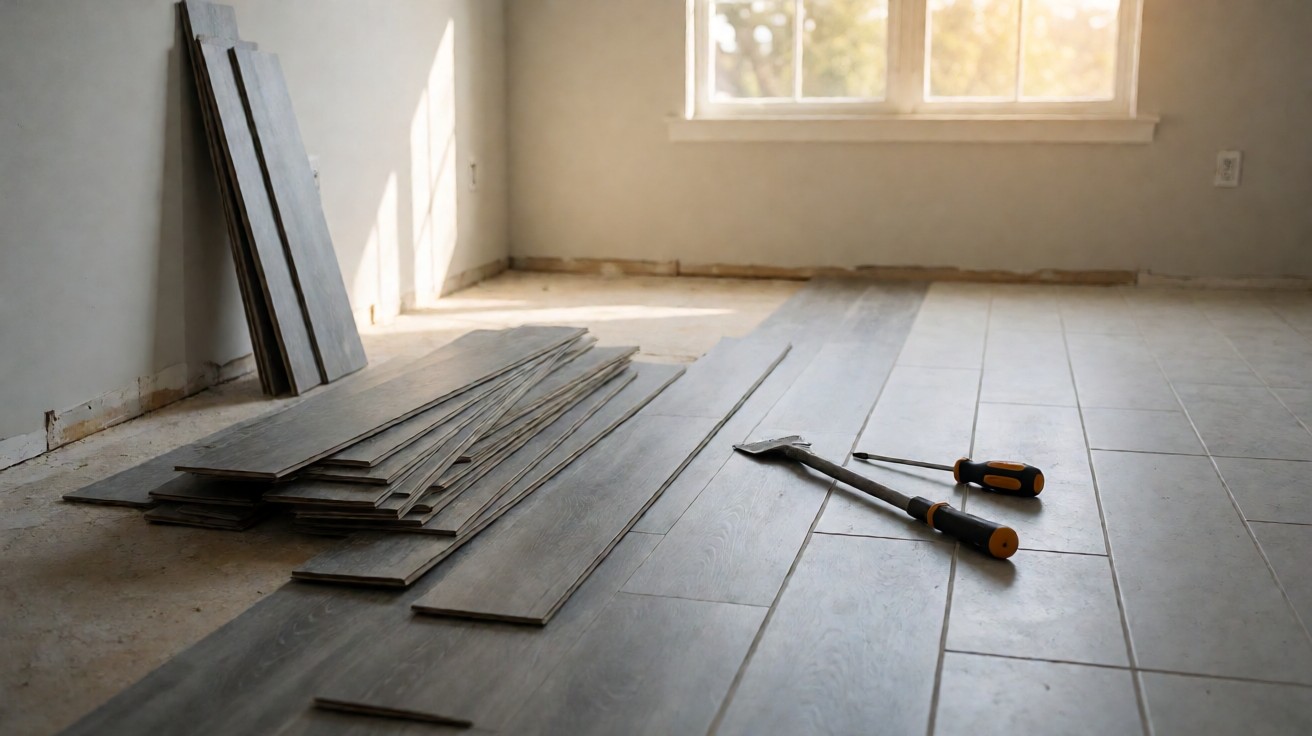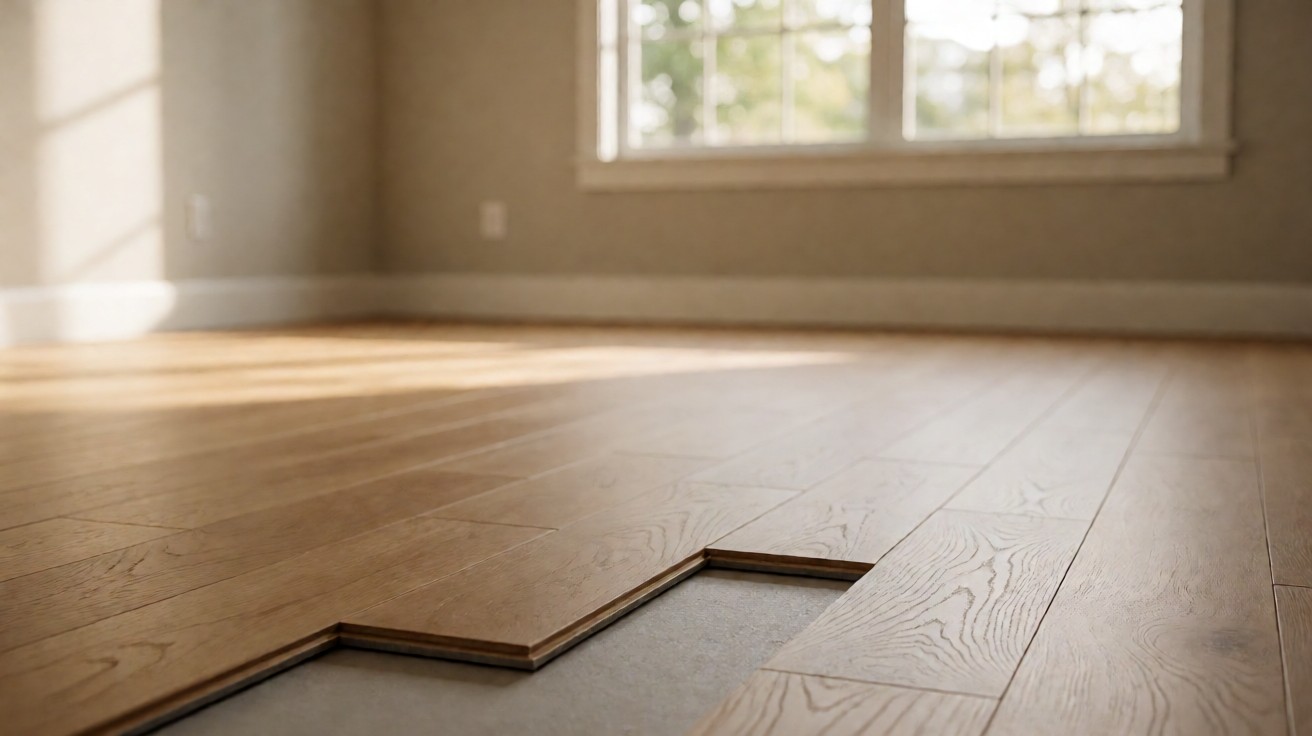

You have the planks stacked in the hallway, a subfloor you are not sure about, and every box says the floor floats, so nothing here goes down with glue.
A floating floor is the right answer for a laminate or vinyl room you may want to take up again: the planks lock to each other, the floor rides on its underlay, and the whole surface moves as one unit.
What a Floating Floor Actually Is
A floating floor is a floor whose planks interlock along a tongue-and-groove or click-lock edge and are never glued or nailed to the subfloor beneath them. The planks hold each other; nothing holds the floor to the room.
That edge is the entire fastening system. The floor rests on an underlay that lies loose on the subfloor, so the assembly is not fixed to the building at any point.
When you walk on it, the surface flexes slightly and the whole floor moves together. The planks do not move independently, because each one is locked to its neighbours on every side.
Two things keep the floor in place: its own weight, and the open gap left at every wall. If one of those is taken away, the floor has nothing keeping it put.
What It Is Not: Glue-Down and Nail-Down
A glue-down floor is bonded straight to the slab. The adhesive is spread in ridges, the planks are pressed into it, and the floor becomes part of the substrate rather than a separate layer sitting on it.
A nail-down floor is mechanically fastened. Each plank is driven through the tongue with a flooring nailer, so every board is tied to the subfloor and cannot slide.
Neither of those is a floating floor, and the difference is not cosmetic. A floating floor is one connected unit that moves as a whole; a glued or nailed floor is fixed to the structure.
Do not mix the systems in the same room. A flooring contractor case study describes a floor that failed where a floating floor was laid over an area already bonded with adhesive: the two systems moved differently and the joint came apart.
| System | How it is fastened | What sits under the planks | What keeps it in place |
|---|---|---|---|
| Floating | Interlocking edge only | Underlay, laid loose | Its own weight and the perimeter gap |
| Glue-down | Adhesive bonded to the slab | Nothing on the slab side | The bond to the substrate |
| Nail-down | Cleats driven through the tongue | Felt or underlay where specified | The fasteners in the subfloor |
If you are unsure which system your room needs, the practical question is whether the floor has to be fixed to the structure or allowed to move.
A floating floor is the system to choose where movement has to be absorbed at the perimeter.
The Interlocking Edge Is the Fastening System
The click-lock or tongue-and-groove edge replaces both the glue and the nails. When the joint closes, the tongue seats into the groove and the boards are locked side to side and end to end.
That lock is also why the floor behaves as one piece. A board in the middle of the room is held by its neighbours on all four sides, so the load you put on one plank is shared across the rows beside it.
If a joint opens under load, the floor loses the continuity that makes it rigid. A single failed lock in the middle of a room can show up as a ridge or a soft spot metres away.
The fix is to take up the affected rows and re-lay them, not to glue the joint back down. A floating floor that is glued at one joint is no longer a floating floor.
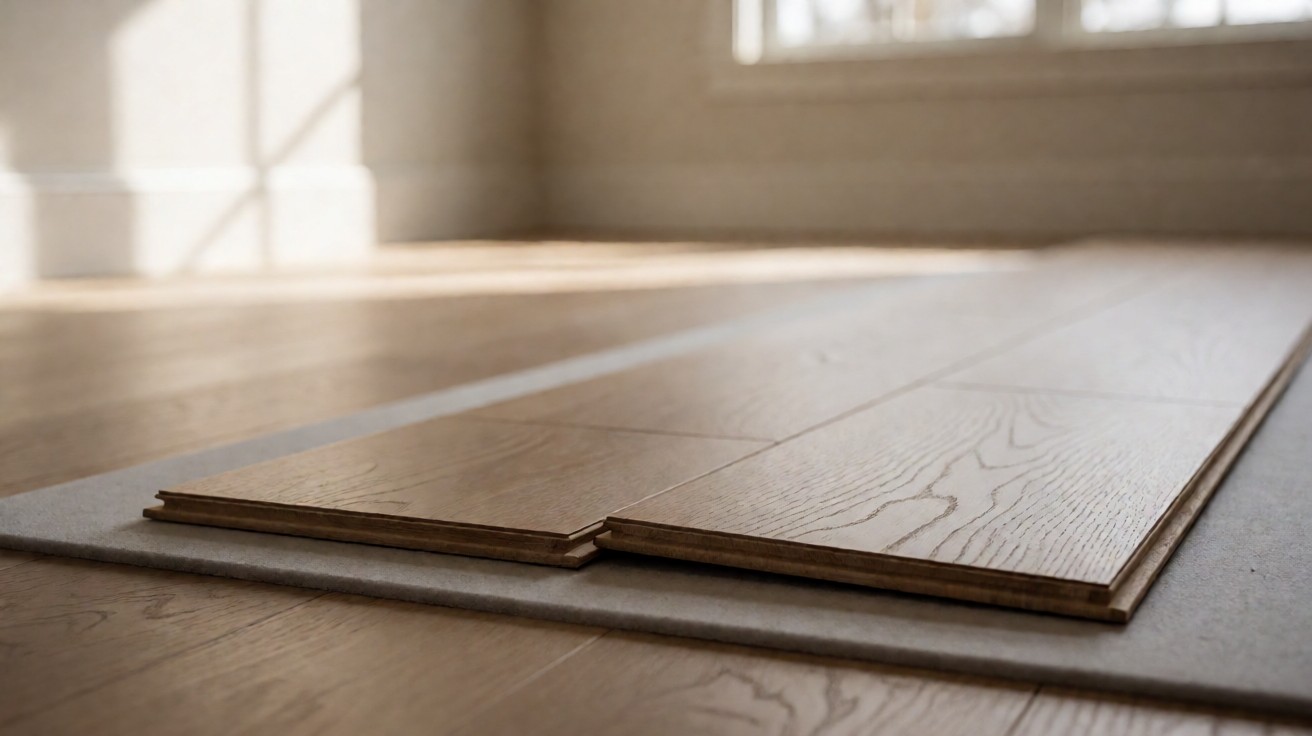
Read the joint before you lay it. If the tongue and groove do not close cleanly with hand pressure, the board is damaged or the profile is dirty, and forcing it will break the lock.
Why the Whole Floor Is Laid as One Unit
Because nothing ties the floor down, the entire surface expands and contracts together. Heat and humidity change the size of every board at the same time, and the perimeter gap absorbs that movement.
That is why a floating floor has to be laid as one connected unit rather than row by row in isolation. A row laid alone has no neighbours to hold it, so it can shift before the next row locks onto it.
The movement shows up most where the floor changes direction or runs into another room. There the movement pattern changes, and the joint between the two runs has to be designed for it.
It is also why a floating floor can go over an existing floor. If the existing floor is sound, flat and clean, the new floor rides on it as one unit rather than being fixed to it.
The same logic is what makes a floating floor removable. When the floor is not bonded and not fastened, taking it up later means unclipping the joints, not cutting the floor out of the room.
The Underlay Is Part of the System
The underlay is not a pad added for comfort. It is a working part of the assembly: it evens out minor irregularities, takes load off the joints, and separates the planks from the subfloor beneath them.
Foam or felt underlay goes down first, laid loose with the seams taped where the manufacturer calls for it. The underlay is not fastened to the subfloor, and it should not be glued.
Underlayment selection is its own decision, and it depends on the room, the slab, and the product. Read how to choose the right underlayment for a floating floor before you buy the roll.
If the underlay is too thin, the floor will telegraph every irregularity in the subfloor and the joints will take the load. If it is too thick, the floor can feel springy and the click-lock joints work loose.
Where the underlay meets a door frame or a transition, it has to be cut back so it does not lift the floor. A proud underlay edge is a common cause of a visible ridge at a doorway.
The Vapor Retarder Over a Concrete Slab
A floating floor over concrete needs a vapor retarder under the underlay, not instead of it. Concrete gives off moisture continuously, and that moisture has to be stopped before it reaches the planks.
Test the slab before you cover it. ASTM F1869, the anhydrous calcium chloride test, runs for 72 hours, and the moisture vapor emission rate must be 3 pounds per 1,000 sq ft per 24 hours or less.
ASTM F2170 measures relative humidity in situ with a probe driven into the slab. The limit commonly applied for wood flooring is 75 percent, and it applies to a floating floor exactly as it does to a glued one.
If the slab is above either limit, the vapor retarder stops being a formality and becomes the last line of defence. That is when the thickness and the permeance of the retarder matter most.
ASTM F710 governs how the slab is prepared before any floor goes down.
The concrete must be structurally sound, dry, clean and dust-free, and cleaned by mechanical means only: scraping, brushing and vacuuming, with no chemical strippers or adhesive removers.
The Perimeter Expansion Gap
The gap at the wall is not optional trim, and it is not cosmetic.
A floating floor moves as a unit, and it needs open space at every wall to move into when the room heats up or the humidity rises.
If the gap is closed off, the floor has nowhere to go. It pushes against the wall, then against itself, and the joints open or the surface buckles in the middle of the room.
The gap is set with spacers before the first row goes down, and it is left in place until the floor is finished. Removing the spacers early is the most common way to lose the gap.
Where the gap runs, how wide it is, and what covers it are covered in the expansion gap article. Read how expansion gaps work before you set the spacers, because the width is set by the product and the room.
Flatness and Acclimation Still Apply
Flatness matters as much for a floating floor as for a glued one. A low spot under a floating floor is not filled by adhesive; it becomes a pivot point that works the click-lock joint every time someone walks past.
Most floating-floor manufacturers write their tolerance as a gap under a straightedge, and 3/16 inch in 10 feet is the figure most of them use. If the reading comes in above that, the fix is a levelling compound, not a thicker underlay.
Where a specification names an F-number instead, ASTM E1155 is the test method that produces it. It is a test method rather than a pass or fail value, so the number has to be read against the product specification.
The straightedge method that produces the flatness number is on the flatness page. Check the subfloor for flatness with the straightedge before you unroll anything, and record the worst spot rather than the average.
Acclimation applies to wood products, and it happens before the floor is locked together. If the planks are laid at the wrong moisture content, the movement happens after install instead of before it.
For a laminate or vinyl floor the concern is less acute, but the product still has to be at room temperature. If the planks are cold and stiff, the joints are harder to close and easier to damage.
The Install Sequence
Lay the underlay first, seams taped where the product calls for it. Then set the spacers at the wall to hold the expansion gap open before the first row goes down.
Lay the first row with the groove side facing the wall, and lock each board into the one before it. Work the joint by hand or with a tapping block, and never drive a floating board in with a nail.
A floating floor is normally laid after the cabinets are installed. Cabinet weight does not hold a floating floor down, and the floor is not fastened to anything, so the cabinets can sit on top of it.
Where the rows are long, stagger the end joints so the seams do not line up across the room. If a seam lands in the same place in row after row, the floor reads as a patchwork and the joints concentrate stress.
When the last row goes in, measure it rather than eyeballing it. The final row is the one most likely to be too tight against the wall, and a tight final row closes the expansion gap you just set.
Before install day, the room has to be ready: doors off their hinges, the old floor cleared or cleaned, and the subfloor dry. Preparing a room for new flooring is its own job, and doing it in the right order saves a day.
Plank Direction, and What You Can Float Over
Plank direction is more forgiving for a floating floor than for a nail-down one. Running the planks parallel to the joists is acceptable for a floating floor, because the floor is not fastened to the joists at all.
For a nail-down floor the planks run perpendicular to the joists, because each fastener has to bite into solid support. A floating floor does not carry that constraint.
You can float a new floor over an existing floor if the existing one is sound, flat and clean. A floating floor can also be taken up again, which is the practical reason it suits a rental or a room you may change.
| Product | Common thickness | How the floor floats | What to watch |
|---|---|---|---|
| Laminate | 8 mm to 12 mm | Click-lock edge, one unit | Moisture at the joints |
| Luxury vinyl plank | 4 mm to 8 mm | Click-lock or loose lay | Point loads and heat |
| Engineered wood | 12 mm to 20 mm | Tongue and groove, clicked or glued | Acclimation and humidity |
If the existing floor is a vinyl sheet or a laminate in good condition, the new floor can go straight over it. If it is a soft or uneven surface, the new floor will follow every dip in it.
For the full room-by-room sequence, see how to install laminate flooring step by step.
The Failure Modes
Buckling is the floor pushing up in the middle of the room.
It almost always means the expansion gap was closed, or the floor was locked too tight against the wall.
Opening joints are the opposite. If the room dried out, or the floor was laid with the gap too wide, the boards pull apart and the click-lock edges show a line of daylight.
Mixed systems fail where they meet. A floating floor laid over an area already bonded with adhesive moves differently from the bonded area, and the joint between the two comes apart.
A floor laid over a soft or uneven substrate fails from below. If the underlay is too thin, or the subfloor has a low spot, the joints carry the load and the lock wears out early.
| Failure mode | The usual cause | What you see | What fixes it |
|---|---|---|---|
| Buckling | Expansion gap closed | Surface lifts in the middle | Free the gap and re-lay the rows |
| Opening joints | Room too dry, or gap too wide | A line of daylight at the lock | Re-lay with the correct gap |
| Mixed systems | Floating floor over bonded adhesive | The joint fails where they meet | Remove one system from the room |
| Premature joint wear | Underlay too thin, or a low spot | Soft spots and loose clicks | Level the subfloor, thicker underlay |
If you are diagnosing a failure, start at the perimeter and work inward. The gap tells you whether the floor had room to move; the joints tell you whether it moved as one unit or as separate rows.
Is a Floating Floor Right for Your Room
Choose a floating floor when you want a fast install, a floor you can take up again, or a floor over a sound existing surface. If the room is below grade, test the slab first and fit the vapor retarder.
A floating floor is not the right answer where the product has to be fixed to the structure, and it is not the answer for a nail-down hardwood floor.
The practical test is the sequence. If the room is prepared, the slab tested, the subfloor flat, and the underlay chosen, a floating floor goes down quickly and behaves predictably. If any of those four is unresolved, resolve it first.
Once the floor is down, the question becomes when it can carry foot traffic. Read when new flooring can be walked on before you move the furniture back in.
A floating floor suits most of the rooms people worry about: over a slab, over an existing floor, in a rental, and anywhere the floor has to be able to move.