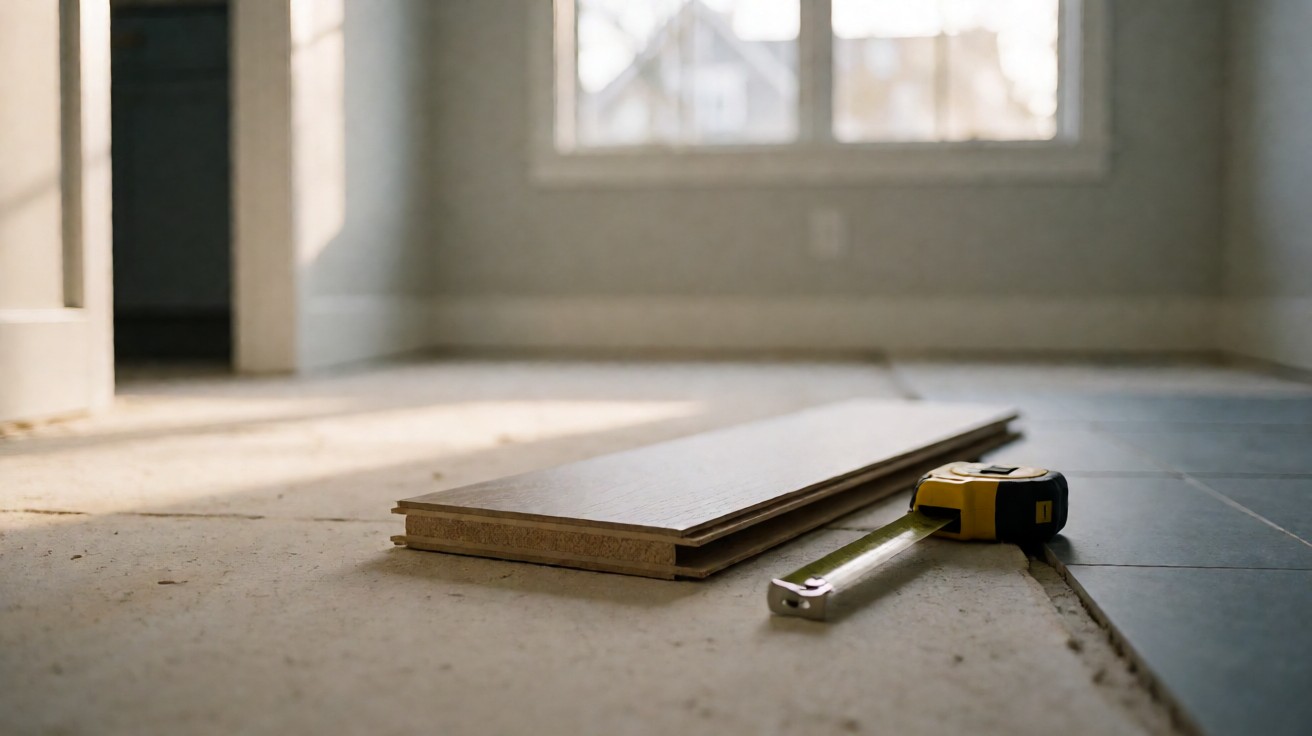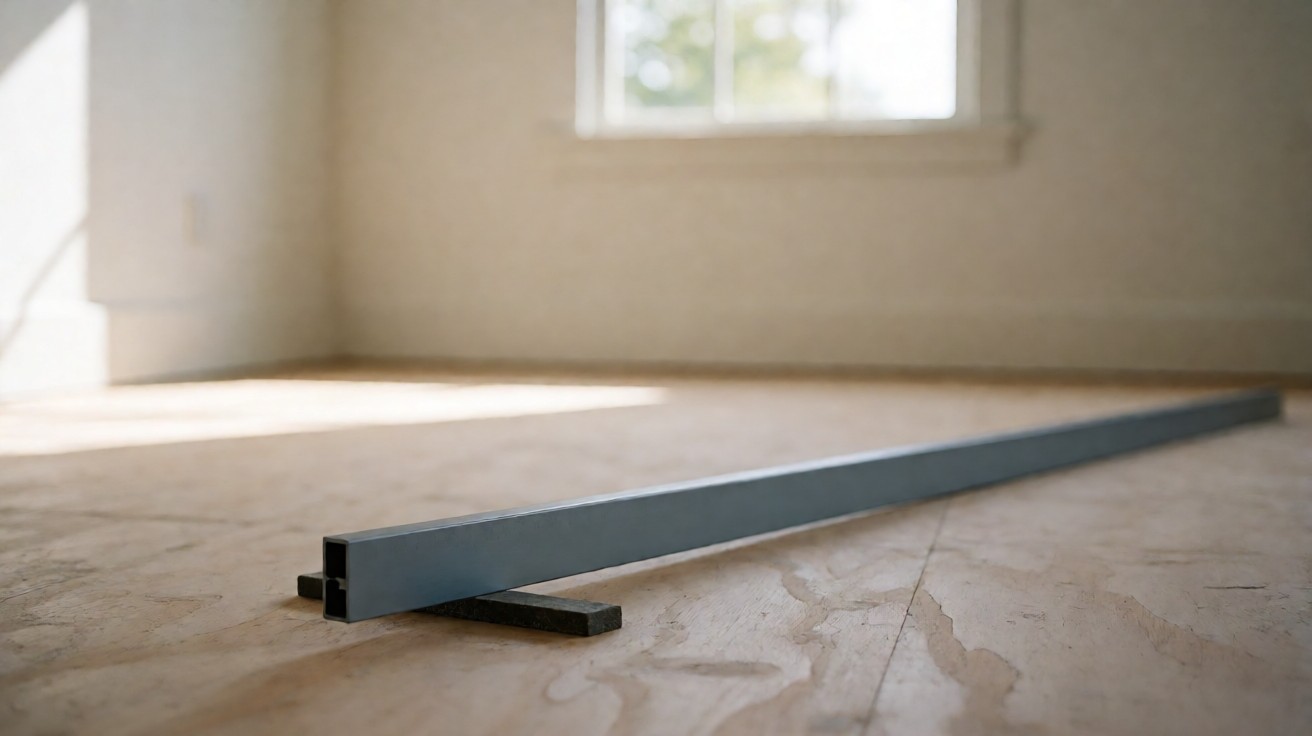

Before you install a floor you want to know whether the subfloor underneath is flat enough before the planks are down for the floor you have chosen.
Check it with a straightedge before you order anything. Lay a 6 ft or 10 ft straightedge on the floor in several places, measure the gap under it with a shim, and compare the worst reading to the tolerance for the floor you are buying.
The 10 ft straightedge is the tool most tolerances are written against, and 3/16 inch in 10 feet is the figure most residential floors ask for.
What Flatness Means, and Why Level Is a Different Word
Flat and level are not the same property, and the difference catches people out more often than the numbers do. Flat describes how even the surface is over a short distance. Level describes whether the whole floor sits at one elevation, or falls from one end to the other.
A floor can be flat and still tilt several inches across a basement. A floor can also be level on average and wave under your feet in the middle. Straightedges measure flatness. Only a laser or a long level tells you whether the floor is level, and only the FF and FL numbers measure both.
Every flooring manufacturer cares most about flatness, because flatness is what the product itself copies. When a rigid plank rests on a dip, the plank bridges it and the dip appears as a shadow line under raking light. Nothing in the product can hide a hollow of that size, and no amount of care during installation fixes it.
The Straightedge Test, Step by Step
You need a straightedge, a shim or feeler gauge, a pencil or marker, and about twenty minutes. A 6 ft straightedge made of aluminium with a machined edge is the everyday tool. A 10 ft straightedge is what the written tolerances are calibrated against, and if you can borrow one, borrow it.
Clear the floor first. If baseboards are still on, a straightedge resting on top of one gives you a reading about the baseboard, not about the floor. If old carpet is down, pull up a corner first and look, because the padding hides dips that the finished floor would show.
Set the straightedge down, push it gently along its length so it rests on the highest points it touches, and let it settle. Do not press on the middle. A straightedge that is held down at the centre sits on your hand rather than on the floor, and the reading you get is a measurement of your grip.
Slide a shim under the widest gap you find along the edge. A set of shims that steps up in thin increments is more useful than a single wedge, because a 1/16 inch shim and a 3/32 inch shim are the difference between passing and failing. A feeler gauge is the better instrument when you have one.
Write the number down where the gap was, not just the number. A 3/16 inch gap sitting next to a wall tells you something different from a 3/16 inch gap in the middle of a traffic path, and you will not remember which was which a week later.
Sweeping the Room So Nothing Gets Missed
A single placement tells you almost nothing. A subfloor is rarely worst in the middle of the room, and the worst reading is the one that decides whether you need levelling at all. Sweep rather than spot-check.
Work in a grid. Run the straightedge in one direction at roughly 2 ft intervals across the room, then again at right angles to it. On a 12 ft by 14 ft room that is about fourteen placements in the first pass and the same again in the second.
Pay attention to three places first, because they fail most often. The line along walls is where a screed edge slumps. The middle of a long span is where a joist sags under the load of a crew. And the area where two different base materials meet is where one was patched and the other was not.
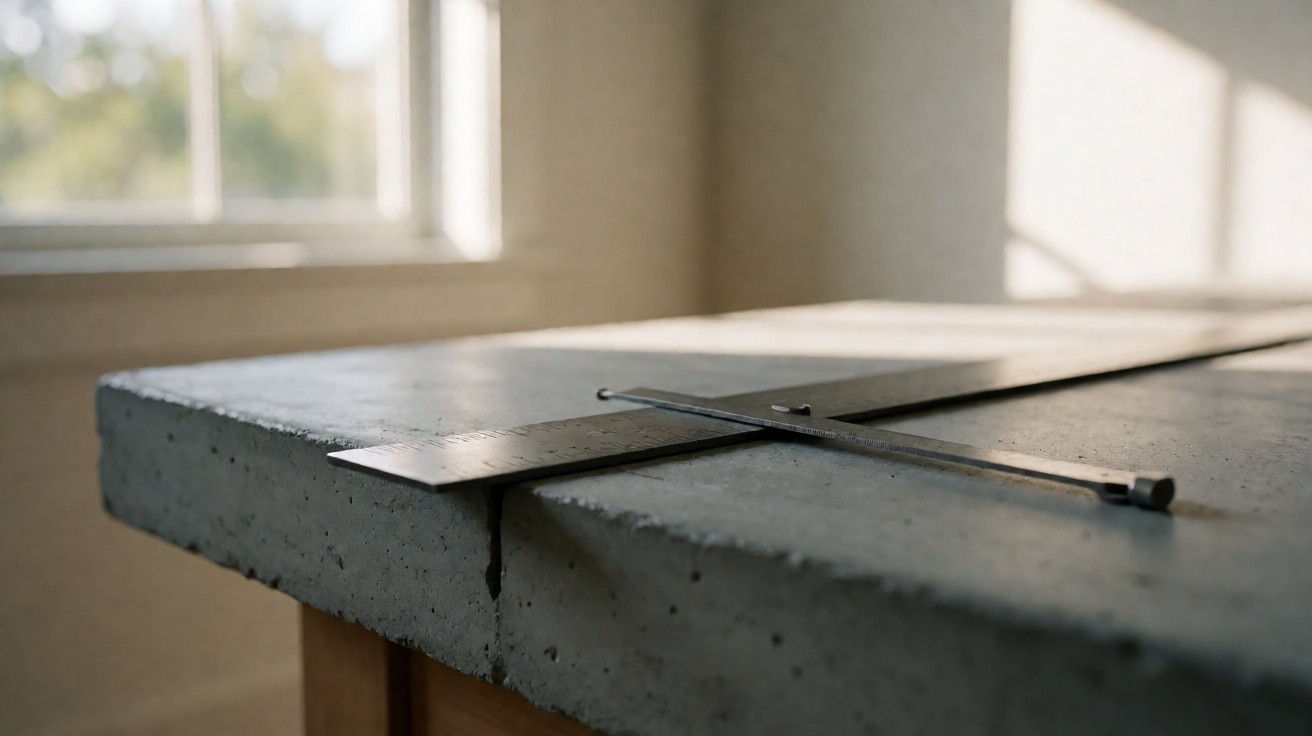
If a plank that has already been fixed or glued is in the way, that counts as a high spot for the purposes of this test. A bath panel, a threshold strip, or an old tile edge standing proud of the screed all raise the floor locally, and the dip on the far side of them is the real measurement.
Turning Readings Into a Result You Can Act On
What matters at the end is a number and a location, not an impression. Write down the worst gap in each direction and the worst gap overall, with the room dimensions attached, and you have something a contractor can quote against.
The rule of thumb is that the worst reading governs the whole room. A floor that measures 1/16 inch in nine places out of ten and 1/4 inch in one place is not a floor that measures 1/16 inch. It is a floor with a 1/4 inch defect, and the defect is exactly where somebody will notice it.
| What the straightedge found | Reading against a 3/16 in 10 ft tolerance | What it means | What gets done |
|---|---|---|---|
| Consistently under tolerance | 1/16 in or less over 10 ft | The floor is ready as it stands | No preparation, sweep and vacuum only |
| Within tolerance but only just | Between 1/8 in and 3/16 in over 10 ft | Acceptable, but marginal for a glossy finish | Fill low spots, leave high spots |
| Over tolerance at a dip | Over 3/16 in over 10 ft at the low point | The dip will telegraph through | Levelling compound or a sand-and-fill patch |
| Over tolerance at a peak | Over 3/16 in over 10 ft at the high point | The peak rocks the plank and wears the joint | Grind or sand down before anything else |
| Gap changes when pressed | Any reading, closes under load | A hollow area, not a height difference | Open it up and fill, do not skim |
| Floor moves when walked | Not measurable with a straightedge | Loose board or unsupported span | Refasten or relay before measuring again |
Where the reading fails badly enough that the floor cannot be made to spec without thickening it, the cost of self-leveling compound comparison is worth working through before committing, because the material is rarely the expensive part.
Shims, Strings, and the Shortcuts That Mislead You
The string method is the one everybody learns first and the one that produces the most bad data. Drive a nail in the floor, tie a string to it, pull the string taut to the far wall, and look for anything touching or crossing it. It works, and it is fast.
What it cannot do is give you a number. It finds high spots and gross low areas, and it will happily miss a 1/8 inch dip that a 10 ft straightedge catches, because a string that close to the floor has almost no room to show a gap at all. Use it as a first sweep across a large empty room, then confirm with a straightedge.
A coin or a washer slid under the straightedge is another common shortcut, and it is a bad one. A coin is 1.75 mm or about 11/64 inch, so it either stops at the first acceptable gap or does not go in at all. Shims in small increments tell you where you actually are.
Standing on the straightedge to see if it rocks tells you the floor is not flat, and it tells you nothing about how far off it is. It is still a useful test, because it finds a floor that flexes, which is a different defect entirely from one that dips.
The Tolerances That Apply to Each Floor Type
Every written tolerance has a length attached to it, and the length is part of the requirement. The same 1/8 inch gap passes over 6 feet and fails over 10, because the 10 ft straightedge spans a longer run and therefore catches a shallower, longer wave.
That is why a 6 ft straightedge is a good screening tool and a poor acceptance tool. If the 6 ft straightedge finds nothing, you still need the 10 ft one before you call the floor flat. If the 6 ft straightedge finds a gap, you already have your answer without any further measuring.
| Floor or substrate | Typical written tolerance | Named source | Why that number |
|---|---|---|---|
| Ceramic and porcelain tile over concrete | 1/4 in in 10 ft, tightening to 1/8 in for large-format tile | ANSI A108.02, lippage limited to 1/8 in in 10 ft | A rigid tile cannot span a dip, so the substrate sets the limit |
| Sheet vinyl and resilient tile | 1/8 in in 10 ft, no abrupt highs or lows | ASTM F710 preparation practice | Adhesive is only in contact where the floor is high |
| Luxury vinyl plank and laminate, floating | 1/8 in in 6 ft or 3/16 in in 10 ft | Manufacturer installation instructions | A floating floor hides small dips but rocks on a peak |
| Luanite sheet or radon barrier over concrete | 3/16 in in 10 ft or better | Resilient floor manufacturer instructions | The membrane bridges less than a levelling compound does |
| Engineered wood, glue down | 3/16 in in 10 ft or 1/8 in in 6 ft | NWFA installation guidelines | Adhesive line needs continuous contact |
| Solid wood, nail or staple down | 1/4 in in 10 ft or 3/16 in in 6 ft | NWFA installation guidelines | A fastener of 1.5 in or more pins through the worst spot |
| Concrete slab, general finish flooring | FF 35 / FL 25 flat, FF 25 / FL 20 moderately flat | ASTM E1155 F-numbers, ACI 117 classes | A numeric profile rather than a single gap reading |
| Concrete slab under carpet | FF 20 / FL 15 conventional is adequate | ACI 117 conventional classification | The pile hides what a plank would telegraph |
Two of these figures get confused constantly. The ANSI A108.02 base number for a substrate is no variation greater than 1/4 inch in 10 feet, and no more than 1/16 inch in any 1 foot span. It tightens to 1/8 inch in 10 feet where the tile is large enough to show it, and the separate lippage limit is 1/8 inch in 10 feet, or 3 mm in 3 m.
ANSI A326.3 is a slip-resistance test method, so it tells you nothing about whether a subfloor is flat; do not let it stand in for a flatness standard. It is a test method for measuring the coefficient of friction between a resilient floor and another surface, and it sets no flatness threshold at all. Citing it as a flatness standard is a common and complete mistake.
If your floor has to sit over a defect rather than a flat plane, the best flooring for uneven existing floors breakdown covers which materials tolerate what, because that choice is downstream of the reading you take.
When a Laser Level Beats a Straightedge
A laser level earns its place in two situations: when you need to know whether the floor is level rather than merely flat, and when the room is large enough that a straightedge sweep takes an unreasonable amount of time.
For levelness, set the laser at a known height near one wall and let it project a horizontal line around the room. Mark the line height on the wall every 6 ft or so, then measure from each mark down to the floor. Any difference between marks is the slope across the room, and you now have levelness in real numbers.
A self-levelling laser does most of this for you. Set it on a tripod at one end of the room, let it level, and take elevation readings at intervals with a staff or a measuring rod. Record the readings and plot them, because a single reading tells you nothing about what the floor is doing between two points.
For flatness specifically, the laser does one better trick. Set it up to project a grid or a fan of lines, and drop a line onto the floor. The lines show high and low bands across the surface directly, without sweeping a tool over every square foot. On a 400 sq ft slab this is the difference between an afternoon and an hour.
| Tool | What it measures | Reading it gives | Best used when |
|---|---|---|---|
| 6 ft straightedge and shims | Flatness over a short span | Largest gap, in inches | Screening a domestic room quickly |
| 10 ft straightedge and shims | Flatness over the span tolerances are written against | Largest gap, in inches | Acceptance testing before an install |
| Straight level or string line | Levelness across a room | Fall over the length, in inches | A slab that visibly tilts end to end |
| Rotating or self-levelling laser | Levelness, and flatness as a line pattern | Elevation at each station, in inches | A large slab, or a formal F-number survey |
| Dipstick or rolling profiler | FF and FL F-numbers | Composite FF and FL values | When a specification names an F-number |
What a laser will not do is substitute for the straightedge when the written tolerance is written as a gap under a 10 ft edge. Many manufacturers and one standard still specify exactly that, so where the specification names a gap, measure a gap.
Finding the Hollow Areas a Straightedge Will Miss
Flatness and support are two different measurements, and a floor can pass one and fail the other completely. The test is a knock, and it takes about five minutes.
Walk the room in a grid, roughly 2 ft at a time, and step hard on every point. Anywhere the floor sounds hollow, or visibly deflects and comes back, mark it. A solid subfloor sounds like a knock on a door. A hollow area sounds like a knock on a drum, and it moves under your weight.
Where the straightedge finds a gap, press down firmly on the middle of the span with a foot or a knee. If the gap closes, that is a hollow area rather than a height difference. A height difference stays exactly the same reading under load, because the material is there, it is simply lower.
That distinction decides the fix. A hollow area has nothing behind it, so a patch skimmed over the top just bridges the same void again. It has to be opened up, backfilled with something rigid, and squared off before the final levelling coat goes on.
When a floor is hollow across a wide area rather than in a few spots, the framing underneath is usually the cause, not the boards on top. Where that is the case, the subfloor repair cost range is worth reading before anyone quotes a surface fix that will not hold.
Marking High Spots and Low Spots for Whoever Fixes Them
Once you have readings, mark them in a way another person can act on without re-measuring. A number in a notebook is worth very little to an installer standing in the room the following morning.
Mark high spots in one colour and low spots in another. Circle every high spot and label it with the depth above the surrounding floor, because a high spot has to be taken down rather than filled. If a peak stands 1/8 inch proud, grinding it down is the fix, and adding compound on top of it makes the problem larger.
Mark the extent of a low area rather than just its deepest point. A dip is rarely round. Most are a broad shallow bowl between two joists, and a leveler applied only to the centre of the bowl leaves a rim that catches the light from the wrong angle.
Photograph each marked defect with something for scale in the shot, such as a tape measure laid alongside it. Where the same defect will be underneath a fixed object, such as a bath panel or a kitchen cabinet run, note that too, because that object comes out before the floor goes in.
Record the number of placements you tested as well as the worst reading. If you checked fourteen places in a 12 ft by 14 ft room, say so. A measurement with a stated scope is defensible in a dispute, and one without it is an opinion.
Concrete Slabs, ASTM F710, and the FF Numbers
Concrete is measured differently from timber because a slab is expected to have cured and moved, and because slabs are frequently specified by F-number rather than by a gap under a straightedge.
ASTM F710 is the practice that governs preparing a concrete floor for resilient flooring. It calls for a surface that is clean, dry, smooth, and structurally sound, and it calls for cracks, grooves, depressions, and control joints to be filled or smoothed with a patching or underlayment compound. Its own flatness guidance is a variation of no more than plus or minus 3/16 inch across 10 lineal feet.
ASTM F710 also requires testing that has nothing to do with flatness and everything to do with whether the floor is ready. In situ relative humidity is measured to ASTM F2170, with 75 percent relative humidity as the standard limit above which resilient flooring is not installed without mitigation. One pH test is taken for every 1,000 sq ft, and a floor reading below 7 or above 10 is a floor that needs attention before adhesive goes near it.
When a specification names an F-number, ASTM E1155 is the test method that produces it. Elevation readings are taken at 24 inch intervals to produce the FF flatness number, and at 10 ft intervals to produce the FL levelness number, and both are then reported as a composite value for the area.
The commonly quoted values come from ACI 117 surface classifications. Conventional is FF 20 and FL 15. Moderately flat is FF 25 and FL 20. Flat is FF 35 and FL 25, and very flat is FF 45 with FL 35, with super flat reaching FF 60 and FL 40. Most commercial thin-set work lands on FF 35 and FL 25.
One thing to be clear about is that ASTM E1155 is a test method. It tells you how to measure a profile, and it sets no pass or fail value. The number you must hit comes from the specification or the flooring manufacturer, and for residential work the rare case where one exists, it usually sits around FF 25 and FL 20.
Where a slab is being prepared for something other than tile, the best flooring over concrete slabs page covers which materials need a different substrate treatment than the ones that do not.
Wood Subfloors, Plywood Thickness, and Fastening
A timber subfloor fails flatness for structural reasons rather than cosmetic ones, which means that sanding a dip out is rarely the right response. The board is either the wrong thickness for the joist spacing, or it is not fixed to those joists properly.
On thickness, the NWFA guidelines tie panel thickness to span. At 16 in joist spacing the minimum is 19/32 inch plywood or 23/32 inch OSB. Between 16 in and 19.2 in spacing it is 23/32 inch of either. At 24 in spacing, where a solid 3/4 inch finish floor runs at right angles to the joists, the minimum rises again.
On fastening, the point that matters for flatness is that panels must be fixed to every joist they cross and the edges must be nailed properly, because a panel that moves across a joist rocks, and a panel that rocks is a high spot that appears and disappears. Code schedules call for 8d common nails at 6 in on centre along panel edges and 12 in on centre over intermediate supports.
On flatness itself, NWFA sets two figures. For glue down, floating, and short-fastener nail-down work, the subfloor should be flat within 3/16 inch in 10 feet or 1/8 inch in 6 feet. For mechanical fasteners of 1.5 inches or longer, the tolerance relaxes to 1/4 inch in 10 feet or 3/16 inch in 6 feet, because the fastener pins through the worst of it.
If the reading is bad in a straight line running with the boards rather than across them, suspect the fastening rather than the thickness. If the readings alternate high and low along the length of a joist span, suspect a sagging joist, and no amount of levelling compound fixes that.
What Each Result Changes About the Job Next
A measurement is worth doing before the product is chosen, not after, because the reading narrows the list of floors that are still eligible. A floor that reads 1/2 inch out in 10 feet is a different decision from one that reads 1/16 inch, and the second one may not need anything at all.
If the floor passes within tolerance, the remaining work is preparation. Sweep it, vacuum it, fill the fastener holes, and move on. Over-preparing a flat floor mostly wastes a day and adds a layer that can fail later.
If it fails only at the edges and near a screed joint, it is a patching job. If it fails in a broad bowl between joists, it is a levelling job, and the levelling compound cost comparison sets out the material and labour split before the trowel is picked up.
If it fails everywhere and the floor moves when you stand on it, nothing you float over it will last. That is a framing repair, and it is the one result that changes the schedule rather than just the shopping list.
Whatever the result, write it down before you buy. A page of readings with locations and dates is worth more at the point of a dispute than any verbal assurance that the floor was fine when it was covered up.