
Installing your own floor is genuinely achievable in a simple rectangular room, and genuinely expensive to get wrong in a room with a doorway and a corner. That is the real dividing line, and it has almost nothing to do with skill or courage. It has to do with whether the room is a rectangle, whether the subfloor needs work, and which material is going down. Laying click-lock laminate in a twelve-by-fourteen bedroom with no plumbing in it is a weekend. Nail-down hardwood in a room with a hallway opening, a bathroom door and an out-of-level subfloor is a different activity, and the failure modes are structural rather than cosmetic.
What You Are Actually Doing
Every floor install is the same four steps: verify and prepare the subfloor, install whatever underlayment or moisture barrier the product requires, lay the field, and fit the last row. The difficulty is distributed very unevenly across those four, and it is almost all in the first and last. Preparation is unglamorous and it decides everything. The field goes down fast. The last row is where a first attempt goes wrong, because the wall is not straight and the board has to be ripped to a repeating width rather than cut once.
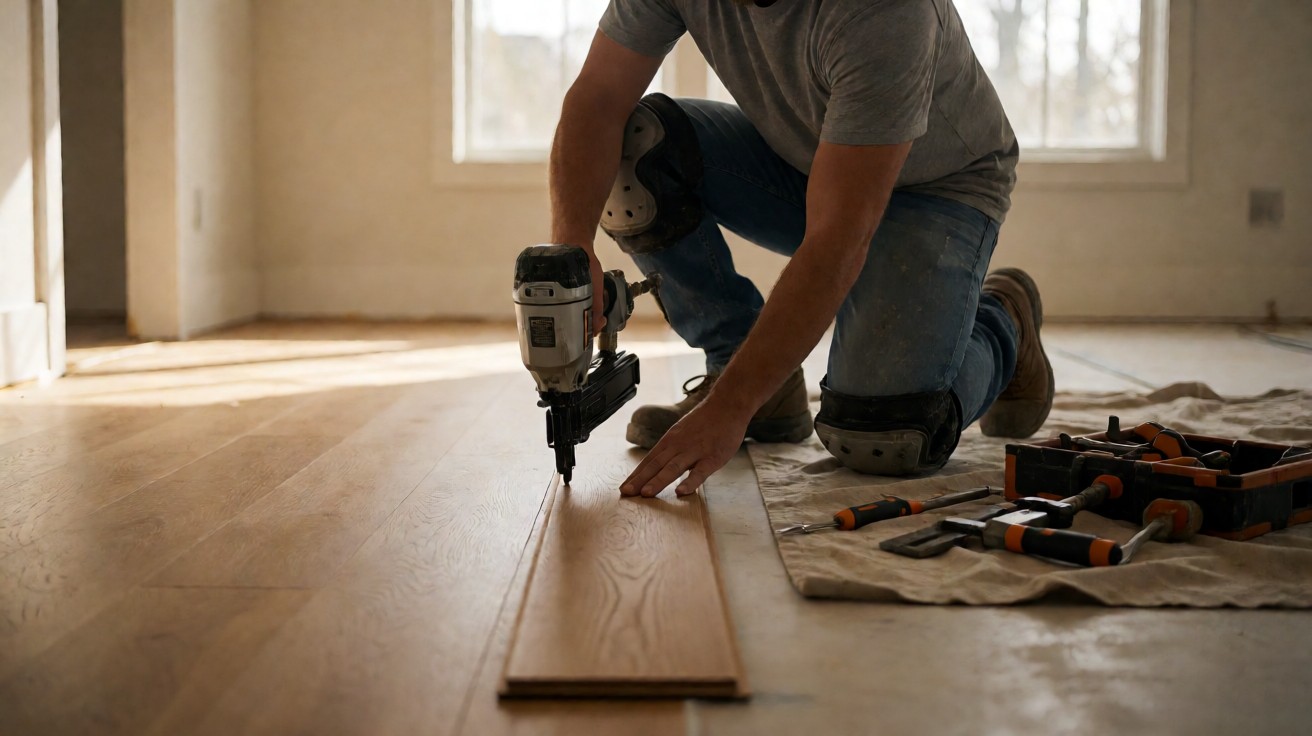
The evaluation guide covers the material-side checks, and the material you pick changes the trade completely. Click-lock laminate and LVP need no adhesive and no power tool to cut. Sheet vinyl and glue-down plank need adhesive, accurate layout and sometimes a roller. Nail-down or staple-down solid hardwood needs a nailer and a technique that is genuinely hard to self-teach from a video.
Where DIY Works Well
The conditions are narrow and worth stating precisely. The room should be close to rectangular, so the field is one rectangle rather than a shape with a corner in it. There should be no doorway in the long wall that breaks the run, because an interruption means two separate fields and a joint to line up. The subfloor should be flat, dry, and structurally sound with no high spots over about a sixteenth of an inch over a foot. And the material should be click-lock, because it removes adhesive, tooling and curing time from the list of things that can go wrong.
Under those conditions a first floor install is genuinely achievable. The types of flooring page is useful earlier, because choosing the material you will actually install is the decision that determines whether this is a weekend or a month.
Where Professional Installation Earns Its Cost
Three situations justify a professional, and none of them are about the appearance of the finished floor. The first is a subfloor that needs work: levelling a slab, replacing rotten boards, correcting a joist, or dealing with a floor that is not level. That work is the majority of a professional’s time on most jobs and the majority of a DIY failure. The second is a wet room or a room involving tile, backer board, waterproofing membrane and a shower pan, where a mistake behind a finished surface is a structural problem.
The third is the material itself. Nail-down hardwood is not a beginner’s project; the plank has to be driven at a consistent angle without visible face damage, the subfloor has to be checked for flatness continuously rather than once, and the board has to acclimate in the room for days before it goes down. Solid hardwood over a slab is the configuration where a professional is worth every dollar. Engineered hardwood, glued or clicked, is considerably more forgiving than solid.
Acclimation, and the Waiting That Is Not Optional
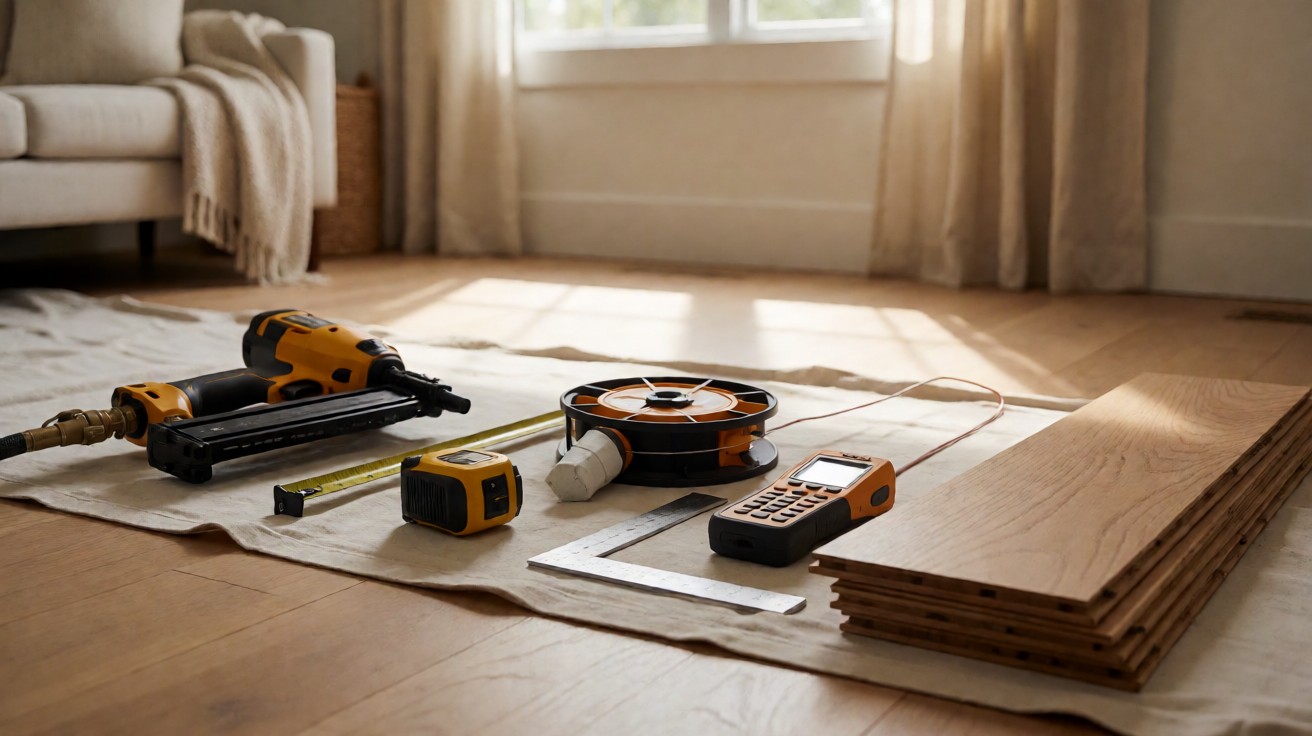
The step that makes experienced installers cautious is acclimation: letting the material sit in the room it will live in, at the temperature and humidity it will live at, until it stops moving. Hardwood is the one that requires it seriously, because timber moves with the season and a floor laid from dry boards in a heated house will gap in winter. Manufacturers specify a period measured in days and an acceptable moisture range for the interior, and the moisture meter in the photograph is the tool that tells you whether the material is ready rather than whether it feels ready.
Laminate and LVP need acclimation too, and it is the step most first attempts skip. It is not as demanding as hardwood, but a pack of laminate brought in from a cold garage into a warm room is still moving for a while, and the click system is much more tolerant of a moving plank than it is of a plank that has already been cut. Forty-eight hours in the room costs nothing except patience.
What the Money Is Actually Spent On
For a click-lock install, a professional quote is commonly $2 to $4 per square foot of material plus $2 to $4 of labour, and much of that labour is subfloor preparation that a homeowner would otherwise be doing at all. For nail-down hardwood the range runs higher, typically $6 to $12 installed, because the material is more expensive and the labour is more demanding. Comparing those numbers against a materials-only cost from a flooring supplier is the comparison people get wrong, because the supplier number excludes the hour it takes to flatten a subfloor.
The other half of the professional’s cost is warranty. A manufacturer warranty almost always assumes installation by an approved or documented installer, and a DIY install voids it entirely in most product lines. That matters most for a waterproof click-lock product with a defined installation method, where the failure mode of doing it wrong is a seam that opens, and it is why the installation instructions for these products are unusually specific about expansion gaps and about using the right underlayment.
| Situation | Verdict | Why |
|---|---|---|
| Click-lock LVP, rectangular room, good subfloor | DIY | No adhesive, no tooling, one person |
| Click-lock laminate, simple bedroom | DIY | Easiest floor install that exists |
| Laminate over an existing floor | DIY | Old floor stays down; less prep |
| Any install with two or more corners | Professional | Joints to line up, more waste, more seams |
| Slab that needs levelling | Professional | Preparation is most of the job |
| Nail-down solid hardwood | Professional | Nailer, angle consistency, acclimation |
| Engineered hardwood, glued or clicked | Borderline | Forgiving, but warranty still matters |
| Bathroom, tile, or any wet room | Professional | Waterproofing behind the surface |
| Stairway | Professional | Geometry, safety, and code |
| Whole-house re flooring on a slab | Professional | Volume, prep, and warranty exposure |
Renting the Tools Is Not the Bargain It Looks Like
Tool rental prices are per day and per class, and the comparison against a contractor has a shape people underestimate. A nailer, a floor saw and an edger for a nail-down hardwood job can run $150 to $250 a day, which is real money, and a first-time installer will need them for more days than planned because the technique is not yet there. By the third day the rental is cheaper than the rework, and by the fifth the floor is behind schedule.
For a click-lock install the tool requirement is much smaller: a tape measure, a square, a chalk line, spacers, a pull bar, a mallet and a saw. A laminate cutter or a fine-tooth blade is under $40 and worth buying rather than renting, because a circular saw is not the right tool for a laminate plank. This is the material difference in cost between the two jobs more than the floor price.
| Element | DIY | Professional |
|---|---|---|
| Material cost | Paid in full | Paid in full |
| Subfloor prep | Your time or a levelling quote | Included |
| Labour | Your weekend | $2 to $4 per sq ft |
| Tools | Buy or rent, $0 to $250 | Included |
| Adhesive and cure time | Your responsibility | Managed |
| Manufacturer warranty | Usually voided | Typically preserved |
| Cost of a rework mistake | $500 to several thousand | Contractor liability |
| Realistic time, click-lock room | One weekend | One day |
| Realistic time, nail-down hardwood | Two to three weekends, often longer | Two to four days |
The Cost of Getting It Wrong
The expensive mistakes are not the visible ones. A gapped board at the wall in a click-lock floor is the classic symptom of forgetting expansion clearance, and it is the reason the instructions specify a gap of a particular size at every wall. The repair is lifting a large part of the floor, which is several times the original labour cost. The same is true of a floor laid over a high spot, which develops a hollow sound and then a broken click, and of a moisture barrier omitted over a slab, which shows up as a swollen or mould-stained floor once the season turns.
Each of those is a small omission at the start and a large repair at the end. The correct conclusion is not that DIY is dangerous; it is that DIY is unforgiving of the preparation stage and forgiving of everything afterwards. A homeowner who spends a weekend levelling and verifying the subfloor, and lays the field on a Saturday, has made the decision correctly.
Getting the Subfloor Right Is the Job
If a first attempt goes wrong, the subfloor is the reason, and it is worth being specific about the three checks that catch most problems. The first is flatness: lay a straightedge in several directions across the room and check for high spots over roughly a sixteenth of an inch in a foot. The second is firmness: press firmly in a grid and listen for hollow, because a hollow area will eventually telegraph through as a dip under a rigid floor. The third is dryness, and it is the one that gets skipped on a concrete slab with a moisture meter read once in the wrong place.
On plywood, the check that matters is the fastener pattern and whether the sheets are properly supported at the joists, because an unsupported sheet moves and the click system above it works loose over a few years. On a slab, the question is whether the pour is above grade and whether a moisture test came back inside the product’s stated limit. A professional does not know these things by looking; they measure, and the measurement is what the fee buys.
How to Work With a Contractor
A useful mid-point is to do the demolition, any subfloor work and the material delivery yourself, and hire the field installation. It usually produces the best value because preparation is most of the labour and the field is where the technique is. It also changes the dynamic: a contractor quoting a job they did not assess will quote defensively, and asking for a written scope with the subfloor work itemised makes the comparison between quotes meaningful.
Three things are worth confirming in writing before anyone starts. What is the subfloor condition assumed, and who fixes it if it is worse. What is the expansion clearance at the walls and what is the product being installed, because the clearance requirement is product-specific. And what the warranty position is, including whether the manufacturer warranty is being claimed or not. A contractor who cannot answer those three in writing is not the contractor for the job.
Where Time Is the Deciding Factor
Adhesive changes the schedule more than skill does. Glue-down or sheet material adds curing time that cannot be shortened, so a room cannot be walked on for a period specified by the product, and that has to be planned around a household rather than around a weekend. Click-lock plank goes down and is walked on the same day. Sheet vinyl is somewhere in between, because a light-weight product can often be walked on sooner than a heavy one.
This is the practical case for click-lock in an occupied house: a room can be finished in a day and used that evening, which is not true of any glued installation. It is also why click-lock is the usual recommendation for a rental turnover or a house being sold, where the void cost of an unusable room is real money.
Working Out Which One You Are
Four questions settle it. Is the room roughly rectangular, with no door opening in the long wall? Is the subfloor already flat, dry and firm, with no deflection when you step on it? Is the material click-lock? And can you accept that the floor will not carry a manufacturer warranty? Four yes answers and this is a weekend. Two or three and the risk is that a small mistake costs more than a professional would have charged.
The honest middle position is to do the demolition and subfloor work yourself and hire out the field installation. It is a common compromise and it usually produces the best value, because the preparation is where the money is and the field is where the technique is.