
Flooring can be installed over existing ceramic or porcelain tile when that surface is sound, flat, dry, fully bonded, and meets flatness and moisture limits.
Floating vinyl plank or laminate is the answer over a sound, well-bonded base; remove the existing surface when it is loose, cracked, or hollow.
Added height, moisture over concrete, and flatness tolerances decide whether overlay or removal is the better path.
Can You Install Flooring Over Existing Tile?
Yes, in most cases you can install new flooring over existing ceramic or porcelain tile that is fully adhered, structurally sound, and free of deflection. Manufacturer installation guides for floating luxury vinyl plank and laminate list tile as an approved base when those conditions are met.
The existing tile becomes part of the substrate. That means every layer beneath it, including the mortar bed and subfloor, must still meet structural and deflection limits. Tile that sounds hollow or moves underfoot is not a suitable base.
When the tile is cracked, loose, or wavy, removal is usually the safer choice. Covering a failing base transfers the problem to the new floor and can void warranties. A single loose tile can sometimes be re bedded and patched, but widespread failure calls for removal.
Always confirm with the flooring manufacturer that tile is an approved base for the specific product. Some engineered hardwood and glue down systems do not allow installation over tile at all, and using an unapproved base can void the warranty.
When Tile Is a Suitable Subfloor
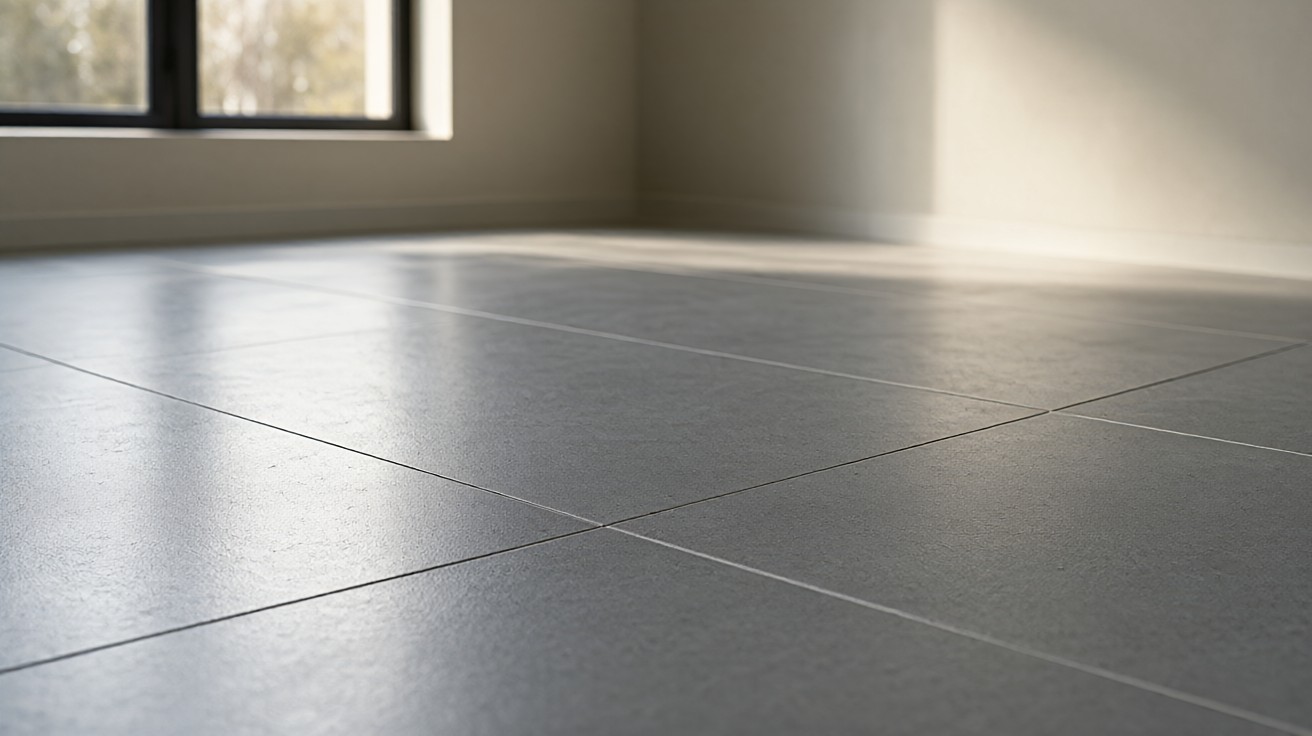
Tile works as a base when it is clean, flat, dry, and fully bonded. The floor should not deflect beyond L over 360 under live and dead loads, which is the standard deflection limit referenced by the Tile Council of North America for framed floor systems.
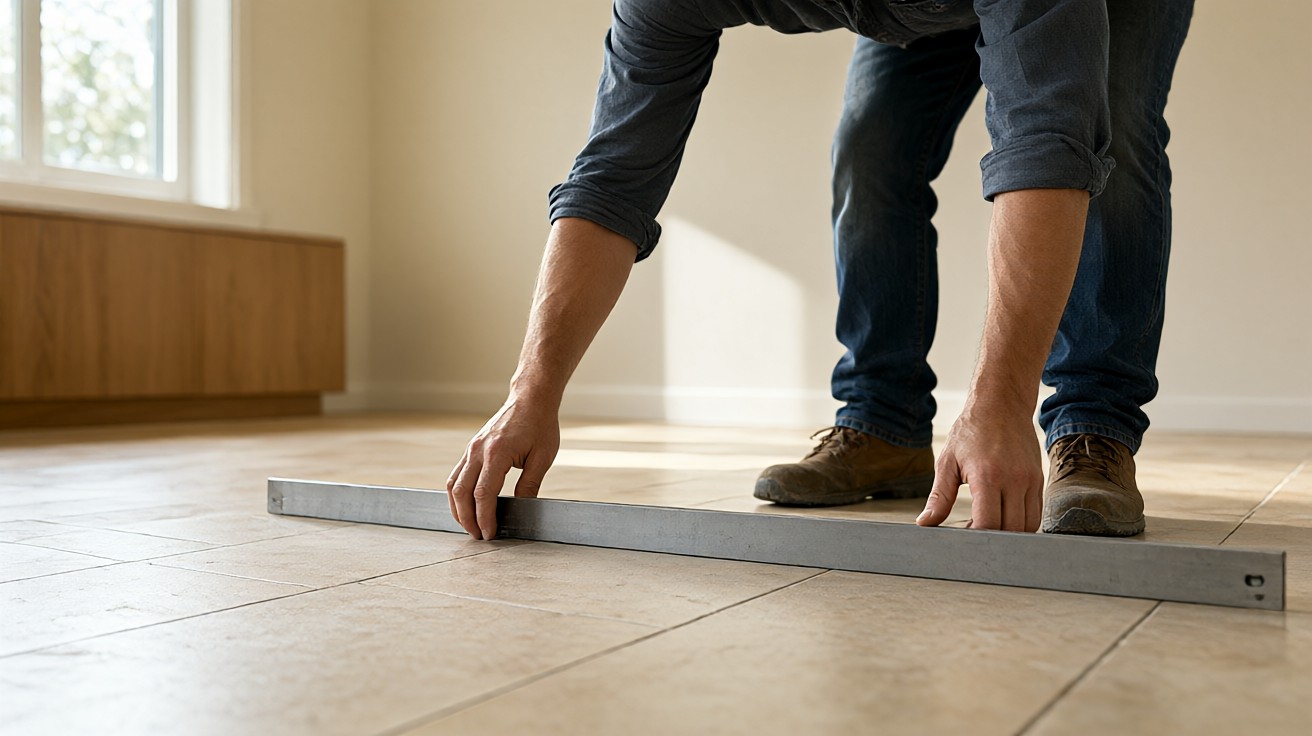
Flatness is measured with a straightedge. For tiles with all edges shorter than 15 inches, the substrate should vary no more than one quarter inch in 10 feet and no more than one sixteenth inch in 12 inches.
For tiles with at least one edge 15 inches or longer, the limit tightens to one eighth inch in 10 feet and one sixteenth inch in 24 inches, per ANSI A108.02 sections 4.2.1 and 4.2.2.
Grout joint width also matters. Manufacturer guides allow tile bases with grout joints up to one quarter inch wide. Wider joints must be filled flush with a cementitious patching compound so they do not telegraph through the new floor.
The surface must also be free of contaminants. Wax, sealers, paint, and adhesive residues can prevent bonding for glue down systems and can interfere with patch compounds. A clean, porous surface is the goal.
How Do You Test Whether Tile Is Well Bonded?
Tap the tile surface with a smooth metal object or a golf ball and listen for tone changes. A hollow sound suggests a void or unbonded tile. Because some membranes and waterproofing layers also change tone, a hollow sound alone is not proof of failure, but it warrants closer inspection.
When in doubt, remove a sample tile to inspect the bond coat and substrate beneath. TCNA renovation methods TR711 through TR713 cover tiling over existing surfaces and emphasize analyzing the full assembly, not just the top layer.
A destructive test of removing one or two tiles and examining the mortar coverage is often the only way to be certain. If mortar coverage is poor or the substrate is damaged, removal becomes the safer path.
Assessing Tile Condition and Flatness
Before planning an overlay, inspect the tile for cracks, chips, lippage, and hollow spots. Lippage, where one tile edge sits higher than its neighbor, must be corrected because it creates high points that telegraph through thin overlay materials.
Measure flatness in multiple directions with a 10 foot straightedge. Mark high and low spots so you know where grinding or patching is needed. A laser level can speed up this work and improve accuracy.
Also check for slope. A floor that slopes toward a drain or doorway may need leveling rather than simple patching. If the slope is intentional, preserve drainage while flattening the walking surface.
Cracked or chipped tiles should be repaired or replaced before overlay. A crack can indicate movement in the substrate, which must be addressed rather than covered.
What Flatness Tolerance Applies to Your Tile Size?
If every tile edge is shorter than 15 inches, the floor must be within one quarter inch in 10 feet and one sixteenth inch in 12 inches. If any tile edge is 15 inches or longer, the tolerance tightens to one eighth inch in 10 feet and one sixteenth inch in 24 inches.
These tolerances come from ANSI A108.02 and apply whether the substrate is concrete, wood, or an existing tile surface. Meeting them is critical for large format tile and for thin floating products that can telegraph imperfections.
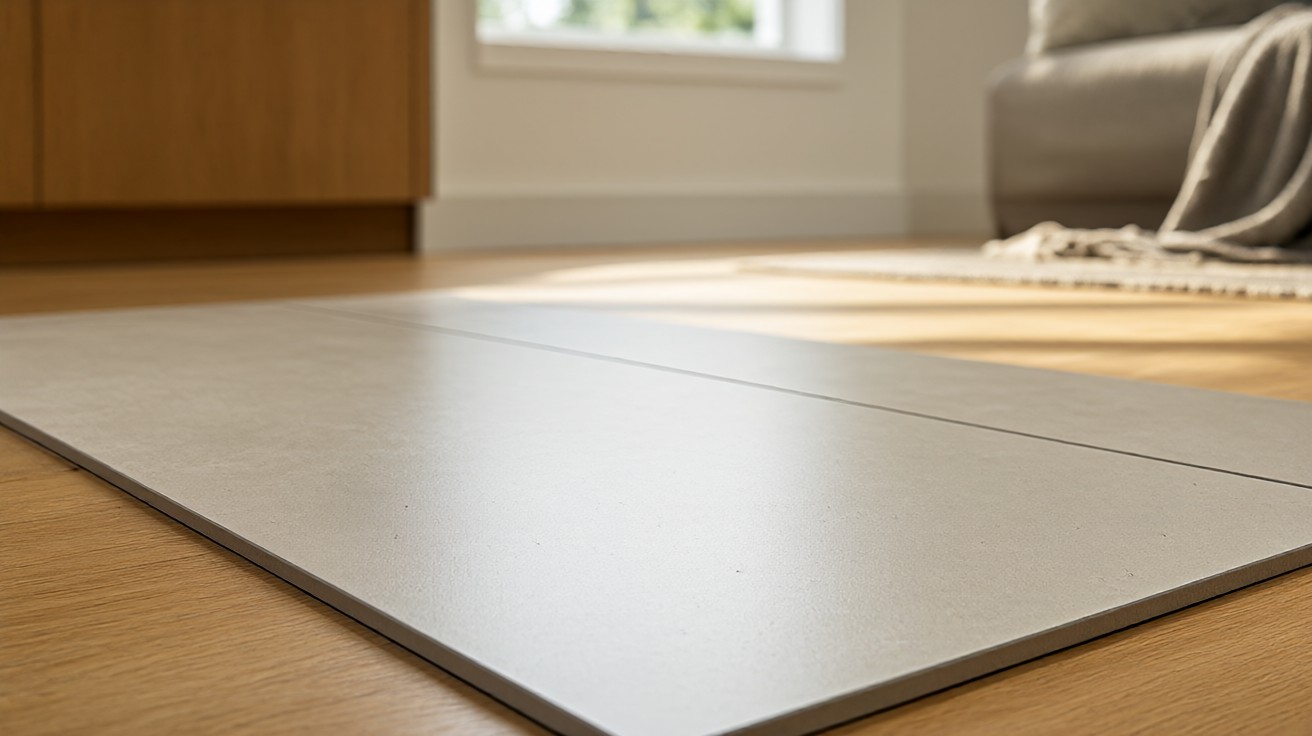
Preparing the Tile Surface
Preparation starts with cleaning. Remove wax, sealers, paint, and any bond breakers so the new adhesive or underlayment can bond. A thoroughly cleaned tile floor should accept moisture; the water drop test helps confirm that the surface is not coated with an invisible barrier.
Next, correct flatness. Use a troweled patch compound to fill low spots and grind high spots as needed. For large areas, an ANSI A118.16 flowable hydraulic cement underlayment over the appropriate primer can create a flat, level plane. Always follow the patch manufacturer instructions for priming and thickness limits.
Grout lines up to one quarter inch wide can remain on a floating installation, but filling them with patch compound improves results and is required for glue down systems. Where every grout line is filled, the floor behaves more like a single solid plane.
Scarification, or mechanical roughening, can improve bond for new tile over tile. Some setting material manufacturers recommend primers designed to bond to glazed or dense tile surfaces. Always follow the mortar manufacturer recommendations.
For detailed patching methods, see our guide on floor patching and leveling compounds.
Height, Transitions, and Door Clearances
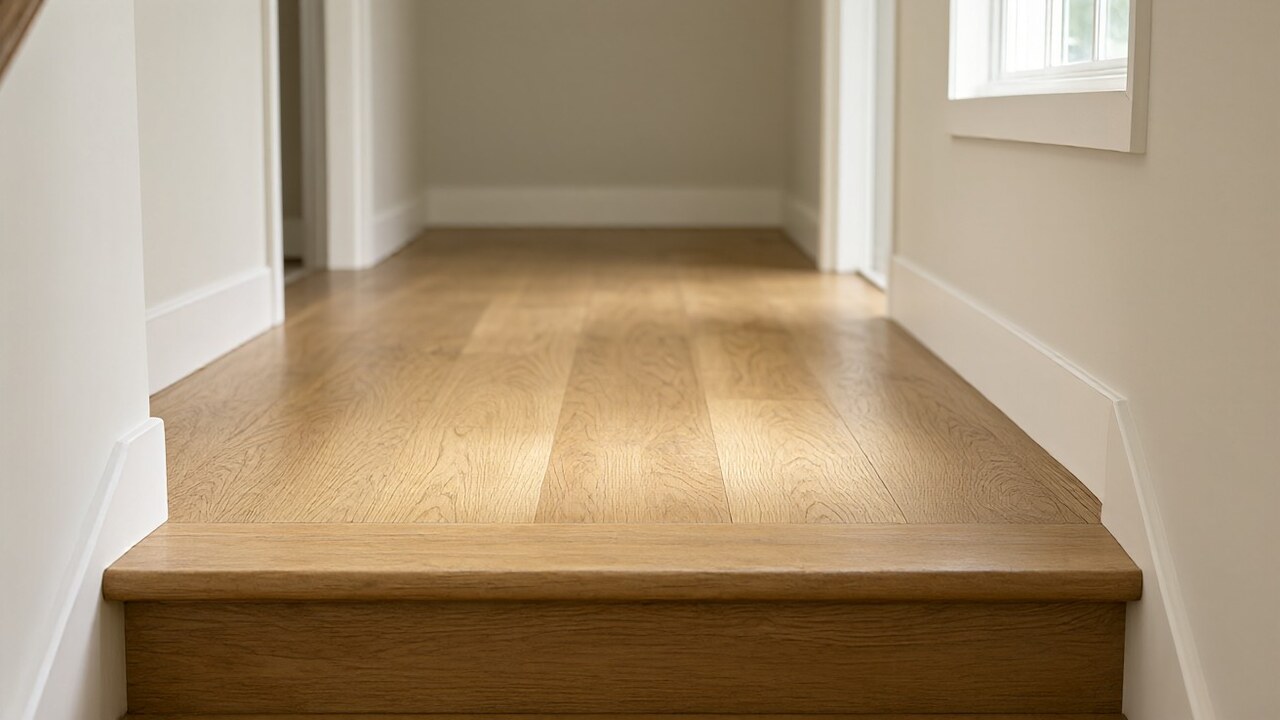
Overlaying tile adds height. Floating luxury vinyl plank or laminate over tile typically adds roughly one quarter to one half inch on top of a tile floor that already sits proud of the slab. That added height affects doors, appliances, and transitions.
Check every interior door for swing clearance and plan to trim door bottoms if needed. Exterior doors and sliders usually cannot be cut, so the new height must clear the threshold or tile removal becomes the better option.
Under counter appliances such as dishwashers can become trapped by a raised floor. Measure before committing. Where the new floor meets a different height, use reducers or T moldings to create a safe transition.
Transitions should be chosen to match the height difference. A reducer bridges floors of different heights, while a T molding connects floors of equal height. End caps finish edges at doorways or thresholds.
How Much Height Will the Overlay Add?
Expect roughly one quarter to one half inch of added height for floating vinyl or laminate over tile, plus any underlayment. New tile over tile can add three eighths to three quarters inch or more depending on mortar and tile thickness.
Measure the total stack height before ordering materials. Compare it against door clearances, appliance openings, and adjacent floor heights to decide whether overlay or removal is practical.
Moisture and Vapor Considerations
Tile itself is not a moisture barrier if it sits over concrete. Moisture can still migrate through the slab and affect overlay materials, especially wood based products. Test concrete moisture before installing over tile on a slab.
When moisture risk is present, use a vapor barrier or an underlayment with a built in moisture barrier as recommended by the flooring manufacturer. In humid climates or flood prone areas, removing the tile and addressing the slab directly may be the safer long term choice.
Tile over wood subfloors presents a different profile. Ensure the framing meets deflection limits and that no moisture is trapped between the tile and the overlay.
How Do You Manage Moisture Over a Concrete Slab?
Use relative humidity testing or calcium chloride testing as appropriate for the flooring product. Follow the manufacturer moisture limits for the overlay material, not just for tile.
If moisture exceeds limits, consider a moisture mitigation system or remove the tile to treat the slab directly. Installing a vapor barrier underlayment can help when levels are within the acceptable range.
Choosing the Overlay Material
The right overlay depends on flatness, height, and moisture tolerance. The table below summarizes common choices when installing over tile.
| Overlay material | Over tile feasibility | Key prep | Height impact |
|---|---|---|---|
| Luxury vinyl plank (floating) | Good if tile is sound and flat | Fill grout lines over 1/4 in; meet flatness limits | Low to moderate |
| Laminate (floating) | Good on flat, dry tile | Fill wide joints; use underlayment as specified | Low to moderate |
| New ceramic or porcelain tile | Possible with surface prep | Scarify or prime; meet ANSI flatness; verify load | Moderate to high |
| Engineered hardwood | Limited; manufacturer dependent | Often requires removal to substrate | Moderate |
Floating vinyl and laminate are the most forgiving over tile because they do not bond to the surface. New tile over tile requires careful surface preparation and load verification, and is best handled by a qualified tile contractor.
Uncoupling membranes such as Schluter DITRA, which is one eighth inch thick, can be used when installing new tile over tile to manage differential movement. DITRA XL at five sixteenths inch adds more height but can improve transitions to thicker hardwood.
Tile vs. Removing to the Substrate
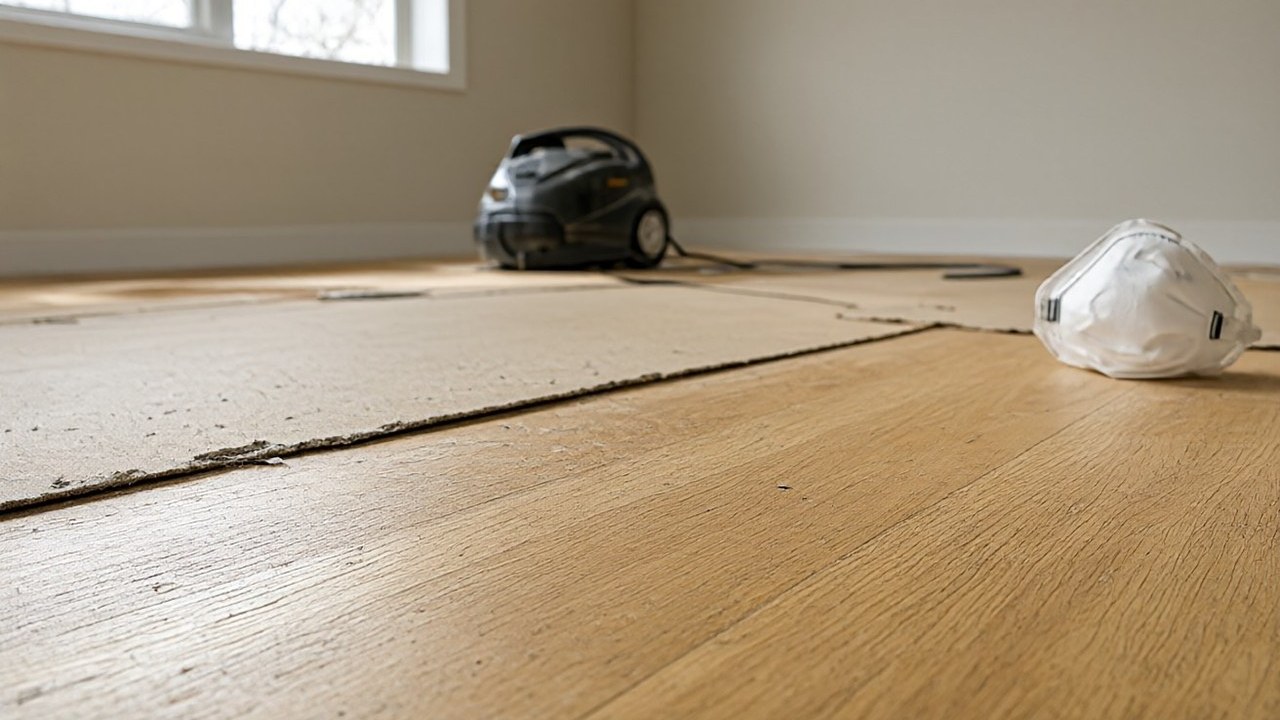
Keeping tile saves time and avoids demolition dust, but it locks in the tile height and hides any underlying problems. Removing tile exposes the true subfloor and allows correction of moisture, flatness, and structural issues.
Choose removal when tiles are loose, cracked, or hollow; when the floor has significant slope or lippage; when moisture is a known issue; or when added height would block doors or trap appliances.
If the tile is sound and flat, overlaying is often the more efficient path. Compare both options against the cost of removal and the risk of covering a compromised base.
Removal also allows you to inspect the mortar bed and subfloor for damage that tile may have concealed. In older homes, this inspection can reveal issues worth fixing before new flooring is installed.
Installation Sequence
Follow a consistent sequence to avoid rework. Inspect and tap test the tile. Measure flatness and mark corrections. Clean thoroughly and perform the water drop test. Patch and level as needed. Recheck flatness. Install the overlay per manufacturer instructions, including required underlayment and expansion gaps.
- Inspect and tap test all tiles.
- Measure flatness and mark high and low spots.
- Clean and degrease the surface.
- Perform the water drop test.
- Patch, level, and fill wide grout lines.
- Recheck flatness after curing.
- Install underlayment if required.
- Lay the overlay with proper expansion gaps.
- Install transitions, baseboards, and shoe molding.
Allow materials to acclimate if the manufacturer requires it. Maintain recommended expansion gaps at walls and fixed objects. Finish with transitions, baseboards, and shoe molding.
Common Mistakes
Skipping the tap test leaves hollow tiles in place. Ignoring grout line width allows telegraphing. Failing to check door and appliance clearance creates costly surprises. Installing over a dirty or sealed surface reduces bond and performance.
Another frequent error is assuming tile on concrete is dry. Always test moisture when the tile sits over a slab, especially in basements or humid climates.
Using the wrong patch product or skipping primer can lead to delamination. Follow manufacturer instructions for patch and underlayment products exactly.
Inspection Checklist
Use this checklist before ordering overlay materials.
| Check | Pass criteria |
|---|---|
| Tile bond | No hollow or loose tiles; solid tap tone throughout |
| Flatness | Within 1/4 in in 10 ft for small tile; 1/8 in in 10 ft for 15 in plus tile |
| Grout joints | 1/4 in or narrower, or filled flush |
| Deflection | L over 360 or better for framed floors |
| Moisture | Concrete moisture within manufacturer limits |
| Height clearance | Doors, appliances, and transitions accounted for |
For a broader pre installation review, see our guide on how to inspect a subfloor before installation.
Key Takeaways
Flooring over existing tile is feasible when the tile is sound, flat, and dry. Prepare the surface by cleaning, correcting flatness, and filling wide grout lines. Plan for added height at doors and transitions. Test moisture over concrete. Choose floating vinyl or laminate for the most forgiving overlay, and remove tile when the base is compromised.