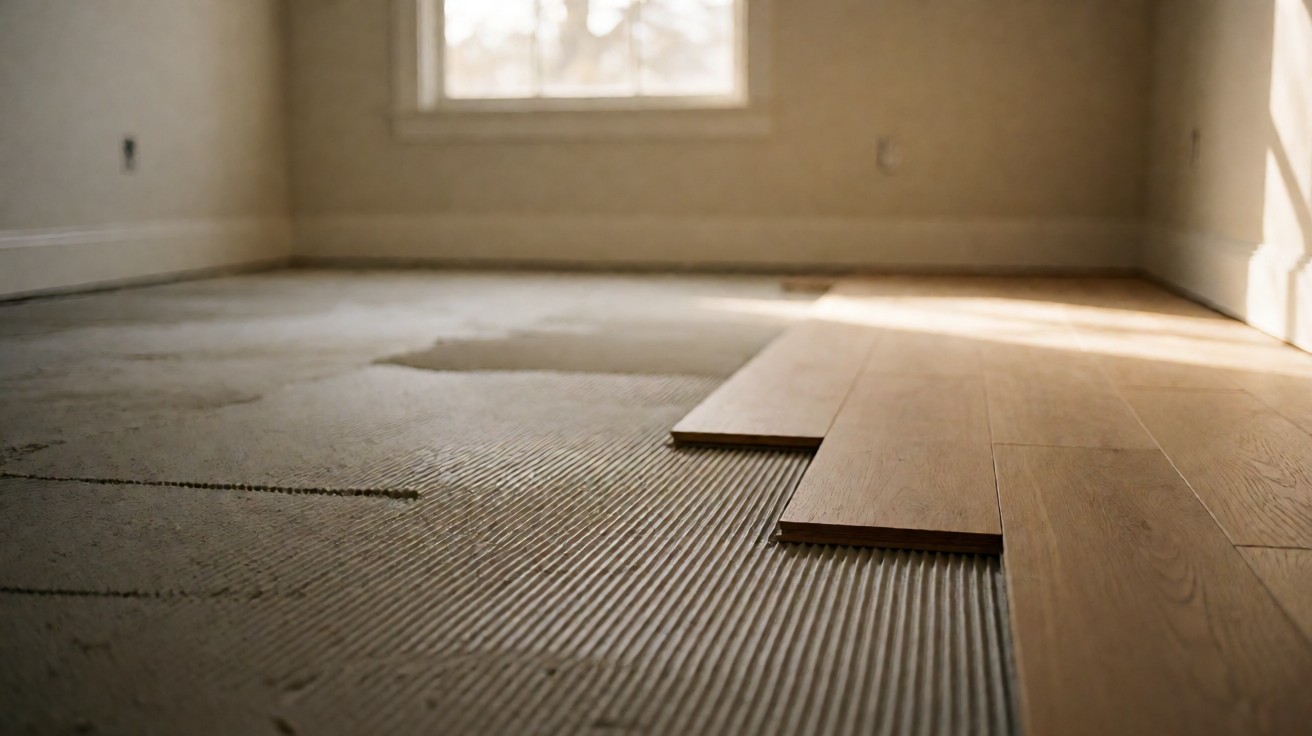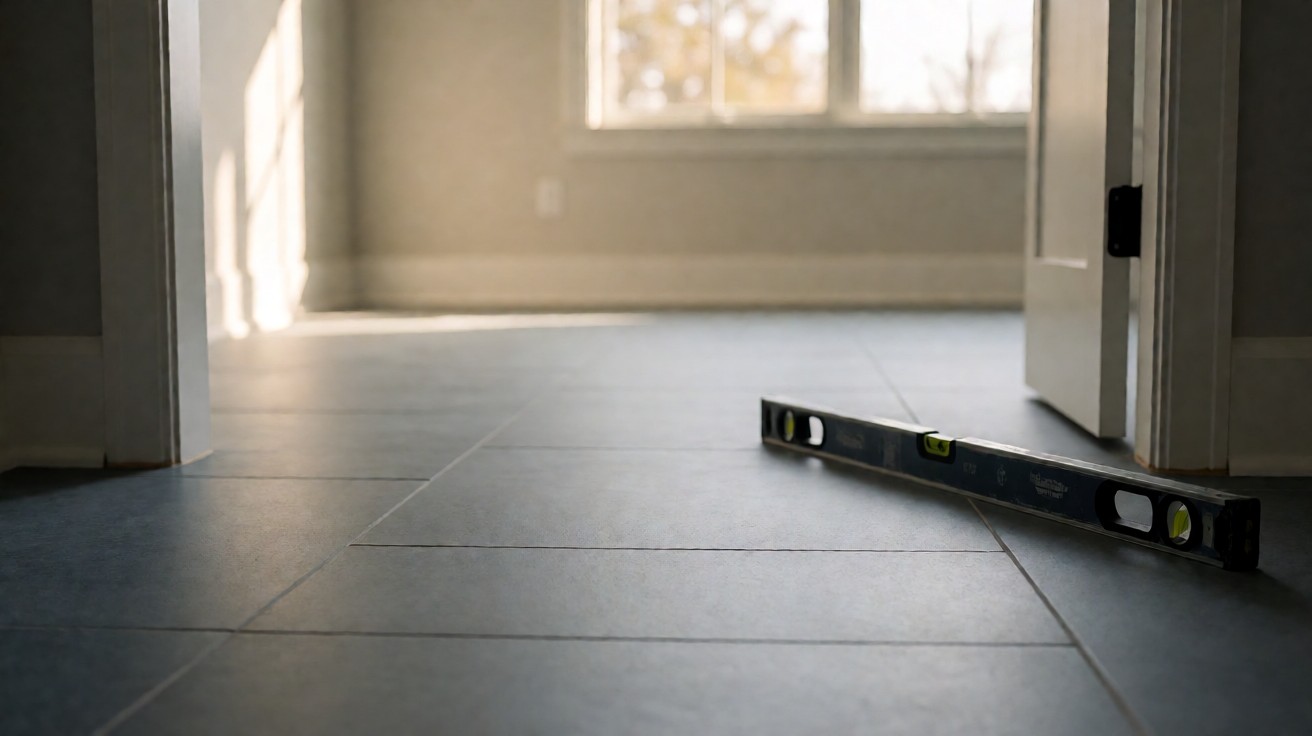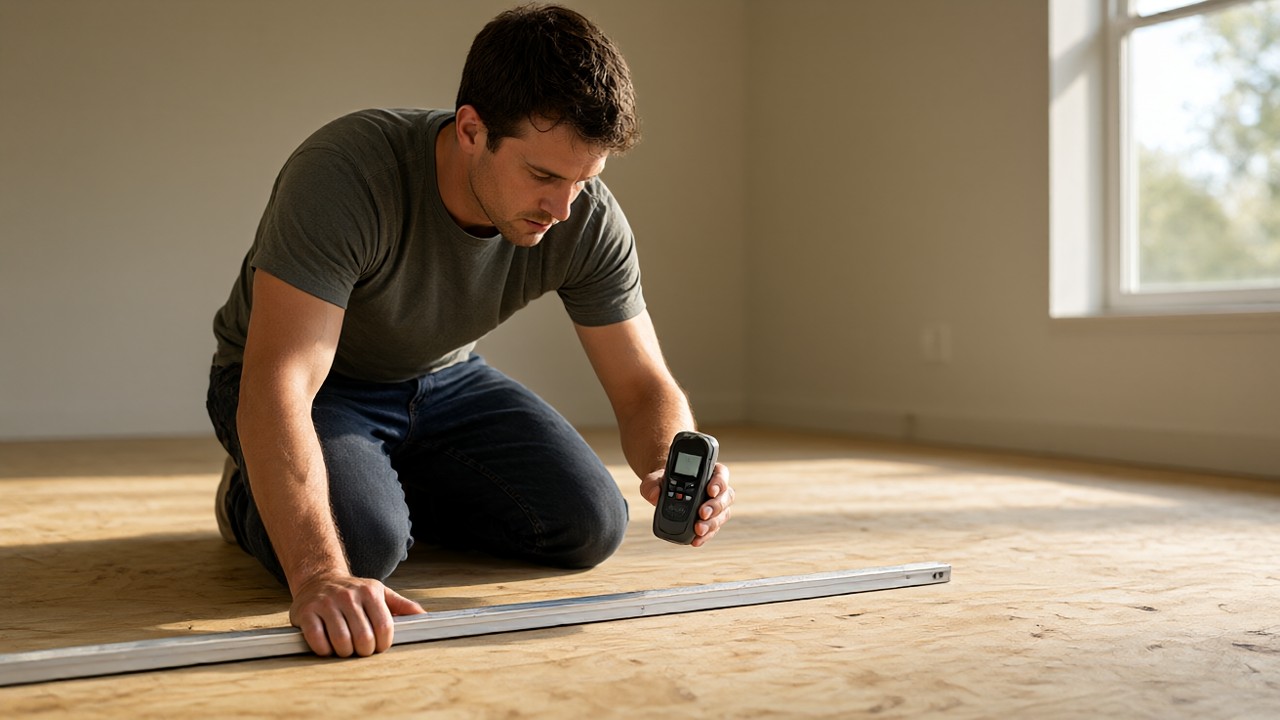

A plywood or OSB subfloor decides whether the new floor lasts ten years or ten months, and a full inspection takes one afternoon with a straightedge.
Start with a visual scan of the surface, then moisture, flatness, structure, fasteners, and hidden hazards. Each step is pass or fail, and a fail stops the job until it is fixed.
Work top to bottom and do not skip a step. Installing over a failed subfloor voids most manufacturer warranties and turns a one day job into a tear out.
What a Subfloor Inspection Covers
A subfloor is the structural layer that carries the finished floor. In most homes it is either plywood or oriented strand board (OSB) panels nailed or screwed to wood joists, or a concrete slab.
The inspection has six goals: confirm the material is sound, confirm it is dry enough, confirm it is flat enough, confirm the framing is stiff enough, confirm fasteners are secure, and confirm nothing hazardous is hiding underneath.
The finished floor you are installing sets the rules. A floating vinyl plank tolerates a slightly rougher subfloor than a glued hardwood strip, and ceramic tile demands far more stiffness than carpet. Always read the flooring manufacturer’s substrate requirements before you start, because those numbers override any general rule in this guide.
The tools you need are modest: a 6 foot straightedge or a 10 foot one, a tape measure, a pin type or pinless moisture meter, a pencil, a flashlight, a screwdriver, a hammer, a pry bar, and a phone camera. Add a long level for checking across doorways and a chalk line if you plan to map high and low spots.
Visual Inspection: Reading the Surface
Suppose you walk into a 1970s ranch house in Phoenix and the carpet is already pulled. The plywood looks fine from the doorway, but a flashlight at floor level reveals a dark stain near the dishwasher and a slight ridge along one seam. That ridge is a swollen edge from a past leak, and the stain means the panel has been wet. Both are fails, and both are cheap to fix now and expensive to ignore.
Start with the room empty and the old flooring removed where possible. Sweep the surface and then get down on your hands and knees with a flashlight held low and parallel to the floor. Raking light reveals everything overhead light hides: cupping, gaps, loose edges, and hollow spots.
Look for water stains, dark rings, or blackened areas, especially near exterior walls, bathrooms, kitchens, and under windows. A stain is evidence of a past leak even if the surface feels dry today. Press a screwdriver tip into any stained wood. If it sinks in or the wood crumbles, the panel is rotten and must be replaced, not patched.
Check every panel edge and seam. Gaps wider than one eighth of an inch between panels indicate movement or shrinkage and will telegraph through thin finishes. Raised edges, called peaking, mean moisture has swollen the panel core and the panel needs replacing. Panels that sit below their neighbors create a dip that will read through vinyl and tile.
Walk the whole floor in a grid pattern, heel first, listening and feeling. Squeaks, pops, and soft spots mark loose panels or failing fasteners. Bounce and spring mark undersized or over spanned joists. Mark every problem with a pencil circle and a note so you can find it again after you stand up.
Probe the surface for delamination. On plywood, tap with a hammer and listen for a hollow drum sound, which means the plies have separated. On OSB, look for swollen, raised strands at the edges, a sign that the panel has taken on water. Both conditions mean replacement, not repair.
What do water stains and cupping actually tell you?
A water stain tells you that water reached the panel at some point, which means the moisture history of the room is suspect even if a meter reads dry today. Cupping, where panel edges sit higher than the center, tells you the panel absorbed moisture unevenly and dried unevenly.
Both are reasons to test moisture in several spots and to find and fix the source of the water before any new material goes down.
Moisture Testing the Subfloor
Moisture is the number one cause of flooring failure, and it is the one check you cannot eyeball. Test before installation, after the home has been at normal living conditions for at least five days, and never on a slab that was poured within the last 30 days.
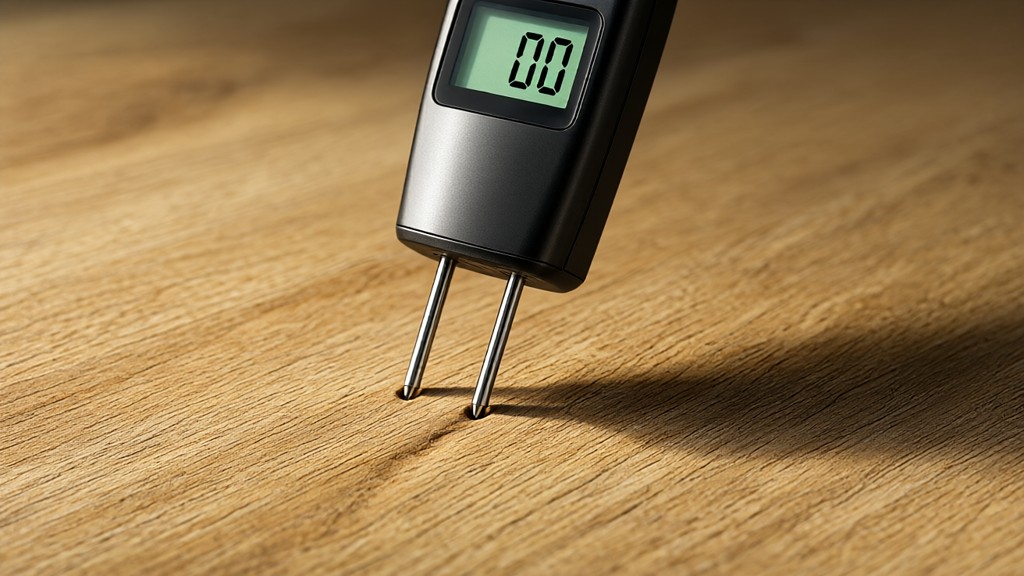
For wood subfloors, use a pin or pinless meter and take at least twenty readings per room, including near exterior walls, plumbing, and any known leak path. Record each reading. For concrete, use an in slab relative humidity probe per ASTM F2170, or a calcium chloride test per ASTM F1869, and follow the limits set by the adhesive or flooring manufacturer.
The general rule for wood is simple: the subfloor moisture content should be below 12 percent, and the difference between the subfloor and the flooring material should be no more than 4 percent.
Concrete is generally considered dry enough at 75 percent relative humidity or below, or 3 pounds per 1000 square feet per 24 hours on a calcium chloride test, but always defer to the product instructions.
| Subfloor material | Test method | Acceptable reading | Notes |
|---|---|---|---|
| Plywood or OSB | Pin or pinless meter | Below 12 percent MC, within 4 percent of flooring | Twenty or more spots per room |
| Concrete slab | In slab RH probe (ASTM F2170) | 75 percent RH or lower | Or 3 lb per 1000 sq ft per 24 h (ASTM F1869) |
| Wood joists and framing | Pin meter | Below 19 percent MC | Must be dry before enclosing |
| Existing hardwood subfloor | Pin meter | Below 12 percent MC | Acclimate new flooring to match |
If a reading fails, stop. Find the moisture source, fix it, and retest after the material has dried. Do not install a vapor barrier and hope for the best, because trapped moisture rots the framing from the inside out. Document every reading with a photo and a date so you have a record if a claim is ever filed.
How wet is too wet for a wood subfloor?
Anything at or above 12 percent moisture content on a pin meter is suspect, and anything above 16 percent means the subfloor is actively wet and must be dried and retested before installation.
If the subfloor reads wet and the flooring reads dry, the two will equalize after installation and the floor will cup or gap. Acclimate both to the same target instead of forcing the schedule.
Flatness and Levelness Testing
Floors do not need to be level, but they must be flat. A floor can slope two inches across a room and still be perfectly installable, as long as the surface has no sudden dips or humps. Flatness is what keeps planks from rocking, tile from cracking, and seams from opening.
Use a 6 foot straightedge for most rooms and a 10 foot one for large spaces. Lay it on the subfloor in multiple directions, rotate it 180 degrees at each spot, and move it across the whole floor in a grid.
Measure any gap between the straightedge and the subfloor with a feeler gauge, taper gauge, or a stack of coins. Mark high spots and low spots with a pencil.
The tolerances depend on the finish you are installing. Nail down hardwood allows the most deviation, floating floors demand more flatness, and tile demands the most. For tiles with at least one edge 15 inches or longer, the substrate must be within one eighth of an inch in 10 feet, and within one sixteenth of an inch in 24 inches measured from the high points.
| Finish being installed | Flatness tolerance | Test tool |
|---|---|---|
| Nail down hardwood | 3/16 in 6 ft or 1/4 in 10 ft | 6 ft straightedge |
| Floating wood, laminate, or vinyl | 1/8 in 6 ft or 3/16 in 10 ft | 6 ft straightedge |
| Ceramic tile, edges under 15 in | 1/4 in 10 ft | Straightedge |
| Large format tile, edge 15 in or longer | 1/8 in 10 ft | Straightedge |
| Natural stone | 1/8 in 10 ft (L/720) | Straightedge |
Fix high spots by sanding or grinding, following all dust safety rules. Fix low spots with a patching compound matched to the subfloor material, applied in thin lifts and allowed to cure fully. Never use shims under a floating floor, and never pour self leveling compound over a dirty or unprimed surface.
Structural Checks: Joists and Deflection
A flat surface on a bouncy frame will still fail, especially under tile and stone. Structural checks matter most over wood framing, and they are the one part of the inspection where you may need a contractor.
First, confirm joist spacing. Most residential floors use 16 inches on center, but 12, 19.2, and 24 inch spacing exist. The subfloor panel thickness must match the spacing, which is why the APA span rating is stamped on every panel. A 23/32 inch panel over 24 inch spacing is not the same assembly as the same panel over 16 inch spacing.
Check for vertical deflection by having someone walk across the room while you watch the floor from a low angle. Visible movement, a trampoline feel, or objects rattling on a table in the next room all indicate a framing problem.
The standard limit for ceramic tile is L/360, meaning the joist should not deflect more than its span divided by 360 under load. For stone, the limit tightens to L/720.
Inspect joists from below if you have a basement or crawl space. Look for cracked, notched, or water damaged joists, sagging, and missing blocking or bridging. Check for plumbing or electrical holes drilled through joists, especially near mid span, which weaken the member. A single cracked joist can often be sistered with a new member; widespread damage calls for an engineer.
Confirm the subfloor is fastened to the joists with the right pattern and that there is no vertical movement between panel and joist. If you can lift a panel edge with a pry bar, the fastening has failed and the panel needs to be re fastened or replaced before the new floor goes in.
How do you test deflection without instruments?
Stand at mid span of the longest joist run and bounce gently. If the floor feels springy, if a glass of water on a nearby table ripples, or if a partner watching from the side sees movement, the assembly is too flexible for tile or stone.
For wood and vinyl floors, mild flex is usually acceptable, but any movement you can feel underfoot will eventually telegraph through a floating floor as a hollow sound.
Fastener and Adhesive Residue Check
Every fastener in the subfloor must be flush or slightly below the surface. Walk the floor with a flat bar and a hammer and tap down any raised nails. Remove protruding screws or drive them deeper. Replace any fastener that spins, because a spinning screw holds nothing.
Squeaks usually come from fastener movement, not from the wood itself. The fix is to drive screws into the joist through the panel, not to squirt oil or powder into the gap. Use screws long enough to bite the joist but short enough to avoid plumbing and wiring below. Be mindful of what lies beneath before you drive anything.
Check for adhesive residue if a previous floor was glued down. Dried mastic, black cutback, and old epoxy all prevent new adhesives from bonding. Scrape what you can, then use the removal method the new adhesive manufacturer specifies. Some residues must be ground off, which raises dust and requires silica precautions.
Remove all staples, tack strips, and tackless strip nails from carpet installations. They sit proud of the surface and will puncture underlayment and vinyl. A flat scraper and pliers handle most of them, and a magnet sweeper clears the small ones you cannot see.
Hidden Hazards in Older Floors
Homes built before 1980 may contain asbestos in floor tile, sheet flooring, and the mastic that holds them. The only way to know is to have a sample tested by a qualified laboratory. It is not possible to tell by looking. If you suspect asbestos and plan to disturb the material, stop and have it sampled by an accredited inspector.
Lead is the other common hazard, especially in homes built before 1978 where lead based paint may be present on baseboards, thresholds, and adjacent trim. Sanding or grinding old finishes can create lead dust. Follow the EPA Renovation, Repair, and Painting rules, which require containment, HEPA vacuuming, and cleaning verification.
Old adhesive layers can hide other problems. Multiple layers of flooring built up over decades can raise the floor height, create trip hazards at doorways, and trap moisture between layers. Where the buildup is thick, removal down to the subfloor is usually safer than adding another layer on top.
If you find asbestos or lead, do not attempt removal yourself. Encapsulation or professional abatement is the safe path, and in some cases installing new flooring over the intact old layer is an accepted alternative. Keep records of whatever is left in place so future renovators know what is there.
Should you test every old floor for asbestos?
Test when the home was built before 1980, when the existing flooring is vinyl tile or sheet goods, when the material is damaged or crumbling, or when any removal will disturb it.
If the old floor is intact and you plan to install over it without disturbing it, testing is less urgent, but you should still document what is there and assume it may contain asbestos until proven otherwise.
When to Repair vs Replace the Subfloor
Small, isolated problems are usually repairable. A single soft spot can be cut out in a square and patched with a new panel of the same thickness, supported by blocking at the seams. A few squeaks can be silenced with screws. A high spot can be sanded. A low spot can be filled.
Replace a panel when it is rotten, delaminated, swollen at the edges, or has been wet long enough to lose strength. Replace when more than a few panels are damaged, because patching becomes more expensive than re sheeting. Replace when the joists below are damaged and the panels have lost their fastening.
Concrete slabs are a different decision. Cracks, spalling, and hollow spots usually need repair with a concrete patching compound or a self leveling underlayment, not replacement. A slab that is actively moving or has a moisture problem that cannot be solved is the point where you call a structural or moisture specialist before spending money on flooring.
When in doubt, the rule is simple: if the subfloor cannot pass every check in this guide after reasonable repair, replace it. Flooring is the visible, expensive part of the job, and it deserves a sound base.
Subfloor Inspection Checklist by Floor Type
Use this checklist as a final sign off. Every item must pass before installation begins.
For material-specific preparation rules, see OSB subfloors: preparation and limitations and concrete slab subfloors.
| Check | Wood subfloor | Concrete slab |
|---|---|---|
| Surface sound, no rot or delamination | Required | Required |
| No water stains or active moisture | Required | Required |
| Moisture reading within limits | Below 12 percent MC | 75 percent RH or lower |
| Flat within tolerance for finish | Required | Required |
| Joist spacing matches panel rating | Required | Not applicable |
| Deflection within L/360 tile, L/720 stone | Required | Required |
| All fasteners flush | Required | Not applicable |
| No adhesive residue or staples | Required | Required |
| Asbestos and lead ruled out | Required in pre 1980 homes | Required in pre 1980 homes |
Photograph the empty, inspected subfloor from several angles and save the moisture readings with the date. That record is your proof if a flooring claim is ever questioned, and it is the first thing a good installer asks to see.
Common Mistakes to Avoid
The most common mistake is skipping moisture testing because the surface looks dry. Looks mean nothing. A subfloor can read 16 percent moisture content and feel bone dry to the hand. Test every time, in every room, and record the numbers.
The second mistake is confusing level with flat. A floor that slopes is not a problem. A floor with a hump in the middle is. Measure flatness with a straightedge, not a bubble level, and fix the surface, not the slope.
The third mistake is installing over a squeak instead of fixing it. A squeak under a new floor is a squeak you will hear for the life of the floor, and fixing it later means pulling up the finish. Silence it now with screws into the joists.
The fourth mistake is ignoring the flooring manufacturer’s substrate sheet. General rules are a starting point, but the product you bought has specific requirements for moisture, flatness, and approved subfloor materials. Those requirements are what the warranty references.
Final Sign-Off Before Installation
A subfloor inspection is not a formality. It is the gate that every other step of the project depends on. Run the visual scan, take the moisture readings, check flatness with a straightedge, verify the framing, clear the fasteners and residue, and rule out hazards. Only when every item passes should material be delivered and the installation scheduled.
If you are not sure about a reading, a crack, or a joist, bring in a professional for that one question. A single hour of an inspector’s or contractor’s time costs far less than tearing out a new floor. For more on preparing the base, see our guides to plywood subfloors, subfloor versus underlayment, and subfloor preparation.
The National Wood Flooring Association publishes detailed installation guidelines worth reading before any wood floor project.
For more on this topic, see Subfloor for Tile: What Tile Actually Needs Underneath
For more on this topic, see Subfloor for Hardwood: What Hardwood Flooring Actually Needs Underneath