
Learn how to identify subfloor damage using surface clues, moisture readings, and structural checks, and decide whether to repair or replace affected panels.
The right answer is to confirm the cause before you cut anything: probe the wood, take a moisture reading, and only replace panels that are actually rotten or delaminated. Most subfloors that feel soft are wet, not ruined, and drying them in time saves the finished floor above.
Work through the checks below in order. Each one narrows the cause and the fix, and none of them requires pulling up the whole floor on day one.
What Subfloor Damage Looks Like and Why It Matters
Subfloor damage shows up as a loss of stiffness, strength, or flatness in the deck. The finished floor then behaves like a drum skin stretched over a weak frame: it flexes, creaks, gaps open, and in wet cases it cups or buckles. Left alone, a damaged subfloor keeps degrading because the same moisture or load that caused it is still present.
There are four broad failure modes. Rot from prolonged moisture exposure. Delamination of plywood or oriented strand board (OSB) when the glue line fails. Fastener withdrawal or corrosion that lets panels move. And structural deflection when joists or supports are undersized or damaged. The symptoms overlap, but the cause decides the repair.
Why it matters: a soft or rotted subfloor voids most flooring warranties, since manufacturers require a structurally sound, dry, flat substrate. It also becomes a safety issue when a panel breaks through under load. Identifying the damage type early lets you scope the repair before it spreads.
The Most Common Causes of Subfloor Damage
Moisture is the dominant cause. Water from a slow plumbing leak, an overflowing appliance, a roof or window leak, high indoor humidity, or a damp crawl space can all raise the moisture content of wood subfloors above safe levels. The National Wood Flooring Association (NWFA) notes that prolonged wetting can swell and distort panel subfloors, and that the subfloor should not exceed about 13 percent moisture content during the humid season in most US climates.
Second is installation and construction defects: panels that were not glued and screwed, spacing that is wrong, or panels laid over a wet slab. Third is age and wear: repeated loading, heavy point loads, and old fasteners that loosen. Fourth is biological attack: termites and carpenter ants in wood framing, and mold colonization once moisture persists.
Each cause leaves a different signature. Water damage tends to be localized and follows a path from the leak. Fastener failure shows as movement and noise across a wider area. Termite damage is hidden inside members and often shows as hollow-sounding wood. Matching the symptom to the cause is the core of identification.
Visual Signs of Subfloor Damage From the Surface
You can often read subfloor condition without removing anything. Walk the room slowly and note where the floor feels or sounds different. Common surface-level signs include:
- Soft or spongy spots that give underfoot, often near sinks, tubs, dishwashers, toilets, or exterior doors.
- Squeaks and creaks that repeat in the same spot, caused by panel movement against fasteners or joists.
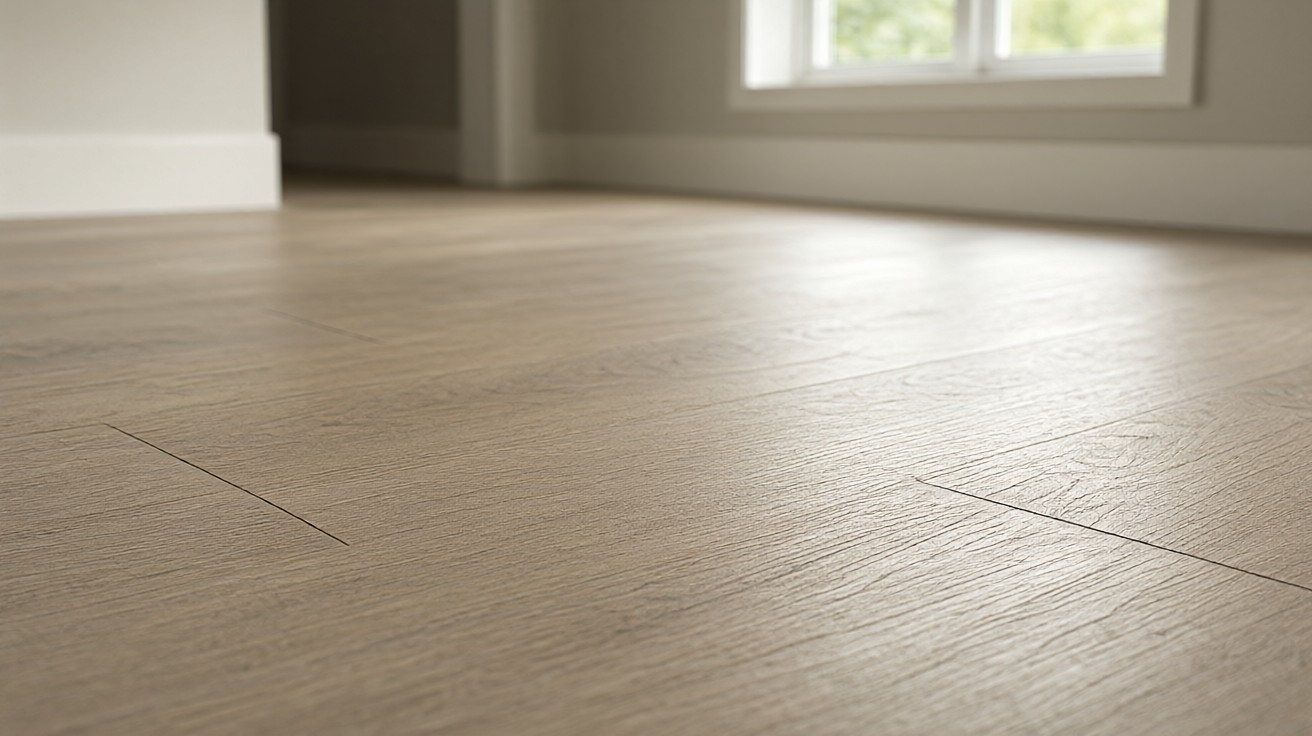
- Cupping, crowning, or buckling of wood or laminate planks, which points to moisture moving up from the subfloor.
- Gaps opening between planks or tiles, or grout cracking, which points to differential movement.
- Staining, discoloration, or a musty odor at baseboards, which suggests water has reached the deck.
- Visible mold or mildew at floor edges or in closets.
None of these alone proves subfloor damage. A squeak can be a loose nail; cupping can be a humidity swing in the room. The next steps confirm or rule out the deck itself.
How to Confirm Subfloor Damage Under the Floor
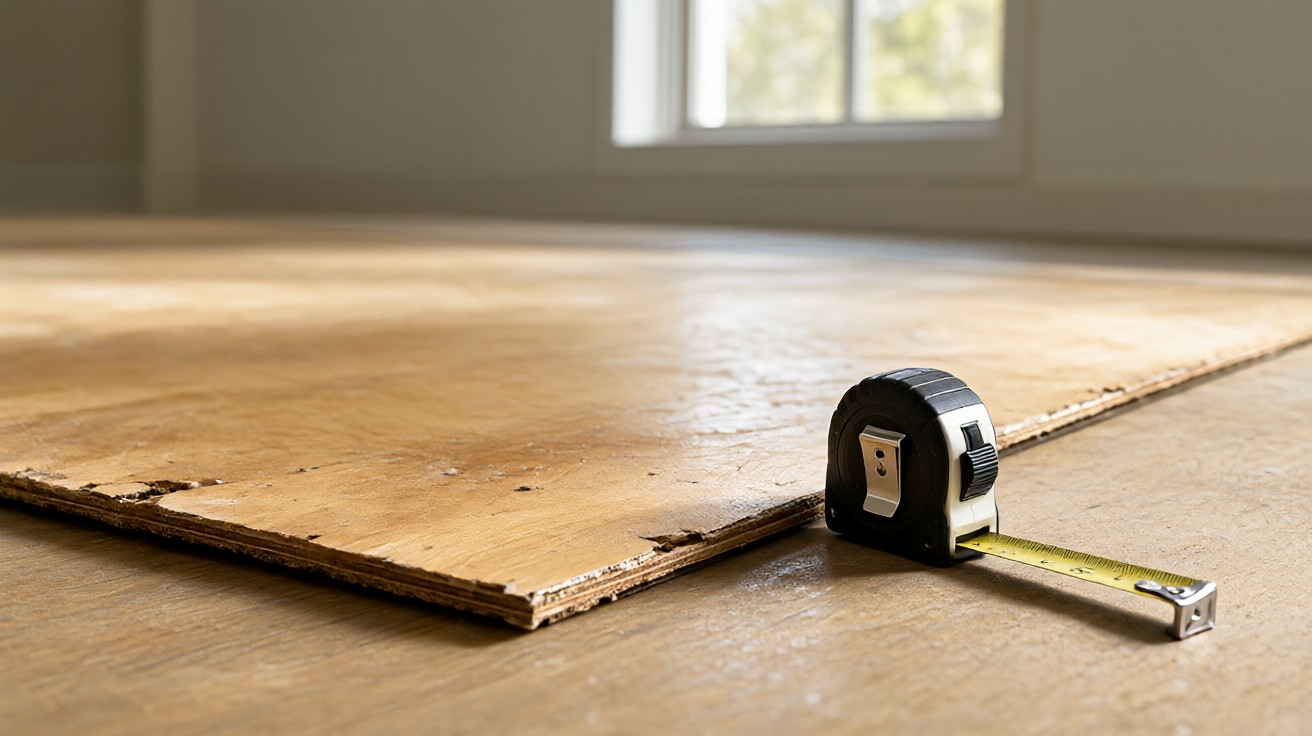
Once surface clues point to the deck, you need direct evidence. The least destructive route is to check from below if the floor is over a basement or crawl space. Look up at the underside of the subfloor for staining, sagging, mold, or daylight through gaps. Press a screwdriver into suspect wood; sound wood resists, while rotted wood crumbles or feels punky.
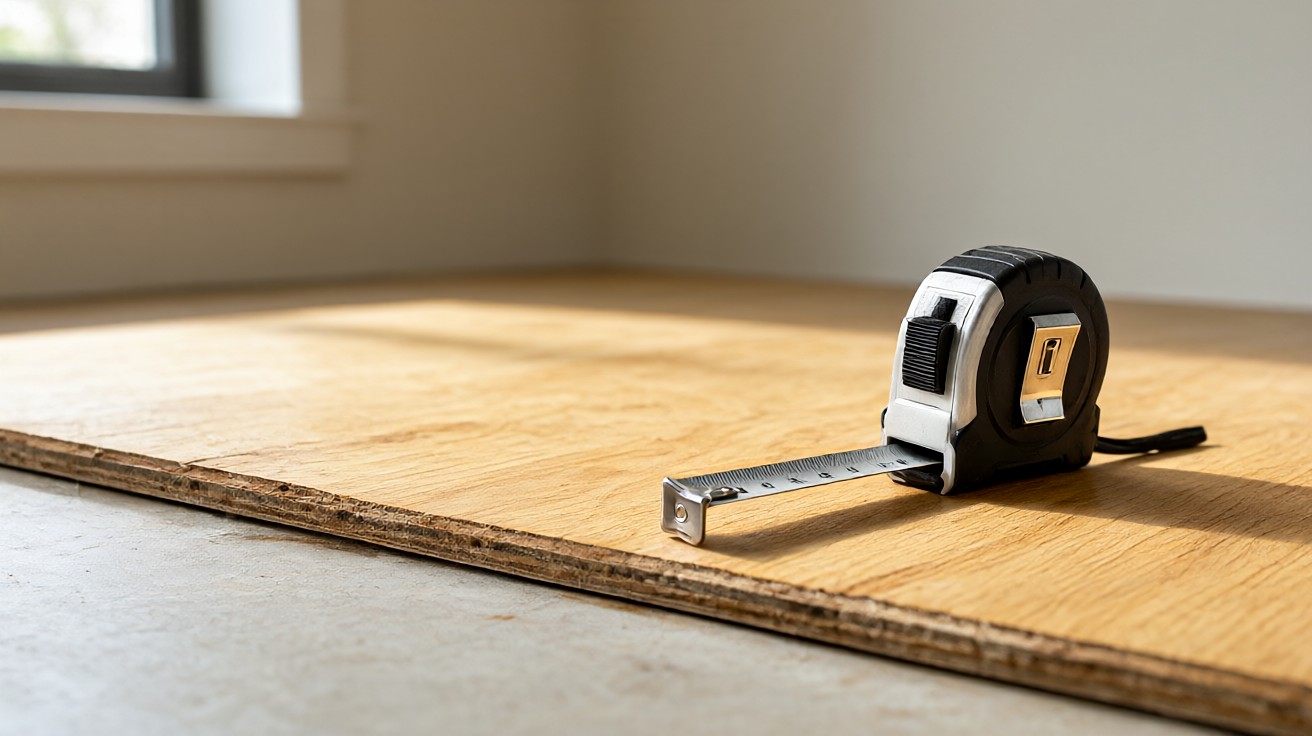
If there is no access from below, you will need to lift a small section of finished flooring. Choose a spot that is already loose, a closet, or a threshold. Cut and remove a small plug of flooring and the underlayment to expose the subfloor panel, then inspect and test the wood directly. Keep the cut small and square so it can be patched.
While the panel is exposed, check fasteners. Are they corroded? Are nails backing out? Is the panel glued to the joists or only nailed? Unbonded panels move more and fail earlier. Also check panel edges for swelling, which indicates moisture absorption at the seams.
How Can I Tell If the Subfloor Is Rotten?
Rot (decay) is fungal breakdown of wood cellulose. It feels soft and crumbly, often darkened, and may smell musty. Probe with a flat screwdriver: sound wood holds the point; rotted wood lets it sink in with little resistance. Brown rot leaves wood dry and crumbly; white rot leaves it spongy and stringy. Either way, rotted wood has lost structural value and must be replaced, not dried.
Is Delamination the Same as Rot?
No. Delamination is separation of the plies in plywood or the strands in OSB when the adhesive fails, usually from moisture cycling. The panel can look intact from above but feel hollow or flexy, and the layers peel apart at the edges. Delaminated panels lose stiffness even when the wood itself is not decayed, so they also need replacement when widespread.
Moisture Testing and What the Numbers Mean
Moisture is both a cause and a measurement you can act on. Use a pin-type moisture meter on wood subfloors and follow the manufacturer’s species correction settings. For concrete slabs, use in-situ relative humidity probes per ASTM F2170 or calcium chloride testing per ASTM F1869, and follow the flooring manufacturer’s limits.
Common reference points from industry guidance:
| Substrate | Typical limit | Source |
|---|---|---|
| Wood subfloor, humid season | Not above 13 percent moisture content | NWFA Installation Guidelines |
| Solid strip flooring (under 3 inch width) versus subfloor | Subfloor no more than 4 percent wetter than the flooring | NWFA Installation Guidelines |
| Solid plank flooring (3 inch and wider) versus subfloor | Subfloor no more than 2 percent wetter than the flooring | NWFA Installation Guidelines |
| Concrete slab, MVER | Commonly 3 to 5 pounds per 1,000 square feet per 24 hours | ASTM F1869 and manufacturer specs |
| Indoor relative humidity | Below 60 percent, ideally 30 to 50 percent | US EPA moisture control guidance |
Always defer to the flooring manufacturer’s written limits, which can be stricter than the industry defaults above. If readings are high, find and fix the water source before any repair. Drying a panel that is still being fed water only delays the failure.
The US Environmental Protection Agency (EPA) advises drying water-damaged areas within 24 to 48 hours to prevent mold growth, and keeping indoor relative humidity below 60 percent. Those two rules are the cheapest insurance against subfloor damage in humid climates.
What Moisture Reading Is Too High for a Subfloor?
A wood subfloor above about 13 percent moisture content in the humid season is too wet for most installations, and a subfloor more than 2 to 4 percent wetter than the flooring risks later cupping. For concrete, follow the manufacturer’s RH or MVER limit. When in doubt, dry first and re-test.
Structural and Fastener Clues
Not all damage is moisture. Check the framing and fasteners for these signs:
- Joists that are cracked, notched too deeply, or sagging, which show as a dip across a wider span rather than a localized soft spot.
- Fastener corrosion or withdrawal, visible as raised nail heads or loose screws, which lets panels pump and squeak.
- Inadequate fastening patterns, such as panels nailed only at the edges or not glued to joists.
- Termite or carpenter ant damage, often found by tapping framing and listening for a hollow sound, or by finding frass and mud tubes.
- Overloaded spans, such as a heavy kitchen island or water heater on a floor not designed for the point load.
Tap suspect areas with a hammer handle. A sharp, solid sound indicates sound wood; a dull, hollow thud suggests decay or voids. Combine this with moisture readings and probing to separate rot from deflection.
Concrete Slab Subfloor Damage Signs
Slab subfloors fail differently. Look for:
- Cracks, especially those that are widening, heaving, or accompanied by vertical displacement.
- Efflorescence (white mineral deposits) or dark staining, which indicates moisture migration.
- Spalling or crumbling concrete at the surface.
- High moisture readings on RH probes or calcium chloride tests.
- Adhesive failure or blistering of resilient flooring, which often traces back to slab moisture.
ASTM F710 sets the baseline for preparing concrete slabs to receive resilient flooring: the slab must be permanently dry, clean, smooth, and structurally sound, free of substances that prevent adhesive bonding. A slab that does not meet those conditions is not ready for flooring, regardless of how the surface looks.
For laminate over concrete, industry guidance such as NALFA recommends a fully cured slab (at least 90 days), a 6-mil vapor barrier, and underlayment, with moisture test results below the product’s specified threshold.
When Soft Spots Mean Rot Versus Deflection
A soft spot is ambiguous. Rot is localized, often near a water source, and the wood probes soft and crumbly. Deflection is a flex across a wider area, often between joists, with wood that is sound but undersupported. Press the area and watch adjacent panels: if only one panel moves, suspect rot or fastener failure; if a broad area bows, suspect joist or span issues.
Deflection can also come from an oversized tile or stone load on a floor designed for lighter finishes. In that case the subfloor may be intact but the framing is at its limit. The fix is structural reinforcement, not panel replacement.
What to Do After You Identify Damage
Once you have identified the damage type and extent, follow this sequence:
- Stop the water or load source that caused it.
- Dry the area and verify with moisture readings before any repair.
- Remove and replace rotted or delaminated panels, cutting back to the center of the nearest joist so the replacement is supported on all edges.
- Re-fasten or re-glue loose panels and add blocking where needed.
- Level and flatten the repaired area before installing new flooring.
- Re-test moisture after repair and before installation.
Small, localized damage is a manageable DIY repair. Widespread rot, mold over about 10 square feet, or any structural framing damage should be handled by a qualified contractor. The EPA guidance notes that moldy areas larger than about 10 square feet (roughly 3 by 3 feet) usually warrant professional cleanup.
Repair Versus Replace: Decision Guide
| Condition | Recommended action | Rationale |
|---|---|---|
| Localized rot in one panel, sound joists | Replace the panel section | Restores strength at low cost |
| Delamination across multiple panels | Replace all affected panels | Stiffness cannot be restored by drying |
| High moisture, wood still sound | Dry, monitor, then install | Avoids unnecessary demolition |
| Cracked or sagging joists | Structural repair or reinforcement | Panel replacement alone will not fix deflection |
| Slab cracks with vertical displacement | Professional structural assessment | May indicate foundation movement |
| Mold over about 10 square feet | Professional remediation | Health and safety considerations |
When in doubt, replace. A subfloor panel is inexpensive relative to the finished floor and labor above it, and a partial repair that fails later costs more than doing it right once.
Preventing Future Subfloor Damage
Prevention is cheaper than repair. Keep these habits:
- Fix leaks promptly and dry wet areas within 24 to 48 hours.
- Maintain indoor relative humidity between 30 and 50 percent.
- Ensure crawl spaces are ventilated or encapsulated with a ground vapor barrier.
- Slope soil away from the foundation and keep gutters clear.
- Use moisture-tolerant materials in basements and laundry rooms.
- Follow manufacturer moisture limits before installing any new floor.
If you are planning new flooring, see our guides on how to identify flooring moisture damage, why floors feel uneven, and why flooring is buckling or lifting for the companion checks that often overlap with subfloor issues.
How Do I Know If My Subfloor Is Damaged?
Look for soft or spongy spots, repeated squeaks in the same location, cupping or buckling of the finished floor, gaps opening between planks, staining or musty odors at baseboards, and visible mold. Confirm by probing the wood from below or through a small opening in the finished floor.
Can a Damaged Subfloor Be Repaired Without Replacing It?
Moisture-damaged but sound wood can be dried and monitored. Rotted, delaminated, or structurally compromised panels must be replaced. Fastener and squeak issues can often be fixed by re-fastening or adding blocking without replacing panels.
How Much Does Subfloor Repair Cost?
Costs vary by extent and access. A single panel replacement is a modest repair, while widespread rot or framing work is a larger project. Get a written scope and quote from a contractor, and confirm whether the finished flooring must be removed and reinstalled.
Should I Test for Mold When I Find Subfloor Damage?
If the area smells musty or shows visible mold, test or have it assessed, especially if anyone in the home has respiratory issues. The EPA recommends prompt cleanup and fixing the moisture source, with professional help for larger affected areas.
Do I Need to Replace the Finished Floor Too?
Not always. If the finished floor was removed carefully or was already loose, it can sometimes be reinstalled after the subfloor repair. Glued or nailed floors that must be cut out are usually replaced. Check the flooring manufacturer’s guidance.