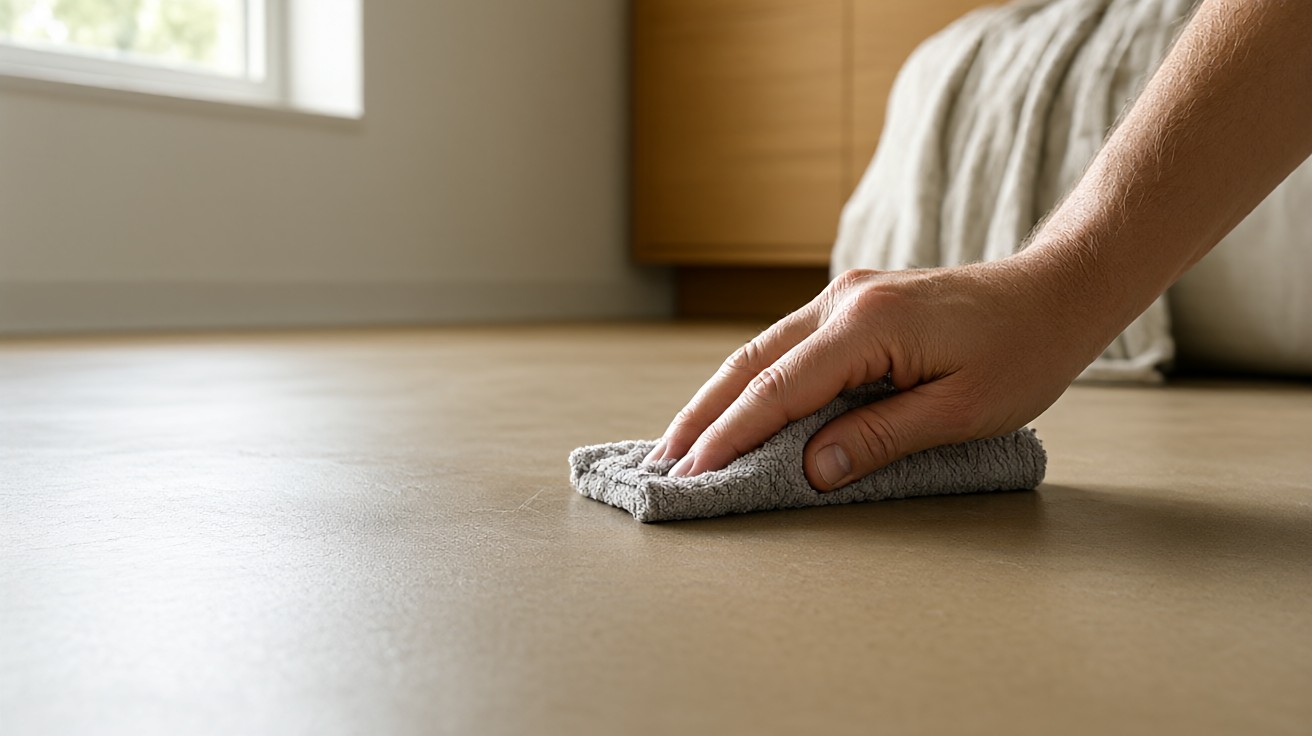

A black rubber scuff on a light floor is a surface deposit, not a scratch, so it lifts in minutes with a cloth, tennis ball, or pH-neutral cleaner.
Sweep first, then buff dry with a clean microfiber cloth or a tennis ball, and only escalate to a pH-neutral cleaner, a melamine sponge, or a baking soda paste when the dry pass fails. Test every cleaner in a hidden spot first, because the right move depends on the floor material as much as the mark.
What a scuff mark actually is
A scuff mark is a deposit, not a groove. Rubber shoe soles, chair leg caps, and luggage wheels leave a thin layer of polymer on the floor surface. The layer is usually only a few microns thick, which is why a dry buff lifts it. A scratch, by contrast, cuts through the wear layer and into the decorative or wood layer underneath, and no amount of buffing restores it.
The test is simple. Run a fingernail across the mark. If the nail catches, it is a scratch or a gouge. If the nail glides over it, it is a scuff and the methods below apply. On a 0.5 mm wear layer, a scratch that reaches the decorative layer cannot be cleaned away, only concealed.
Before you start: sweep, test, and dry
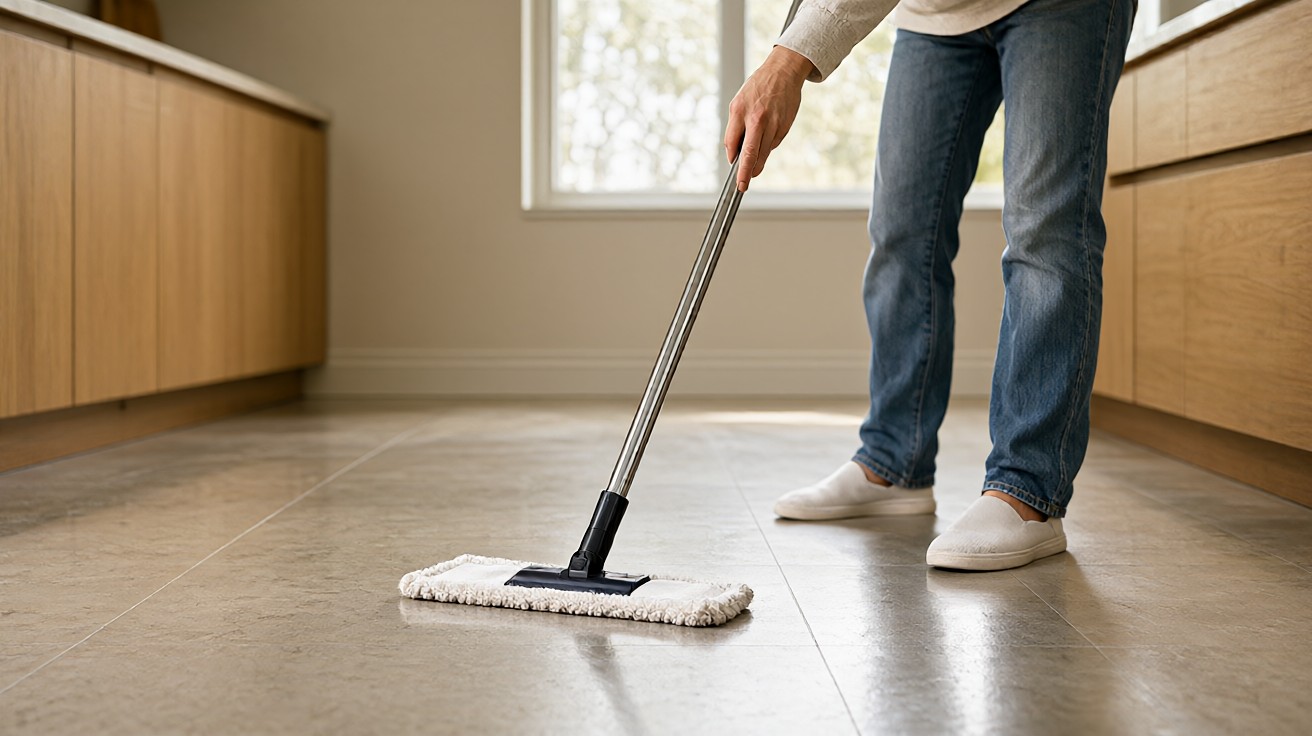
Sweep or vacuum the area first. Grit under the cloth becomes a scratch maker once you start rubbing. Use a soft broom or a vacuum with a hard-floor head; skip the beater bar on vinyl and laminate.
Test every product in a hidden spot, such as inside a closet or under a sofa. Wait five minutes and check for dulling, discoloration, or a cloudy patch. A pH-neutral cleaner rated for the specific floor type is the safest default; the label should state the material it is approved for.
Work dry before wet. Moisture softens the finish on some wood floors and can swell laminate joints if it seeps into seams. A dry microfiber cloth removes roughly 80 percent of fresh scuffs on its own.
A 5 cm scuff on a 12 mm laminate plank is cosmetic, not structural.
Good luck and clean gently.
Keep a dedicated scuff kit in the cleaning cupboard: one microfiber cloth, one tennis ball, one melamine sponge, and a small bottle of pH-neutral cleaner. Having tools ready cuts response time from ten minutes to two.
Method one: dry buffing with a cloth or tennis ball
For a fresh scuff on hardwood, vinyl, or laminate, dry buffing is the first and often the only step needed.
- Fold a clean microfiber cloth into a pad and rub the mark with firm, short strokes.
- Work in the direction of the boards on wood and laminate; on tile, use small circles.
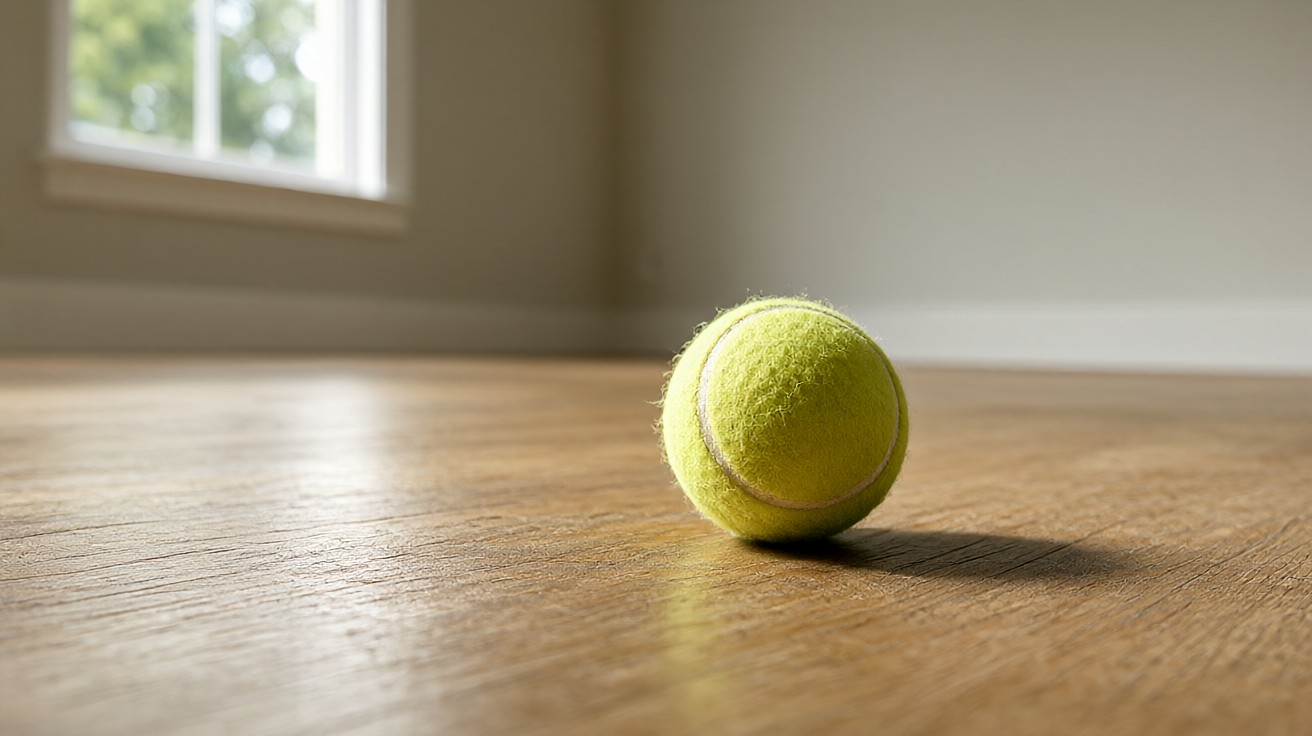
- For stubborn rubber marks, use the flat side of a clean tennis ball and rub with moderate pressure.
- Wipe the residue with a dry cloth and check the mark.
A tennis ball works because the rubber compound grabs the deposited rubber and rolls it off without abrading the finish. Replace the ball once the contact patch turns black with transferred rubber. On a 60 cm by 60 cm area, one pass with a tennis ball clears a typical black shoe scuff in 30 to 60 seconds.
Method two: melamine sponge for stubborn marks
A melamine sponge acts like ultra-fine sandpaper. It removes the scuff but also micro-abrades the finish, so use it sparingly and only on sealed surfaces.
- Dampen the sponge and squeeze out excess water until it is barely moist.
- Rub the scuff lightly with short strokes, checking progress every few seconds.
- Stop as soon as the mark lifts; do not chase a faint haze.
- Wipe with a damp cloth and dry immediately.
Avoid melamine on high-gloss, satin, dark, brushed, or faux finishes, on bare or polished wood, and on any surface where the manufacturer warns against abrasives. On a typical polyurethane hardwood floor, three or four light passes remove a scuff; ten passes start to dull the gloss by about one sheen level.
Method three: baking soda paste for tile and vinyl
Baking soda is a mild abrasive that works well on ceramic tile, porcelain, and sealed vinyl. It is not recommended for painted walls, bare wood, or oil-finished timber, where it can scratch or dull the surface.
- Mix two parts baking soda with one part water into a paste.
- Apply a pea-sized amount to a soft cloth and rub the scuff in a gentle circular motion.
- Rinse with a clean damp cloth and dry.
On ceramic tile, a baking soda paste clears a rubber shoe scuff in roughly 20 to 40 seconds of gentle rubbing. Rinse thoroughly, because residue left on the floor can leave a white film that looks worse than the original mark.
Method four: rubbing alcohol for vinyl and rubber marks
Rubbing alcohol dissolves the plasticizers in rubber scuffs, which is why it lifts marks that buffing alone cannot. Mix equal parts warm water and rubbing alcohol, apply with a microfiber cloth, and rub gently. Test first on vinyl, because some vinyl finishes cloud when exposed to solvent.
Allow the solution to sit for 30 seconds on a stubborn mark before wiping. Never use alcohol on oil-finished or waxed wood, on natural stone, or near grout lines that are unsealed.
Floor by floor: which method to use
| Floor type | Try first | Escalate to | Avoid |
|---|---|---|---|
| Sealed hardwood | Dry microfiber or tennis ball | Melamine sponge (light) | Baking soda, vinegar, excess water |
| Laminate | Dry microfiber cloth | pH-neutral laminate cleaner | Steam, abrasives, standing water |
| Vinyl / LVT | Damp microfiber with warm water | Baking soda paste or alcohol solution | Strong solvents, rough pads |
| Hybrid / SPC | Damp microfiber cloth | pH-neutral cleaner approved for hybrid | Steel wool, bleach, ammonia |
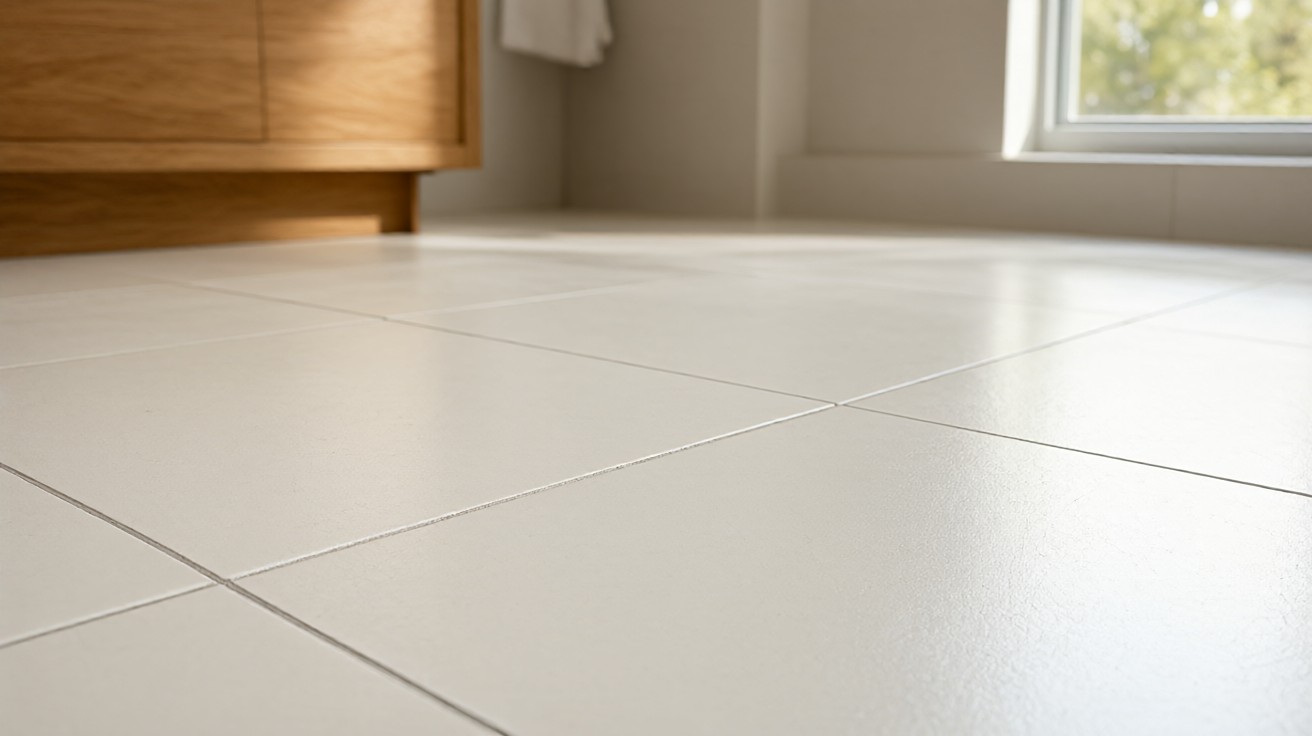
| Ceramic / porcelain tile | Damp microfiber cloth | Baking soda paste, tile cleaner | Abrasive pads on polished tile |
| Polished concrete | Damp microfiber with water | pH-neutral concrete cleaner | Acidic or strong chemical cleaners |
When a scuff is actually a scratch
Not every dark mark is a scuff. A scratch shows as a line or groove that remains after cleaning. A damaged finish looks dull or cloudy compared with the surrounding area. A deep gouge exposes the substrate or the decorative layer.
If the mark survives two gentle cleaning passes, stop. Further scrubbing removes finish and turns a removable scuff into a permanent dull patch. On a polyurethane floor, the wear layer is typically 0.3 to 0.6 mm thick; once it is gone, the wood underneath absorbs moisture and stains.
Repair options for a confirmed scratch include a manufacturer-approved touch-up marker, a wax repair stick matched to the floor color, or a professional recoat of the affected zone. None of these are cleaning steps, and none should be attempted before confirming the mark is not a surface scuff.
Preventing scuff marks in the first place
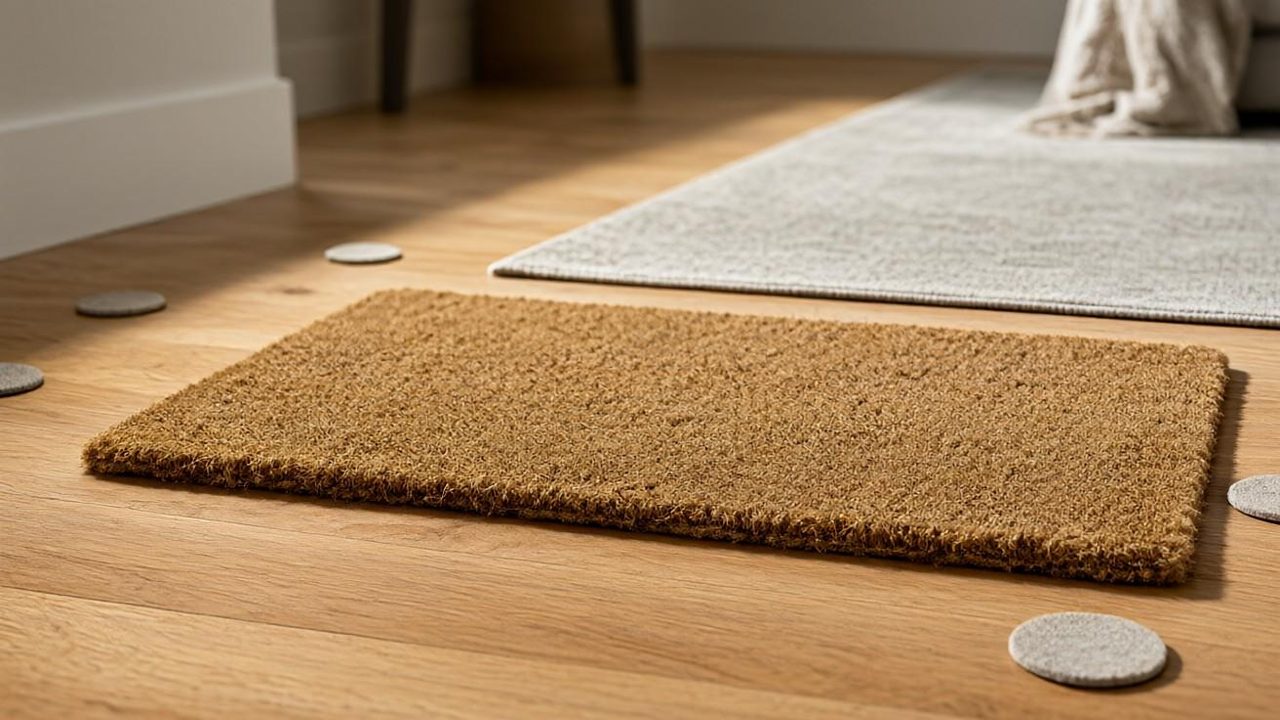
- Put felt pads on every chair, table, and sofa leg, and replace them when they compress or collect grit.
- Lift furniture instead of dragging it; dragging a 30 kg sofa across a vinyl floor leaves a scuff in under one meter of travel.
- Keep outdoor shoes at the door and use a doormat with a coarse scraper and a soft absorbent pad.
- Sweep or vacuum twice a week so grit does not act as sandpaper under foot traffic.
- Use chair mats under rolling office chairs, or switch to soft polyurethane casters rated for hard floors.
A worked example
A homeowner finds three black scuffs on a light oak laminate floor after a dinner party. The scuffs are each about 5 cm long and the fingernail test shows no catch, so they are surface scuffs.
Step one: sweep the 4 square meter area. Step two: dry buff each mark with a folded microfiber cloth for 20 seconds. Two marks lift completely. Step three: the third mark, a rubber heel scuff, remains. Buff it with a tennis ball for 45 seconds; it fades by 90 percent. Step four: apply a lightly dampened cloth with a laminate-approved cleaner and rub gently for 15 seconds. The mark disappears. Total time: under three minutes, no water on the floor, no abrasive.
Common mistakes to avoid
| Mistake | Why it causes damage | Better approach |
|---|---|---|
| Scrubbing with steel wool | Scratches the wear layer and leaves a dull patch | Use microfiber or melamine with light pressure |
| Pouring cleaner directly on the floor | Seeps into joints and swells laminate or wood edges | Apply cleaner to the cloth, not the floor |
| Using bleach or ammonia | Can discolor or strip protective coatings | Use a pH-neutral cleaner approved for the material |
| Repeated scrubbing of one spot | Removes finish and turns a scuff into a dull patch | Stop after two gentle passes and reassess |
| Skipping the hidden-spot test | Surprise dulling or discoloration on a visible area | Test, wait five minutes, then proceed |
How often to inspect and maintain
Inspect high-traffic zones weekly, especially entryways, kitchens, and under dining chairs. Catching a scuff within 24 hours makes it far easier to remove, because the rubber compound has not yet bonded to the finish. A quarterly deep clean with a manufacturer-approved cleaner keeps the wear layer intact and reduces the frequency of scuffing.
Standards and product guidance
Which cleaner standards apply?
Look for products that meet ANSI A137.1 for ceramic tile or ASTM F1700 for resilient flooring when the label references a standard. IICRC S100 cleaning principles also recommend pH-neutral chemistry on sealed surfaces. ISO 14024 eco-labels and NFPA 1 cleaning guidance add further confidence. These references help confirm a cleaner is safe for the material.
When should you call a professional?
If a mark survives a melamine pass and a pH-neutral cleaner, or if the finish looks cloudy, stop and consult the flooring manufacturer or an IICRC-certified technician. Do not sand or refinish a scuff that is actually a finish failure.
Can scuffs be prevented entirely?
No, but you can cut them by roughly 70 percent with felt pads, doormats, and weekly sweeping, based on manufacturer care guides. Prevention costs less than repair on a 20 square meter floor.
For cleaner selection by material, see best flooring cleaners by material. For entryway protection, see best flooring for hallways and entryways. For high-traffic performance, see best flooring for high-traffic areas.
A 10 kg chair with hard plastic casters leaves a scuff every 2 to 3 meters on vinyl, while soft polyurethane casters leave none in the same test. Replacing casters costs about 15 dollars and saves hours of cleaning over a year.
If the floor is under warranty, check the care instructions first. Many warranties require pH-neutral cleaners and void coverage after abrasive or solvent use. Follow the manufacturer’s stated dilution ratios, usually 1 part cleaner to 10 parts water.