Installing flooring on stairs combines flat-floor material rules with new cuts, edges, and safety checks that most home guides simply skip entirely.
The short answer: use dry fit for every piece before adhesive, lock an oak nosing first, and hold every step to the same 7 inch rise and 11 inch run so the staircase stays safe and square.
Planning And Layout
Start by measuring the staircase as a system, not as a pile of steps. Count the treads, risers, and nosings, then record the total rise and total run of the stair. Divide the total rise by the number of risers to get the individual rise, and divide the total run by the number of treads to get the individual run. Residential code in the United States (IRC R311.7) calls for a maximum rise of 7 3/4 inches and a minimum run of 10 inches, with no more than 3/8 inch variation between the largest and smallest step in the flight. Cross-check nosing slip resistance against ANSI A326.3 and ASTM C1028, and follow NWFA Installation Guidelines and TCNA handbook details for the flooring type.
What Rise And Run Should You Target?
Aim for a 7 inch rise and an 11 inch run on most residential stairs. That pairing feels natural underfoot and leaves room for a nosing of at least 3/4 inch. If the existing stair is already built, you work with what is there and adjust the flooring thickness to keep the final dimensions inside the code band.
How Much Material Should You Order?
Measure each tread, riser, and nosing separately, because stair pieces are rarely identical. Add 10 percent waste for straight stairs and 15 percent for winders or pie steps. Order nosing stock by the linear foot plus one extra piece per flight for the inevitable bad cut.
Stair Prep
Prep decides whether the flooring bonds and stays flat. Remove the old covering down to the structural tread, pull every staple and nail, and vacuum dust from the corners. Check each tread for movement by stepping on it and listening; a squeak means a loose fastener that must be driven or replaced before new flooring goes down.
Checking Subfloor Moisture And Flatness
Wood subfloors should read below 12 percent moisture content on a pin meter, and concrete should pass the calcium chloride test at under 3 pounds per 1,000 square feet over 24 hours. Flatness tolerance for stair treads is tighter than for floors: no more than 1/8 inch over any 3 foot span. Shim low spots with construction shims and plane high spots with a block plane.
Acclimation And Material Handling
Acclimate wood and laminate products in the stairwell for 48 to 72 hours at normal living conditions. Keep vinyl and rigid core products between 65 and 85 degrees Fahrenheit during install. Store nosing stock flat and supported every 18 inches to prevent bowing.
Tread Installation
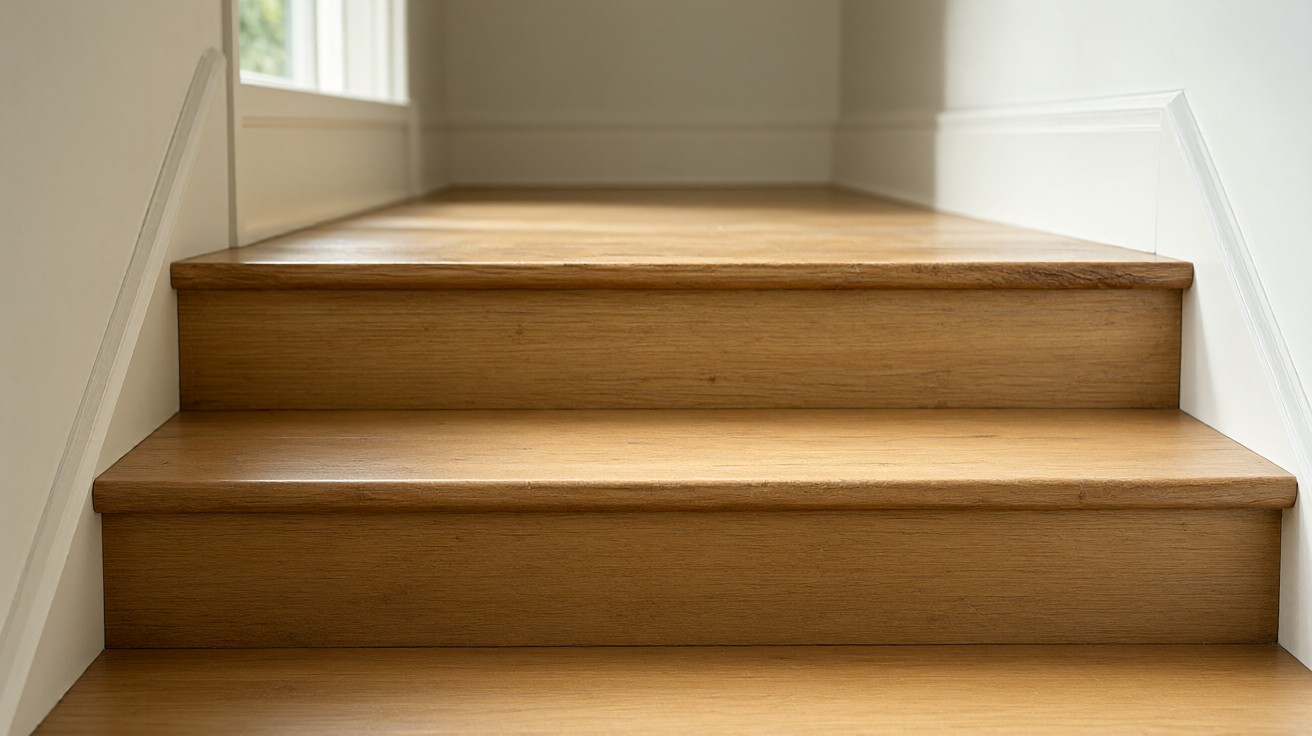
Install treads from the bottom of the stair upward so each piece supports the next and you never kneel on fresh adhesive. Dry fit the first three treads and confirm the overhang and nosing line up before opening any adhesive. Use a construction adhesive rated for the material and fasten with 15 gauge finish nails into the stringer every 8 inches.
Glue And Fastener Pattern
Apply adhesive in an S pattern on the tread, keeping it 1 inch back from the nosing edge so squeeze out does not reach the visible face. Fasten the back edge first, then the front, and set nails slightly below the surface for filler. On engineered wood, use a urethane construction adhesive and avoid water based products that can swell the core.
Cutting Around The Stringer
Mark the stringer notch with a contour gauge or cardboard template, then cut with a jigsaw and a fine tooth blade. Leave a 1/8 inch expansion gap at walls and stringers, covered later by trim. Test the fit dry; if the piece rocks, plane the high corner rather than forcing it with fasteners.
Riser Installation
Risers set the look of the staircase and protect the tread edge. Install them after the treads below are secure, working upward, so each riser sits tight against the back edge of the tread beneath it. Use the same adhesive and a 1 1/4 inch brad nail every 6 inches along the stringer.
Hiding The Joint Line
A thin bead of color matched caulk or a small shoe molding covers the joint between riser and tread. On painted stairs, caulk before priming so the line disappears. On stained wood, use a color matched filler stick after the finish coats cure.
When To Use A Full Height Riser
Full height risers suit closed stringer stairs and give a traditional look. Open riser stairs need only a partial riser or none at all, but the open gap must stay under 4 inches to meet code for child safety. Check local amendments before leaving any riser open.
Nosing And Trim
The nosing is the most important single piece on the stair. It takes the foot traffic, defines the edge, and is the first thing a code inspector checks. Install a solid nosing with at least 3/4 inch overhang and a rounded or beveled front edge. Secure it with adhesive and two fasteners per step, then add trim at the walls to close the gaps.
Nosing Profile Choices
Choose between a square edge, a rounded bullnose, and a beveled profile. Rounded bullnose is the most forgiving for bare feet and is common on wood stairs. Beveled profiles suit modern interiors and pair well with rigid core flooring. Square edges need a chamfer to avoid chipping.
Trim And Skirtboard Details
Install a skirtboard along the wall to cover the cut edges and expansion gaps. Scribe the skirt to the treads and risers rather than cutting square, because stairs are rarely perfectly level. Caulk the top edge and paint or finish to match the trim in the rest of the house.
Safety And Code
Safety is not a finishing step; it runs through every decision above. Handrails are required on at least one side for stairs with four or more risers, with a height between 34 and 38 inches measured vertically from the nosing. Headroom must be at least 6 feet 8 inches, and landings at the top and bottom must be at least 36 inches deep.
Slip Resistance And Traction
Choose a surface with a dynamic coefficient of friction of 0.42 or higher for dry conditions and 0.45 or higher for wet or exterior stairs, per ANSI A326.3. Glossy finishes and smooth vinyl can drop below those values, so test a sample before committing. Add a textured strip or anti slip tape on exterior and basement stairs.
Lighting And Visibility
Each step needs at least 1 foot candle of light at the tread. Contrast the nosing color from the tread field so the edge reads clearly in low light. Motion activated lighting is a low cost upgrade that pays off for households with children or older adults.
Common Mistakes
The most common error is installing flooring on stairs before fixing the underlying squeak or uneven tread, which transfers the defect into the new surface. The second is mixing rise heights by more than 3/8 inch, which trips people even when each step looks fine alone. The third is skipping the nosing fastener and relying on adhesive alone on a high traffic stair.
Mistakes With Material Choice
Thin laminate on a busy stair wears through at the nosing within a year. Carpet on a stair with a loose pad compresses and creates a trip edge. Rigid core vinyl needs a solid substrate and will telegraph any dip in the tread, so level first. If you are comparing stair materials, the guide on vinyl flooring covers wear layer and core choices in detail.
Mistakes With Measurement
Measuring only one step and cutting all pieces to that size is the fastest way to waste a box of material. Stairs settle and treads vary by 1/4 inch or more across a flight. Measure each piece, mark it, and cut on demand.
Material Specific Notes
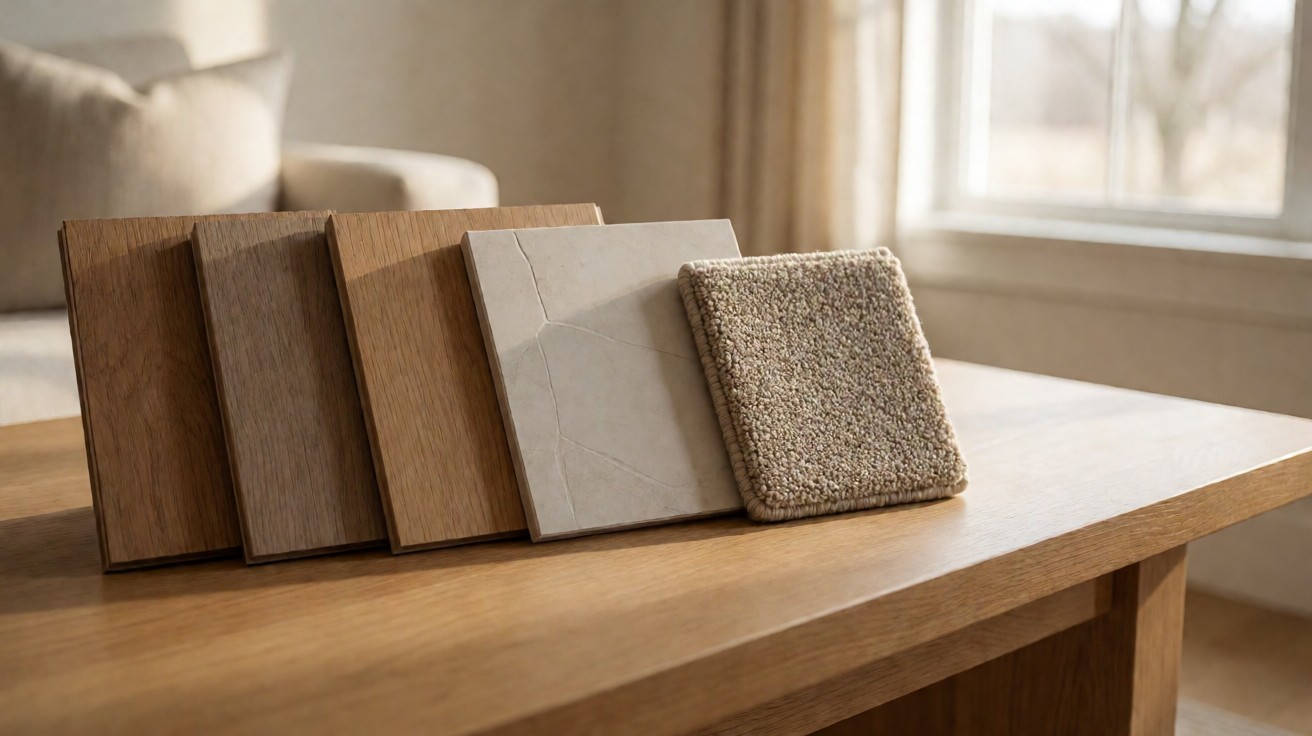
Different flooring types demand different stair strategies. Hardwood and engineered wood allow a full tread replacement with a solid nosing. Laminate needs a matching nosing profile sold by the manufacturer. Vinyl and rigid core need a metal or PVC nosing strip rated for the product. Tile on stairs calls for a different process entirely, covered in the guides on ceramic tile installation and porcelain tile installation.
Solid Wood And Engineered Wood
Solid wood treads can be sanded and refinished repeatedly and accept a stained nosing that matches the floor. Engineered wood is more stable in humid climates but limits sanding to the wear layer thickness, so protect the nosing with a runner on high traffic stairs.
Vinyl And Rigid Core
Luxury vinyl plank on stairs needs a full spread adhesive and a nosing strip approved by the manufacturer. Click lock vinyl is not recommended on stairs because the joint can open under foot traffic. Rigid core products need a perfectly flat tread to avoid hollow sounds and cracked planks.
Cost And Time Planning
A typical residential stair of 13 steps takes one weekend for a competent DIYer with the right tools. Material cost ranges from 4 dollars per square foot for basic vinyl to 12 dollars or more for solid hardwood, plus nosing and trim. Add 20 percent for adhesive, fasteners, and filler. If you are weighing cork for a quieter stair, the guide on cork flooring installation covers its specific prep and adhesive needs.
Budgeting For Tools
Budget for a miter saw, jigsaw, nailer, and a contour gauge if you do not already own them. Renting a nailer for a weekend costs less than buying one for a single project. A good carbide blade for the miter saw is worth the cost because stair cuts are repetitive and dull blades tear the nosing.
When To Hire A Pro
Hire a professional when the stair structure is damaged, when the stringers are out of level by more than 1/4 inch, or when the project involves open risers or curved winders. A pro can also handle asbestos testing on older vinyl adhesive, which should never be sanded or scraped without testing first.
Maintenance After Installation
Let adhesive cure fully, usually 24 to 48 hours, before heavy foot traffic. Sweep or vacuum stairs weekly and damp mop with a pH neutral cleaner. Avoid steam mops on wood and laminate stairs because the moisture can lift the nosing. Inspect the nosing and fasteners annually and tighten or refasten anything that loosens.
Protecting High Traffic Noses
Place a runner on the center of the stair if the household is hard on floors. Runners absorb impact and reduce wear at the nosing, which is where damage shows first. Secure the runner with stair rods or gripper tape rated for the tread material.
Repairing A Loose Nosing
A loose nosing is a trip hazard and should be fixed immediately. Drill a small pilot hole, inject construction adhesive, and drive a finish nail or screw, then fill and touch up the finish. If the nosing is cracked, replace the whole piece rather than patching it.
Comparison Of Stair Materials
Choosing the right material for a stair depends on traffic, budget, and the look you want. The two tables below compare the most common options on the points that matter for stairs.
| Material | Main Strength | Main Limitation | Best Fit |
|---|---|---|---|
| Solid hardwood | Refinishable, long life | Cost and moisture sensitivity | Traditional homes |
| Engineered wood | Stable in humidity | Limited sanding | Humid climates |
| Laminate | Scratch resistant | Wears at nosing | Budget projects |
| Luxury vinyl | Water resistant | Needs flat substrate | Basements |
| Nosing Type | Main Advantage | Main Trade Off | Consider It When |
|---|---|---|---|
| Rounded bullnose | Comfortable underfoot | Traditional look | Bare feet common |
| Beveled | Modern profile | Less forgiving | Contemporary interiors |
| Square with chamfer | Clean lines | Chips more easily | Low traffic stairs |
| Metal strip | Durable edge | Visible joint | Vinyl and tile stairs |
Final Checks Before You Finish
Walk the stair slowly and check each step for movement, squeaks, and consistent rise. Verify the handrail height and headroom one last time. Photograph the finished stair for your records and note the material and adhesive used so future repairs match. If you are installing carpet on a different stair, the guide on carpet tile installation covers a separate process.