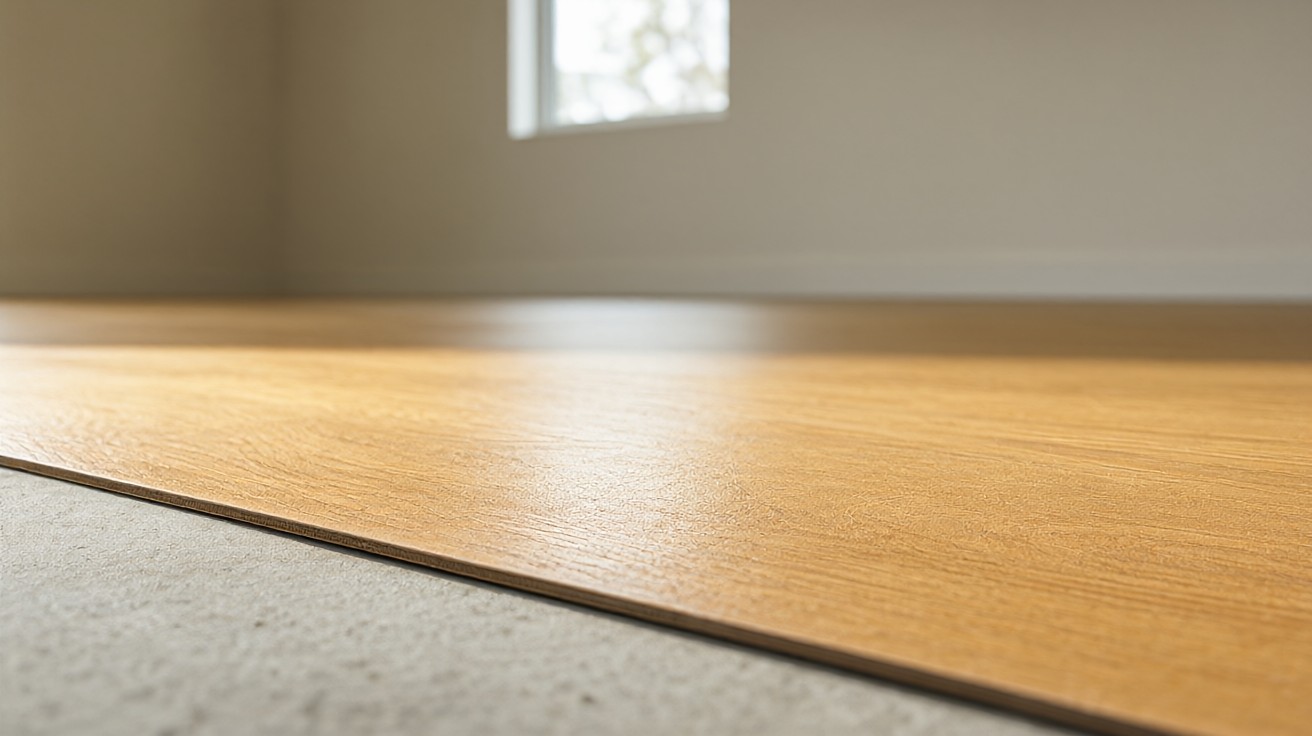
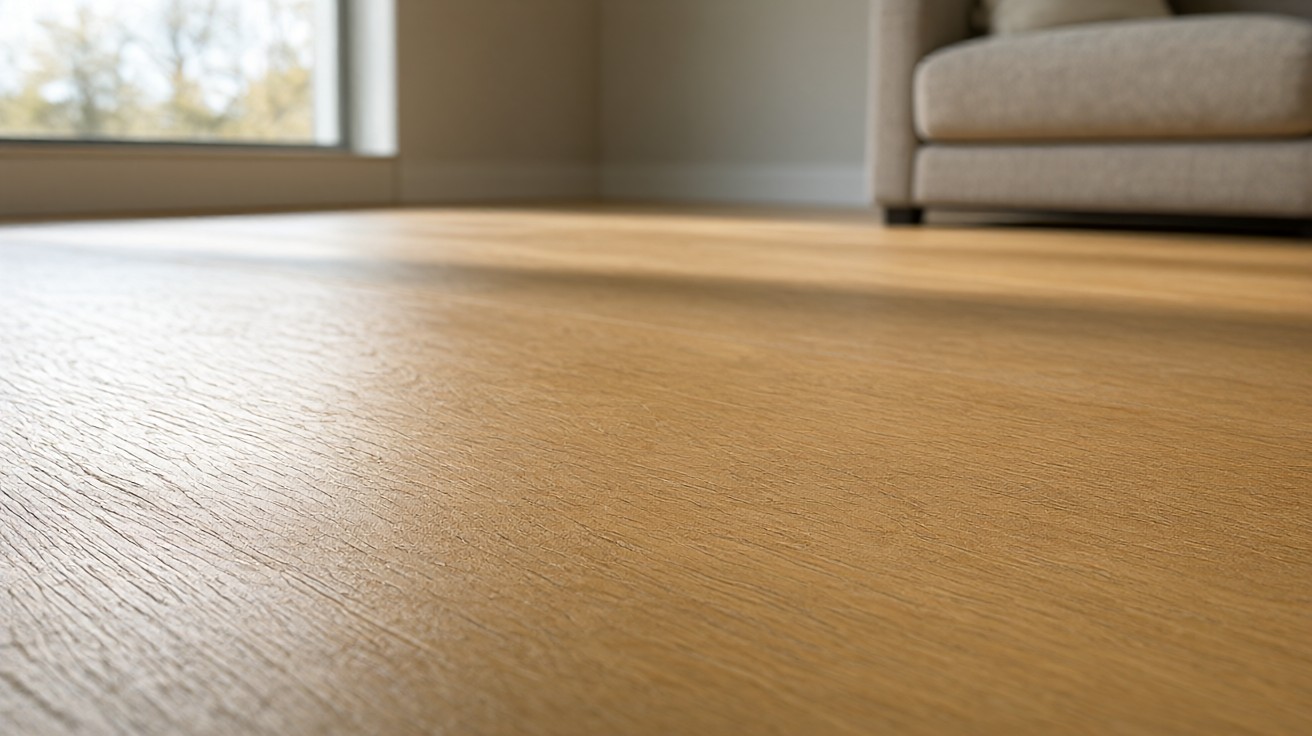
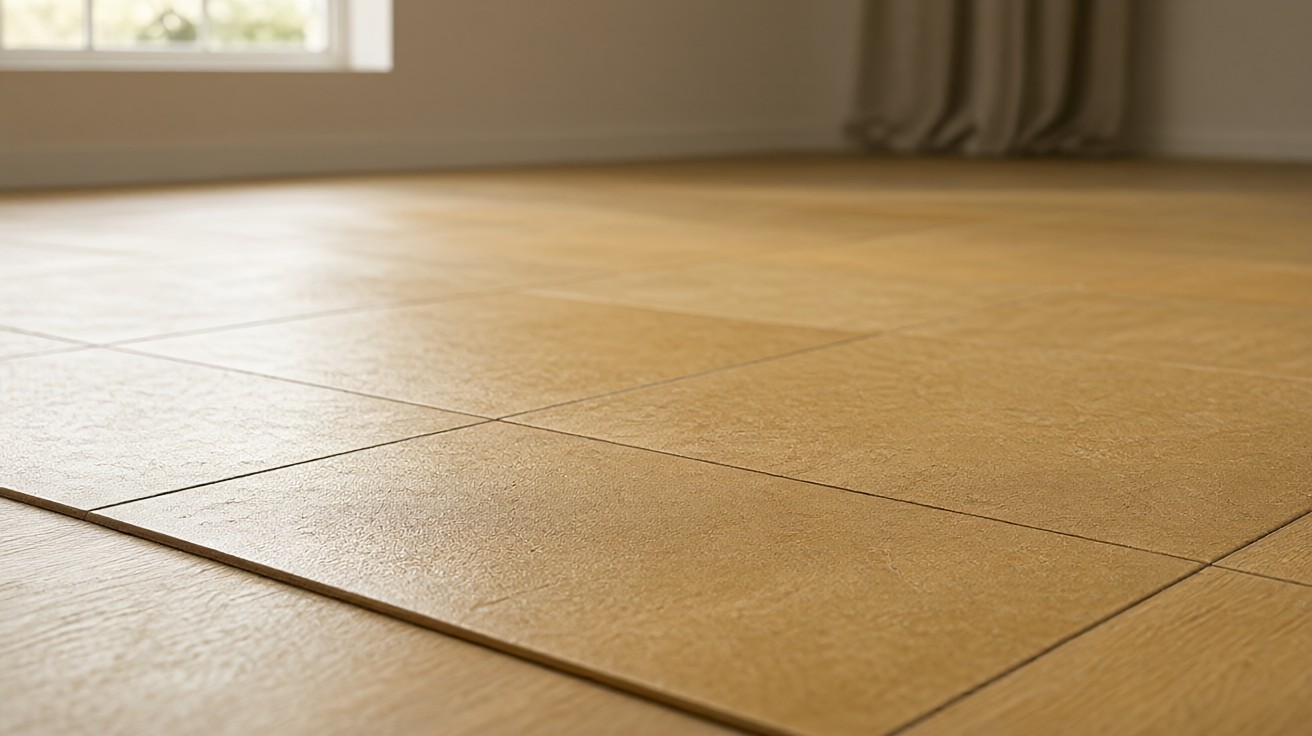
Cork flooring is forgiving once down but unforgiving of moisture, uneven substrate, or skipped acclimation, and the failures appear months later.
Install cork over a flat, dry, clean subfloor after a 48 to 72 hour acclimation, choose glue-down tiles for wet or commercial areas and a floating plank system for residential rooms, and seal the surface within the manufacturer’s stated window.
Planning and Layout
Measuring the Room and Ordering Material
Measure the room length and width at three points each and use the largest dimension, then add 10 percent for cuts and waste. A 12 by 14 foot room is 168 square feet, so order 185 square feet.
Cork tiles in 12 by 12 inch and 12 by 24 inch sizes are common, and planks usually run 12 by 36 inches. Add another 5 percent if the room has many doorways or a diagonal layout, since angled cuts consume more material than straight runs.
Choosing the Starting Point
Find the center of the longest wall and snap a chalk line parallel to it. Dry-lay a row of tiles or planks along that line to confirm the last course is not a sliver. If the last course would be under 2 inches, shift the starting row by half a tile so both edges finish with balanced cuts.
Mark the layout with a second chalk line perpendicular to the first so the field stays square.
Doorways and Transitions
Undercut door casings with a handsaw resting on a scrap of cork so the flooring slides beneath. Plan transition strips at every doorway where cork meets a different surface, and leave the manufacturer’s stated expansion gap at walls, typically 1/4 inch. Order transitions in the same finish as the floor so the joint looks intentional rather than patched.
Subfloor Preparation
Concrete Subfloors
Concrete must be cured at least 60 days and test below 3 pounds per 1000 square feet per 24 hours on a calcium chloride test, or below 75 percent relative humidity on an in-situ probe. Grind high spots, fill low spots with a cementitious patch, and remove curing compounds and sealers.
A slab that passes the number test can still fail if the surface is dusty, so vacuum and prime as the adhesive maker directs.
Wood Subfloors
Plywood or oriented strand board should be at least 3/4 inch thick, dry, and fastened every 6 inches along edges and 8 inches in the field. Sand seams flush, replace any soft or delaminated panels, and add a 1/4 inch underlayment panel over existing strip flooring before cork. Check for squeaks by walking the whole floor and screwing down any moving panel before covering it.
Existing Floors and Moisture Testing
Cork can go over vinyl, linoleum, and ceramic in good condition if the surface is clean, flat, and well bonded. Remove carpet, pad, and adhesive residue. Never install cork over cushioned vinyl or over a floor that moves underfoot.
Test every subfloor even when the room feels dry, because a basement slab that reads 4.5 pounds on a calcium chloride test will lift an adhesive bond within one heating season. Record the readings and keep them with the job file. For tile installs, see our how to install ceramic tile and how to install porcelain tile guides.
Carpet tile installs are covered in our how to install carpet tiles guide.
Follow NWFA installation guidelines, ASTM F710 for concrete surface preparation, and ANSI standards for resilient flooring. These references define moisture limits, flatness tolerances, and adhesive practices.
Acclimation
Temperature and Humidity Targets
Hold the room between 65 and 85 degrees Fahrenheit and 35 to 55 percent relative humidity for 48 hours before delivery and through installation. These are the same conditions the floor will see in service, and cork moves with both. Run the HVAC rather than opening windows, since outdoor air can swing the humidity by 20 points in an afternoon.
For background on the material itself, see our cork flooring explained guide before you buy.
How Long to Acclimate and Moisture Check
Leave unopened boxes flat in the room for 48 to 72 hours. Open the boxes and remove the plastic wrap for the last 24 hours so air reaches every piece. Do not stack boxes more than three high, and keep them off concrete by placing them on pallets or foam.
Use a pinless moisture meter on wood subfloors and record the reading. The subfloor should be within 2 percent of the cork’s moisture content before installation. If the gap is larger, run the HVAC and retest the next day.
Installation Methods
Glue-Down Cork Tiles
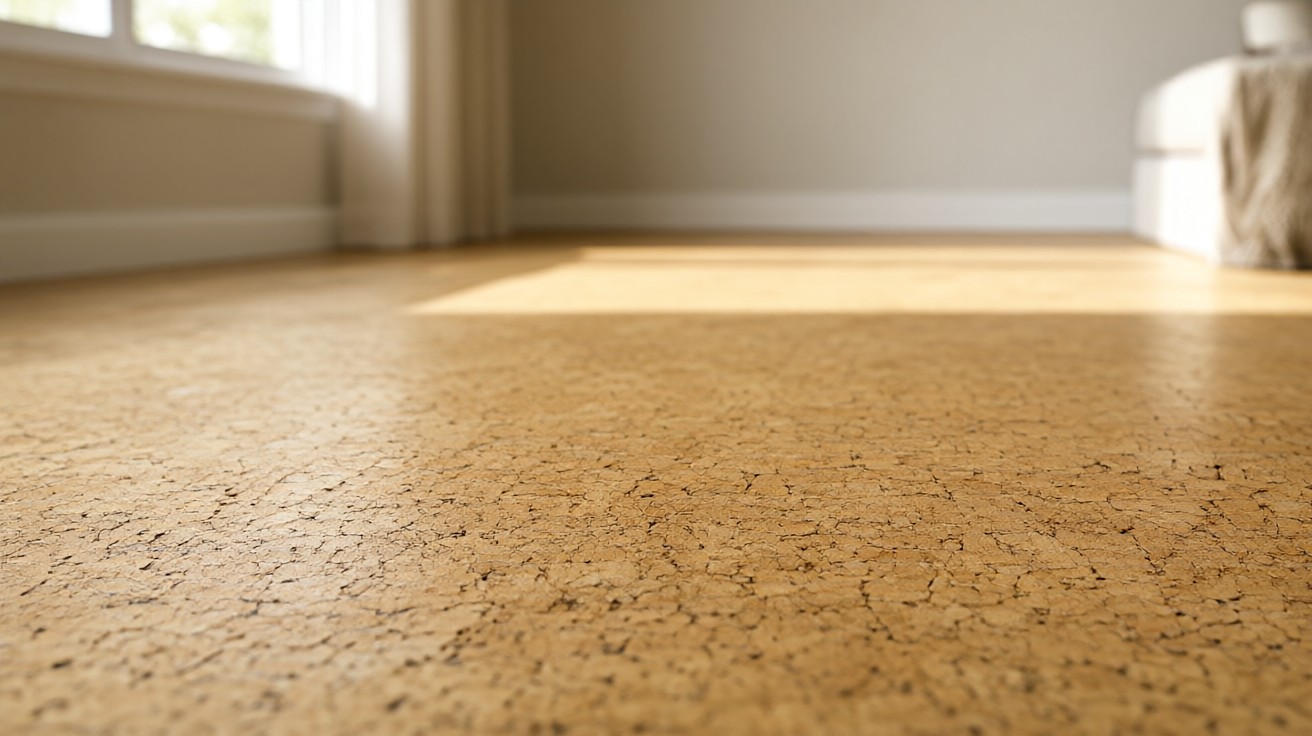
Spread the manufacturer’s recommended adhesive with the specified trowel notch, usually 1/16 by 1/16 by 1/16 inch square notch. Work in small sections so the adhesive stays tacky. Press each tile firmly and roll the field with a 100 pound roller within 30 minutes. Keep a wet rag handy to remove squeeze-out before it cures.
Floating Cork Planks
Floating systems click together over a foam or cork underlayment. Leave the expansion gap, stagger end joints by at least 8 inches, and tap joints closed with a tapping block. Never force a joint that does not seat; check for debris in the groove. Start the first row with the tongue facing the wall and use spacers to hold the gap.
Adhesive Cure and Open Time
Most cork adhesives have an open time of 20 to 40 minutes and reach full strength in 24 hours. Keep foot traffic off for 24 hours and heavy furniture off for 72 hours. Read the label on the pail, not the back of the box, because the tile label and adhesive label can disagree on cure time.
| Method | Best For | Subfloor Tolerance | Moisture Sensitivity |
|---|---|---|---|
| Glue-down tiles | Wet areas, commercial, stairs | Very flat, within 1/8 inch over 10 feet | High, adhesive bond |
| Floating planks | Residential rooms, DIY | Flat within 3/16 inch over 10 feet | Moderate, underlayment barrier |
| Peel-and-stick tiles | Light traffic, temporary | Very flat | High |
Sealing and Finishing
Pre-Finished vs Site-Finished Cork
Pre-finished cork carries a factory urethane or oil finish and needs no sealing at install. Site-finished cork, common on glue-down tiles, needs two to three coats of water-based polyurethane or a penetrating oil after installation. Ask the supplier which type you have before ordering sealer.
Applying the Sealer and Maintenance Schedule
Vacuum and tack-cloth the floor before the first coat. Apply thin coats with a microfiber roller or lambswool applicator, maintaining a wet edge. Sand lightly with 220 grit between coats and allow the full dry time, usually 2 to 4 hours per coat. Keep pets and dust out of the room during curing.
Plan a refresh coat every 3 to 5 years in residential use and annually in commercial use. A maintenance coat is a light scuff and one new coat, not a full strip and refinish, and it keeps the cork from drying out.
Common Mistakes
Skipping Moisture Testing and Wrong Adhesive
The single most common failure is installing over a slab that was not tested. Cork and its adhesive do not tolerate vapor drive, and the damage appears as edge curl, cupping, or adhesive release months later. A cheap test kit costs less than one box of tile.
Opening boxes and installing the same day traps factory moisture in the material, and the floor then shrinks or swells after install, opening joints or buckling at the perimeter.
Using a generic construction adhesive instead of a cork-rated adhesive, or a trowel with the wrong notch, leaves too much or too little glue, producing hollow spots or tiles that release under furniture legs.
Tools and Materials Checklist
Measuring, Cutting, and Adhesive
Steel tape, chalk line, carpenter’s square, moisture meter, calcium chloride kit or in-situ probe, pencil, laser level, utility knife with fresh blades, straightedge, jigsaw with a fine blade, handsaw for undercutting casings, cork-rated adhesive, specified trowel, 100 pound roller, spacers, and transition strips. Keep a bucket of water and a rag for wet adhesive cleanup before it sets.
| Tool | Purpose | Notes |
|---|---|---|
| 100 lb roller | Seat glue-down tiles | Roll within 30 minutes of placement |
| Moisture meter | Verify subfloor readiness | Pinless type for wood |
| Utility knife | Cut tiles and planks | Change blades often |
When to Hire a Professional
Complex Subfloors, Large Areas, and Warranty
If the slab fails a moisture test or the wood subfloor is out of flat by more than 3/16 inch over 10 feet, a professional can grind, patch, and install a vapor barrier system that a DIYer cannot source easily.
Rooms over 400 square feet with long sight lines also reward a pro’s layout and rolling technique, since a single misaligned row is visible across the whole room. Some manufacturers require certified installation for commercial warranty coverage. Check the warranty terms before deciding, and keep the installer’s invoice with the product paperwork.
Cost and Time Expectations
Labor, Timeline, and Hidden Costs
Cork material runs 3 to 8 dollars per square foot and professional installation adds 2 to 5 dollars per square foot. A 200 square foot room is roughly 1000 to 2600 dollars all in, depending on tile or plank and finish.
Acclimation takes 2 to 3 days, prep and layout take half a day, installation one day, and finishing one to two days, so plan for 4 to 6 days from delivery to furniture. Budget for subfloor patch, transition strips, adhesive, sealer, and a 10 percent overage on material, which often adds 15 to 20 percent to the material-only quote.
Cork vs Other Floating Floors
Comfort, Durability, and Where Cork Wins
Cork is warmer and softer underfoot than laminate or rigid vinyl, which matters in kitchens and playrooms, and it absorbs sound better, with impact insulation class ratings often in the 50s for floating systems.
Cork dents under heavy point loads and fades in direct sun, while laminate resists dents better but feels harder and louder, and vinyl handles moisture better but lacks cork’s resilience. Cork suits bedrooms, living rooms, and home offices where comfort, quiet, and warmth matter more than dent resistance.
For wet areas, compare options in our vinyl flooring guide before committing to cork.
After Installation Care
First 72 Hours and Routine Cleaning
Keep the room at normal temperature and humidity and do not wet-mop during the first 72 hours. Wait the full cure time before placing heavy furniture, and use felt pads under legs. For routine cleaning, sweep or vacuum with a soft brush, then damp-mop with a pH-neutral cleaner and a well-wrung mop. Never flood the floor or use steam mops, which force moisture into seams.
Repairing Minor Damage
Small dents often recover with a damp cloth and a warm iron held above the surface. Deeper gouges need a color-matched filler and a touch-up coat of sealer. Keep a few spare tiles or planks from the original lot so a repair matches the color and grain.