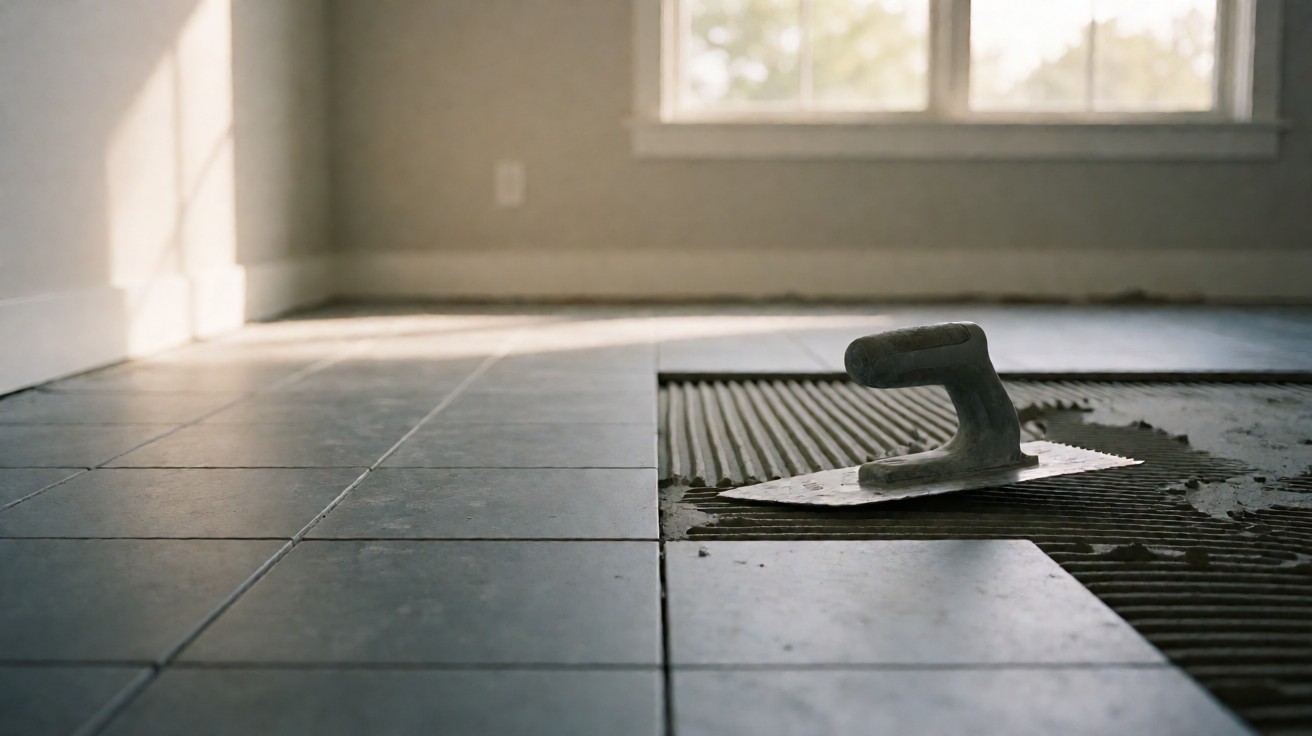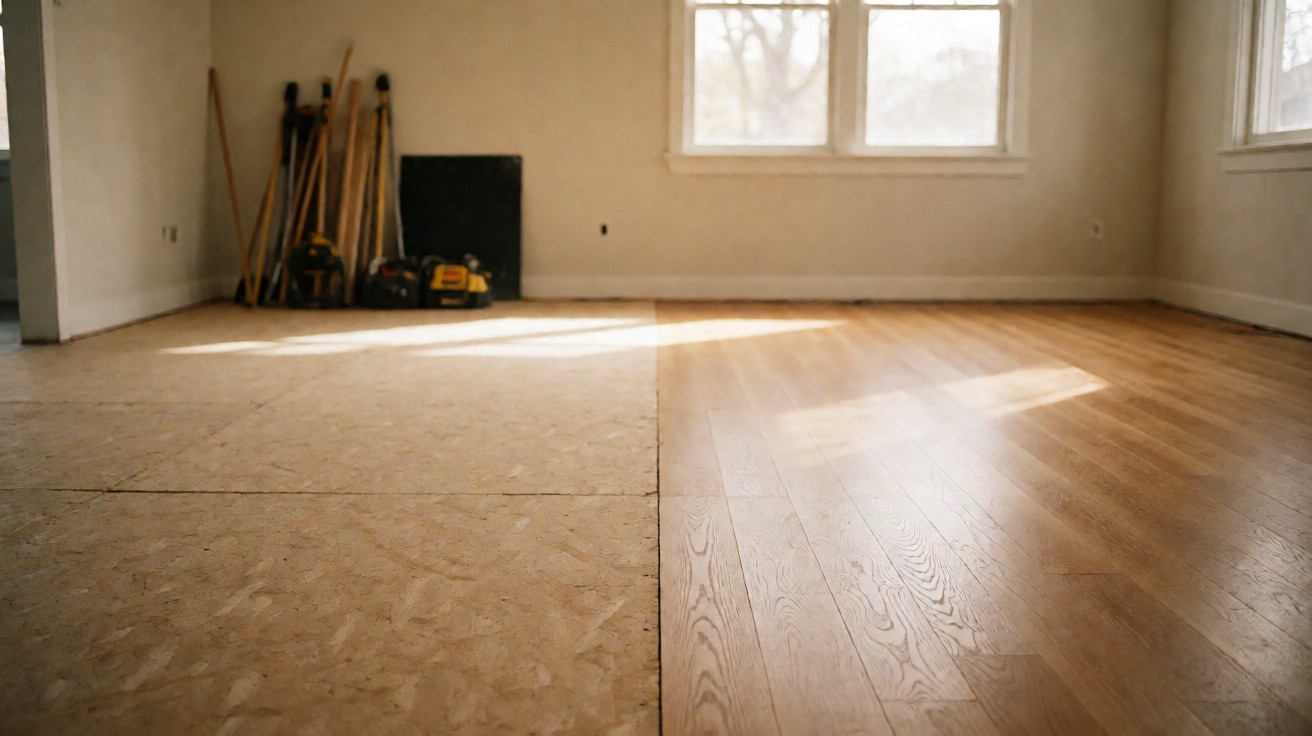

Six boxes are leaning in your garage and you have a Saturday free. Most first attempts go wrong at the first row or the last one, not in the middle.
Laminate is a floating floor. The planks lock to each other and never touch the subfloor. The job is holding a 3/8 inch gap at every wall with spacers, staggering end joints at least 12 inches between rows, and letting the field move.
What Tools The Job Actually Needs
The tool list is short, and shorter than most people expect. What is not short is the number of tools people bring home that a laminate install does not need. A nailer, a floor scraper and a finish nailer are all on that list. None of them belong to this job.
If you have not settled the material yet, comparing the flooring types side by side is worth doing first, because underlayment and acclimation rules change completely once you move to sheet vinyl or a nail-down product.
Two tools decide whether the job goes well. The spacer sets the perimeter gap. The tapping block closes joints without damaging them. Everything else on the list is a convenience.
| Tool | What it does | What to watch |
|---|---|---|
| Tape measure | Room, row offsets, last row width | A 25 ft or 30 ft tape beats a 6 ft one past 200 square feet |
| Chalk line and straightedge | Snapping the first row line | Snap between two points, never from a single corner |
| Spacers | Holding the perimeter gap | Two 5 mm (3/16 inch) spacers stacked thick side to thick side give 3/8 inch |
| Tapping block and rubber mallet | Closing long and end joints | Never strike a plank with the mallet head; it crushes the bevel |
| Pull bar | Drawing the last row tight | Put a scrap of flooring behind the bar to spare the wall |
| Laminate cutter or saw | Crosscuts and rips | Fine-tooth blade only; a coarse blade shaves the decorative face |
| Utility knife | Scoring film, trimming a rip | Score and snap beats sawing on a straight cut |
| 6 mil polyethylene film | Vapour barrier on concrete | Lap seams 6 to 8 inches and tape every lap |
| Moisture meter | Checking a subfloor | A pin meter reads the surface it touches, not the whole slab |
| Glasses and knee pads | The two injuries that happen | A 12 mm plank on your knees for four hours is how people get hurt |
A laminate cutter is the one tool worth buying rather than borrowing. It runs under $40, it scores and snaps, and it will not chip a plank the way a tired circular saw does at the end of a long day.
How Long The Flooring Should Acclimate
Lay the cartons flat in the room they will be installed in. Leave the shrink wrap on and keep them clear of exterior walls. Most published guides call for 24 to 48 hours. Forty-eight is the safer number.
The flooring arrives from a warehouse at a temperature and moisture content your house does not share. Acclimating lets the board equalize before you lock it into a fixed pattern.
A board still moving when it is fastened to its neighbours keeps moving afterwards. That is what shows up as gapping at the wall line three months in.
Do You Have To Acclimate Laminate At All?
Some manufacturers say no, and the reasoning holds. Laminate is a bonded composite with very little free wood fibre, so it moves far less than solid hardwood. Nearly all of them still want the product in the temperature range it will live in. Acclimating becomes mandatory in two cases.
Where relative humidity sits below 25% or above 60%, at least one major brand extends the acclimation period to 96 hours. And if you cannot hold room conditions steady through the install, acclimating achieves nothing, because the boards re-equilibrate while you work.
| Condition | What the published guides specify | What happens outside it |
|---|---|---|
| Acclimation | 24 to 48 hours, cartons closed; 96 hours where relative humidity is below 25% or above 60% | Boards still moving when locked; perimeter gapping weeks later |
| Job site temperature | 65 to 75 F is the common range; one brand allows 64 to 86 F | A cold plank in a warm room contracts and the joints open |
| Ceiling during install | 100 F maximum for at least one major brand | Heat drives moisture out and the floor shrinks next season |
| Relative humidity | 30% to 50% is the common target; 35% to 55% another; 25% to 70% the widest band | Below 30% the seams lift; above 60% the edges swell and the click fights you |
| Concrete slab | Cured at least 60 days, at 3 lbs per 24 hours per 1,000 square feet | A slab still emitting vapour sits under a floor that cannot breathe |
| New paint and woodwork | Cured three days before acclimation starts | Solvent vapour gets trapped under the underlayment |
If you are over concrete, the 60 day cure figure is the one people skip. A slab poured last month tests dry on the surface and is still releasing water vapour from below.
What Has To Be True Before The First Plank Goes Down
Four numbers decide whether this is a weekend or a detour. A floating floor bridges every low spot in the subfloor, so flatness is not a nicety.
If the subfloor is out, the field sounds hollow and individual planks rock under a heel. No care during the install fixes that afterwards. Lippage between adjacent areas is capped by the stone and ceramic installation standard ANSI A108.02, which allows a variation of 1/8 inch across a 10 foot span.
That is a tile specification, not a laminate one, but it is the number most subfloors get measured against and it is a sound target here. Above it, a plank spanning the dip bends, and its click joint carries load it was never designed for.
The measurement method most current specifications use is ASTM E1155, which produces the FF flatness and FL levelness F-numbers. It measures at points 12 inches apart along straight lines inside a sample area of at least 320 square feet, then reports dimensionless F-numbers.
The standard sets the method. The threshold comes from the flooring manufacturer, and FF35 with FL25 is the pair most often specified for a floating floor.
Moisture is the other half. ASTM F710 covers preparing and accepting a concrete slab before resilient flooring goes down.
Its whole purpose is that you test the slab rather than look at it. For concrete, the test it points to is ASTM F2170, which pushes a probe into the slab and measures relative humidity in place.
The limit most manufacturers adopt is 75%. Above that number you have a slab problem, not a flooring problem.
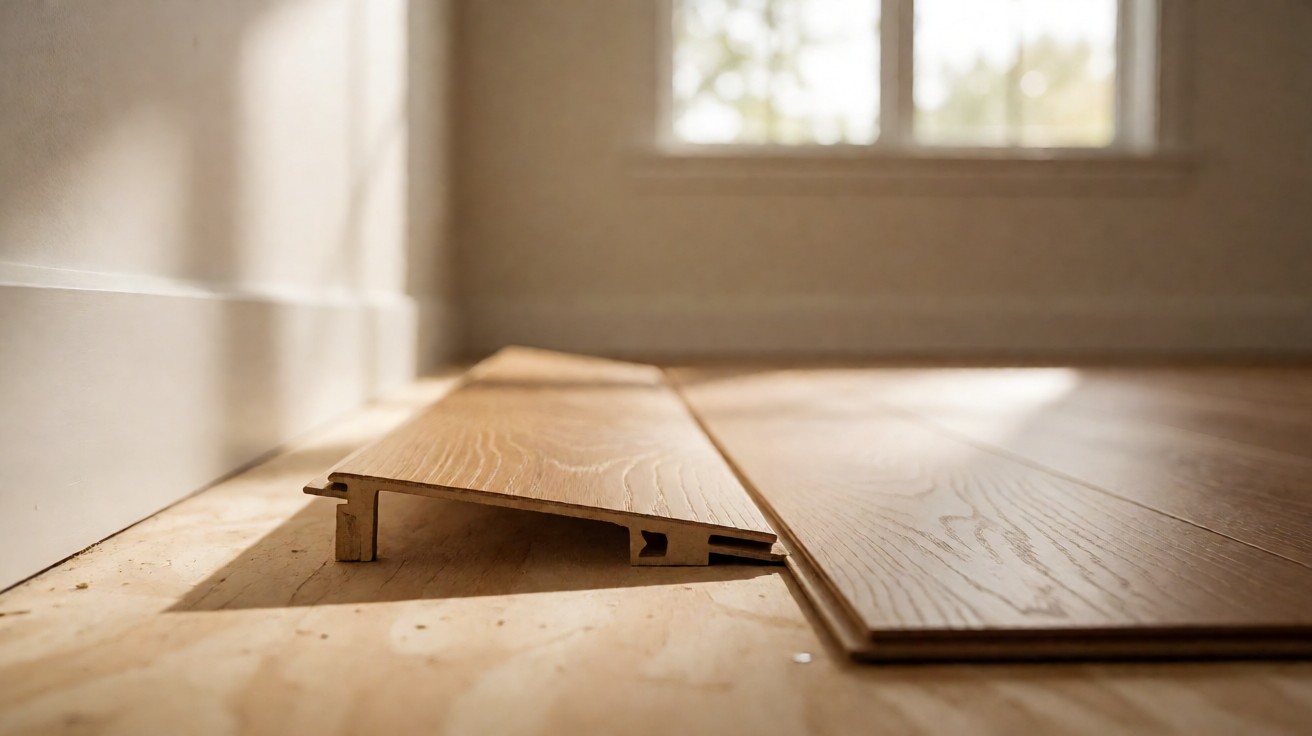
Laminate is a fused sandwich. Decorative paper, a transparent overlay and a fibreboard core are bonded under heat and pressure. That construction is why the material takes a click joint cleanly, and why a plank can be lifted and re-seated a couple of times before it will not go back.
Two standards apply before anything is unboxed. If the room has had standing water, the drying scope sits in ANSI/IICRC S500, and you cover a dried room rather than a damp one.
And if the F-numbers, the lippage or the F2170 reading all fail, this is where the job stops being a weekend. Weigh that against deciding whether to hire a pro before you buy the material.
Where the subfloor is a slab, flooring over a concrete slab is worth reading first, because a slab that tests high reads differently depending on what you intend to put on it.
What Does A Slab Need Before You Cover It?
A 6 mil polyethylene film vapour barrier goes down first, with seams lapped 6 to 8 inches and taped. Where the plank already has underlayment attached to its back, the film still goes down. The attached pad handles sound and comfort, not vapour.
Without an attached pad, roll out foam or fibreboard underlayment rated for laminate. Tape the seams and run them opposite to the plank direction.
Standard underlayment runs 2 mm to 3 mm thick. Butt two runs tightly rather than overlapping them, because a ridge under the field prints as a shadow line.
Do not attach the floor to the subfloor anywhere. Not with screws, not with nails, not with adhesive along a wall. A floating floor fixed down somewhere has lost its ability to move, and it will buckle somewhere else instead.
Should You Take Up The Baseboards Or Leave Them
Take them off if you can. A baseboard left on hides the gap and stops you sliding the floor under anything. Reinstalling baseboard over a floating floor is a two hour job that makes the perimeter look correct.
If removal will damage the wall, leave it on and treat the floor as passing underneath.
Either way, the floor slides at least 1/4 inch beneath the casing, and that same clearance has to exist concealed underneath.
Cut a laminate jamb with a multi-blade or reciprocating saw, holding the blade flat against the casing so you do not undercut the door stop.
What About The Existing Floor?
Carpet and its pad come up, always. The pad is the reason, and no amount of cleaning changes the fact that it compresses under traffic and then recovers. That load change is one the click profile was not designed for.
Hardwood over a slab comes up too. Sound existing wood over a wood subfloor is the one case most guides allow, and even then the surface must be flat and free of wax or polish.
Tile goes down only if the grout lines are filled and sanded flush, because an unfilled line is a repeating groove that prints through.
Cushioned vinyl and old sheet goods come up in nearly every case. Anything compressible under a fingernail is coming out.
Should The Planks Run Parallel Or Perpendicular To The Joists
Run them perpendicular to the joists wherever the subfloor is a wood deck. A plank crossing a joist at a shallow angle is supported at its ends and unsupported in the middle. That plank dips. Run them along the longest wall where there is no joist to worry about, because the longest run gives you the fewest end joints.
Where a room takes its light from one side, running the planks along the daylight makes the grain read longer and the seams less obvious. That is a preference, not a rule, and worth less than the joist direction.
Set the field out before you commit. Measure both candidate start walls at both ends and note the diagonal.
If the room is a parallelogram rather than a rectangle, the starting corner is a decision. It is better made with a tape measure than after four rows are down.
How Do You Snap The First Row Line?
Snap from two points at least the width of the room apart, so the line is straight rather than a compromise between two corners. Offset the line from the wall by one plank width plus the spacer thickness, then work back from that line.
If the leftover against the far wall is a usable width, lay the first row whole against the wall and let the last row absorb the difference.
Do You Cut The First Row, Or Lay It Whole?
Lay it whole whenever the leftover works. Cutting the first row to an exact measurement on day one builds the field off a line you cut rather than one you snapped, and the error compounds.
Cut the first row only when the wall is badly out of square and a whole plank would leave you under 2 inches at the far side.
In that case cut it slightly undersized and let the last row absorb the correction, because the last row is the one you can still trim.
How Do You Join Planks End To End And Side To Side
Angle the plank in rather than pushing it straight across. Raise the long edge of the joining plank to roughly 1 inch. Hold that angle as you push the tongue into the groove, then rotate the plank down until the joint locks.
Forcing a plank straight into a joint is how you shear the tongue.
A small gap opens along the long side joint as the plank rotates down. It closes when the next plank locks into it. Do not chase the plank with the tapping block immediately after the fold-down.
Close the long side joint first and the end joint second. Tapping the end joint before the long one is seated puts a lateral load into a joint that is not fully engaged. That is the most common source of a seam that walks open later.
Always work through a tapping block. Never strike a plank with the mallet head directly, because the bevel dents permanently and sanding will not fix it.
Do You Glue The End Joints?
For a residential floating install, usually not. Commercial and light-commercial installs usually require a 3/32 inch bead of construction adhesive in the end groove only.
Foot traffic loads the ends of planks far harder than it loads the sides, which is why the bead goes there.
If you are gluing, dry fit the whole row first and mark the pieces, because glue removes your ability to correct an alignment.
Where humidity falls below 35% or rises above 55% and cannot be held in range, one manufacturer requires the end-joint bead for exactly that reason.
How Do You Stagger The Rows
Stagger every end joint so no two butt joints line up in adjacent rows. Published minimums vary. One spec sheet requires end joints staggered a minimum of 12 inches. Another sets the distance between short ends in parallel rows at no less than 24 inches.
Where both apply, use 24.
The first and last plank in any row should each be at least 12 inches long. A 3 inch offcut is the piece that gets walked on and kicked, and the piece that looks wrong first.
Start row two with the offcut from row one if it is longer than about 300 mm (roughly 12 inches) and leaves that much space from the end joint below.
Work in blocks of three or four rows before picking up a new plank. It keeps joints offset and keeps the boards you reach for close to where you are standing.
How Does The Gap Stay 3/8 Inch All The Way Around?
Spacers do it, and only if you leave them in until the field is finished. Two 5 mm (3/16 inch) spacers stacked thick side to thick side give 3/8 inch, the gap most North American floating laminate specs call for.
Some brands specify 1/4 inch instead, and a few widen it to 1/2 inch in large rooms. Read your own instructions and follow them.
Check the gap at every fixed object, not just at walls. Cabinets, island benches, pipe collars, columns and toilet flanges all get 3/8 inch.
If you fasten a fixture through the floor, the hole should be at least 3/4 inch across so the field can still move around it.
The reason a floating floor needs that room at all is covered in how flooring expansion gaps work. Read it before the first spacer, not after the floor buckles.
How Do You Cut And Fit The Last Row
Slide the last row into position without forcing it. Then lay a full-width plank on top as a template and trace the wall onto the plank below.
You get the wall contour transferred in one step instead of measuring at five points and hoping. Cut to the trace, leave the spacer gap, and fit it like every other plank.
A wandering wall produces a row wider at one end than the other, and the trace handles that without arithmetic.
If the traced row comes out narrower than about 1 inch, do not cut it that narrow. Rip the adjacent row to make up the difference.
A sliver strip at the perimeter is the first thing to chip, and it is the strip that hides the gap.
Which Way Should A Circular Saw Cut A Plank?
Face up with a circular saw, so the blade enters the top surface and any chip lands on the piece you are cutting off.
On a table saw, cut face down for the same reason. With a laminate cutter, it does not matter.
Back the cut with a sacrificial piece of flooring and support the plank on both sides of the line.
A plank supported on one side only will chip along the entire cut, and the chips go through the decorative face.
How Do You Know A Joint Is Actually Closed?
Look down the seam at a shallow angle under light that rakes across the floor. A closed joint shows a continuous dark line.
A joint with daylight or a bright line in it is not seated, and it is cheaper to close now than after eight more planks make it unreachable.
Check every plank, not just the ones you tapped. The ones that folded down flat without help are the ones already working.
What To Do When The Room Is Not Square
Measure both walls you are considering, at both ends, before you commit to a start.
A wall out by more than an inch over its length is not something you cut around. It is something you absorb by shifting the field, which is only possible before row one goes down.
Where the wall genuinely wanders, trace the contour onto the tongue side and cut to the line, as one manufacturer sheet specifies. Cutting the tongue side keeps the visible bevel on the room side of the cut, where a small error hides behind the baseboard.
In an L-shaped room, treat the alcove as its own field. Run the main rectangle first and finish with a matching transition strip. You accept one extra seam in exchange for a field you can actually keep straight.
Can You Fix A Mistake Without Lifting The Whole Floor?
Usually yes, and timing is what decides it. If a plank was cut to the wrong width, lift it and everything back to where you can reach the error, re-cut, and re-seat.
The click profile tolerates being disassembled once or twice. That is the single biggest advantage of a floating floor over a glued one.
What you cannot undo is a joint that was closed and then forced, because the profile has taken up a set.
If a plank will not seat, stop and find out why before you keep tapping. Debris in the groove is the usual cause. A previous row not fully engaged is next. A plank from a different batch is third.
A last row cut short is recoverable until the baseboards go on. A gap cut too small at the wall is not recoverable at all, because the next seasonal swing lifts the field.
What To Do Around Doors, Pipes, And Vents
Slide the floor at least 1/4 inch under the undercut casing and keep a concealed 3/8 inch gap beneath it.
At a doorway where the direction of the run changes, or where the opening is under 32 inches wide, a T-molding is not decoration. It is the piece that lets two floors move independently.
The same applies in rooms 50 feet or longer in either direction, where a transition is required rather than optional. One manufacturer advises a T-molding in every room 50 feet or larger. Another caps a continuous run at 66 feet in any direction.
Where the two differ, take the shorter number.
For a pipe, do not try to notch the plank around it. Drill a hole 3/4 inch larger than the pipe diameter and drop the plank over the top.
Then cut a slot from that hole to the plank edge, so both halves slide past the pipe. The hole removes the bending radius that splits a plank.
Leave 3/8 inch around every pipe, vent collar and toilet flange, then cover it with the trim made for it.
Under cabinet toe kicks, run a scribe bead fitted to the cabinets with the same 3/8 inch behind it. Never drive a fixing into the floor to hold trim in place.
How Long The Whole Install Takes
Add the 48 hour acclimation to a working day. For a first attempt in an average rectangular room, preparation and layout take about as long as the field. The cuts and the last row take about as long again.
Nobody lays a laminate floor in an afternoon on their first try.
Boxes commonly cover 22 to 24 square feet each, and the ones you use first are not the ones you expect.
You open several boxes at once to get through a run. Once four are open the colour match is gone, which is why you draw from four rather than emptying one first.
Work at a pace you can hold. A 12 mm plank is heavier than it looks, and a long day ends with a cut made standing up and a sore back.
That is where chips and short planks come from. A break every forty minutes costs less than replacing the last row.
What To Do If Something Goes Wrong Mid Install
Most problems have one cause and one fix, and both are cheaper to solve on the spot than the following day. Work out which one you are looking at before you lift a plank that is already correct.
| What you see | What it means | What to do now |
|---|---|---|
| A plank will not seat | Debris in the groove, or the row below is not fully engaged | Lift, clear the groove, check the previous row, re-seat without force |
| Chips along the cut edge | Coarse blade, unsupported cut, or cutting the decorative face the wrong way up | Back the plank, correct the direction, score and snap a straight cut |
| Seams lifting weeks later | Installed too dry, or the perimeter gap was cut too small | Stabilise room humidity; the repair is perimeter trim and the last row |
| Floor buckling or cupping | Fixed to the subfloor somewhere, or no gap at the perimeter | Remove every fixing, then re-cut the perimeter gap |
| Hollow sound under a heel | A subfloor low spot, not an installation error | Mark it now and fill it before the baseboards go on |
| A shadow line across the room | An overlapped underlayment seam instead of a butted one | Lift the planks, trim the pad, refit and re-tape |
| Last row chipping as it goes in | Too narrow for a full click profile to engage | Rip the neighbouring row to widen it, then refit both |
Leave the spacers in until the field is finished, then remove every one before the baseboards go on.
A forgotten spacer is invisible until somebody pulls a baseboard back off a year later. Walk the perimeter a second time before you close it up.
On stairs the rules change completely. A floating floor is never installed on a stair, the nosing is adhered separately, and a 3/8 inch gap is held between the nosing and the floor.
If your project includes a stair, that is where hiring out stops being optional.