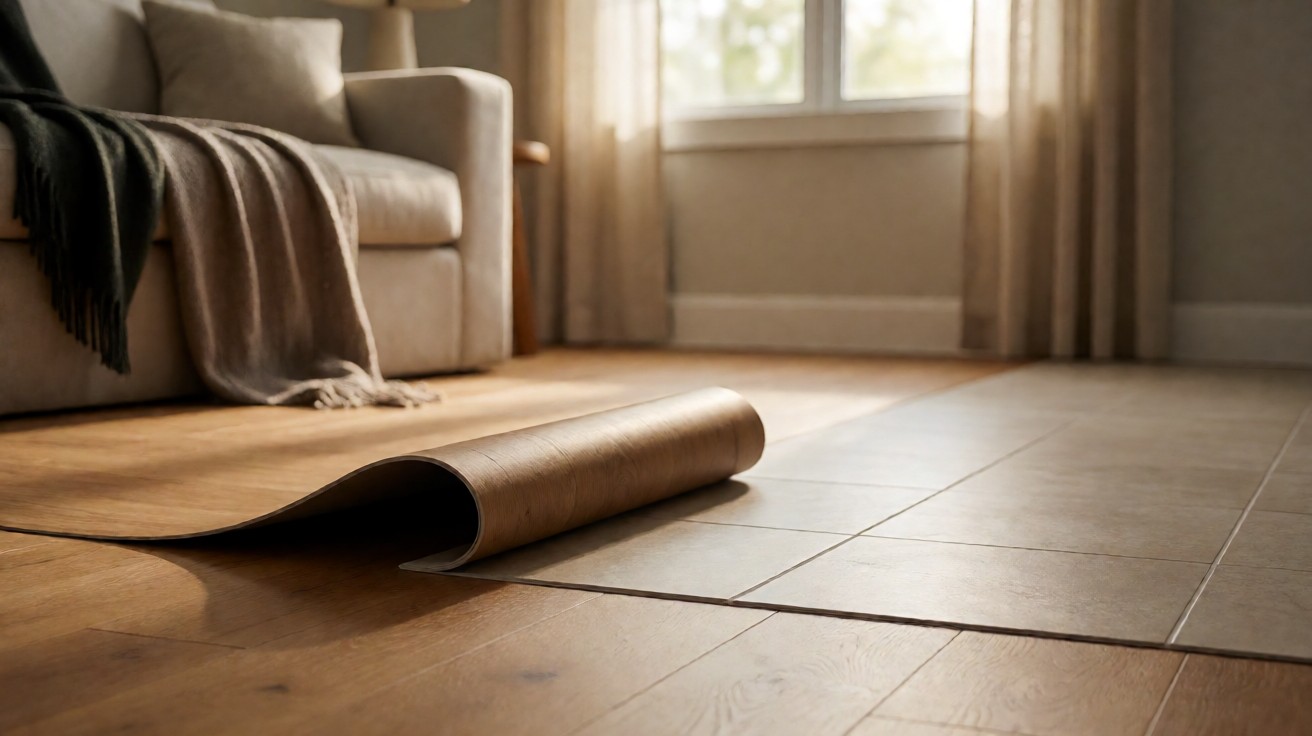

Luxury vinyl tile, or LVT, is the square-tile half of luxury vinyl. Its twin is luxury vinyl plank, or LVP, which is the long-board half.
Both are the same material underneath, with the same waterproof rigid core, the same printed surface, and the same protective wear layer. The only real difference is the shape, and the shape changes what the floor looks like and how it installs, not how well it wears.
That distinction is worth being clear about, because “luxury vinyl” gets used for anything and everything, and shoppers often end up comparing a stone-look square tile against a wood-look plank and wondering which one is the better material. They are not different materials. They are one material in two shapes.
This guide covers what LVT actually is, how it differs from LVP, what the layers are, what the rigid core does, and how to choose it for a room. It assumes you have decided on vinyl as your material. If you are still choosing the material, the vinyl flooring guide covers that decision, and the material comparison sets vinyl against the other options.
LVT vs. LVP: Tile or Plank
The only real choice between LVT and LVP is shape, and the shape is a design decision.
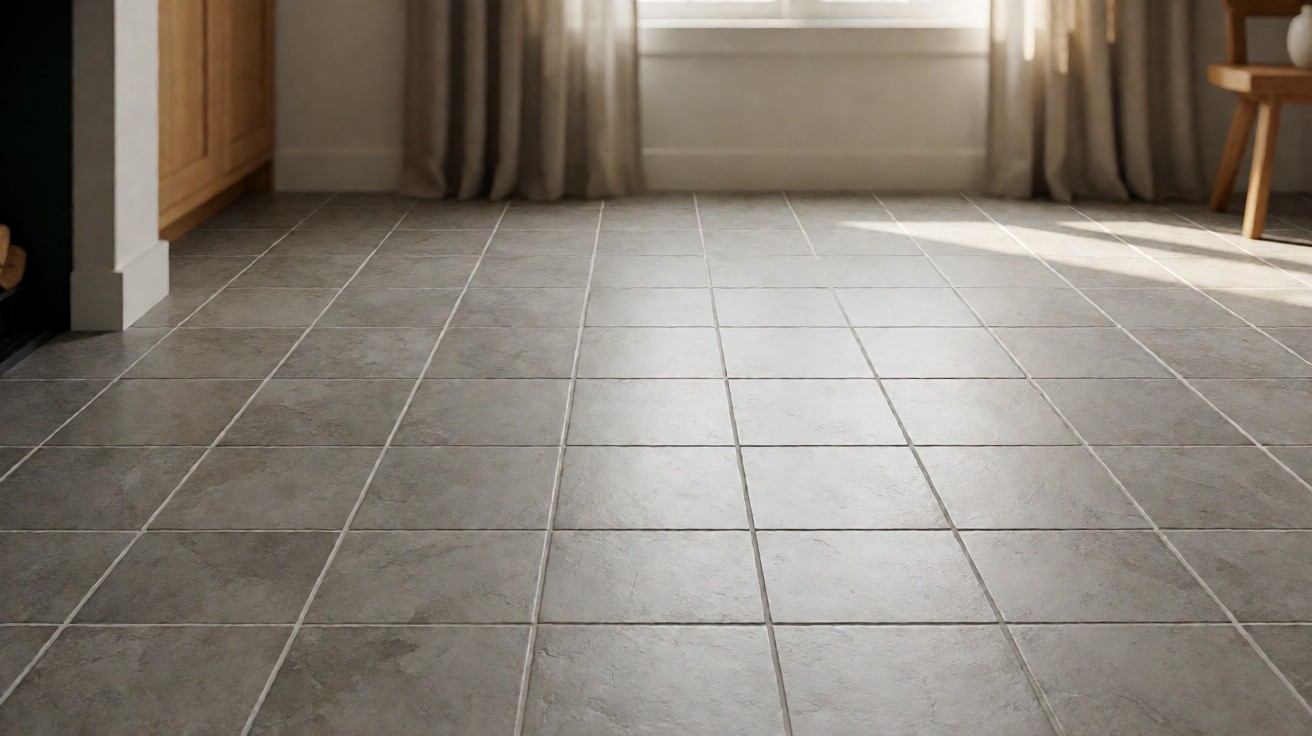
Choose LVT, the square tile, when you want a stone or marble look, a clean modern grid, or anything that should sit next to real tile without looking out of place. A stone-look LVT tile is one of the hardest floors in a house to distinguish from porcelain by sight.
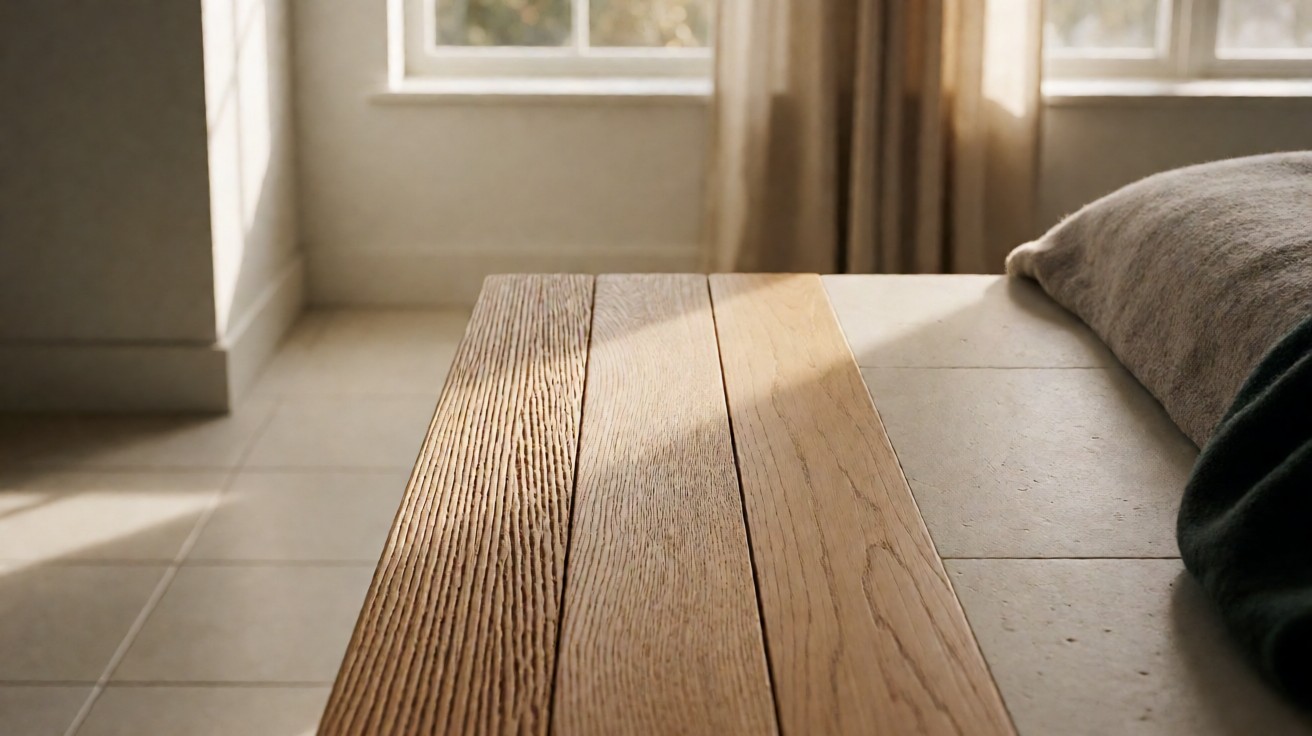
Choose LVP, the plank, when you want wood. Planks are long and narrow and they hide their seams better than tiles do, because the eye reads a continuous board rather than a grid.
On durability the two are equivalent. They use the same wear layers and the same core. So this is not a quality comparison; it is choosing which look you want.
What LVT Is Made Of
An LVT tile is built in layers, and knowing the layers tells you what you are buying.
At the very top is the wear layer, a clear polyurethane or nylon coating that takes the daily abrasion. Its thickness, measured in mils, is the single most important number on the tile: the thicker it is, the longer the floor looks new.
Under that is the decorative layer, a printed image that gives the tile its stone or wood pattern. This is a photograph printed onto the tile, which is why LVT can imitate marble convincingly and why it is, at heart, a picture on a plastic core.
Under the print is the core, and this is where LVT earns its reputation. The core is rigid, usually a stone polymer composite or a wood polymer composite. That rigidity is what makes the tile waterproof, dimensionally stable, and easy to install without clicking into a slope.
At the bottom is the backing, sometimes with a pad pre-attached. That is the layer that sits on your subfloor and, in a click-lock system, the one with the tongue and groove that locks to its neighbour.
The Rigid Core and Why It Matters
The rigid core is the reason LVT behaves the way it does, and it is the part to pay attention to when comparing tiles.
Because the core does not absorb water, an LVT tile is effectively waterproof. That makes it the safe choice in a kitchen, a bathroom, a mudroom, or over a basement slab where moisture wicks up from below, which is a real problem for engineered hardwood.
The rigidity also means the tile does not flex or move the way a soft vinyl does. It lies flat, it holds its shape across a slightly uneven floor, and it does not need the same thick underlay that a soft sheet floor would. That is one reason the format works well over an existing floor.
The trade-off of a rigid core is that it cannot be made as thin or as soft as a cushioned vinyl. It is a harder, thinner, more click-forward product. For some people it feels harder underfoot than carpet or cork, and it is a genuine consideration in a bedroom where softness matters more than waterproofing.
Wear Layer and Durability
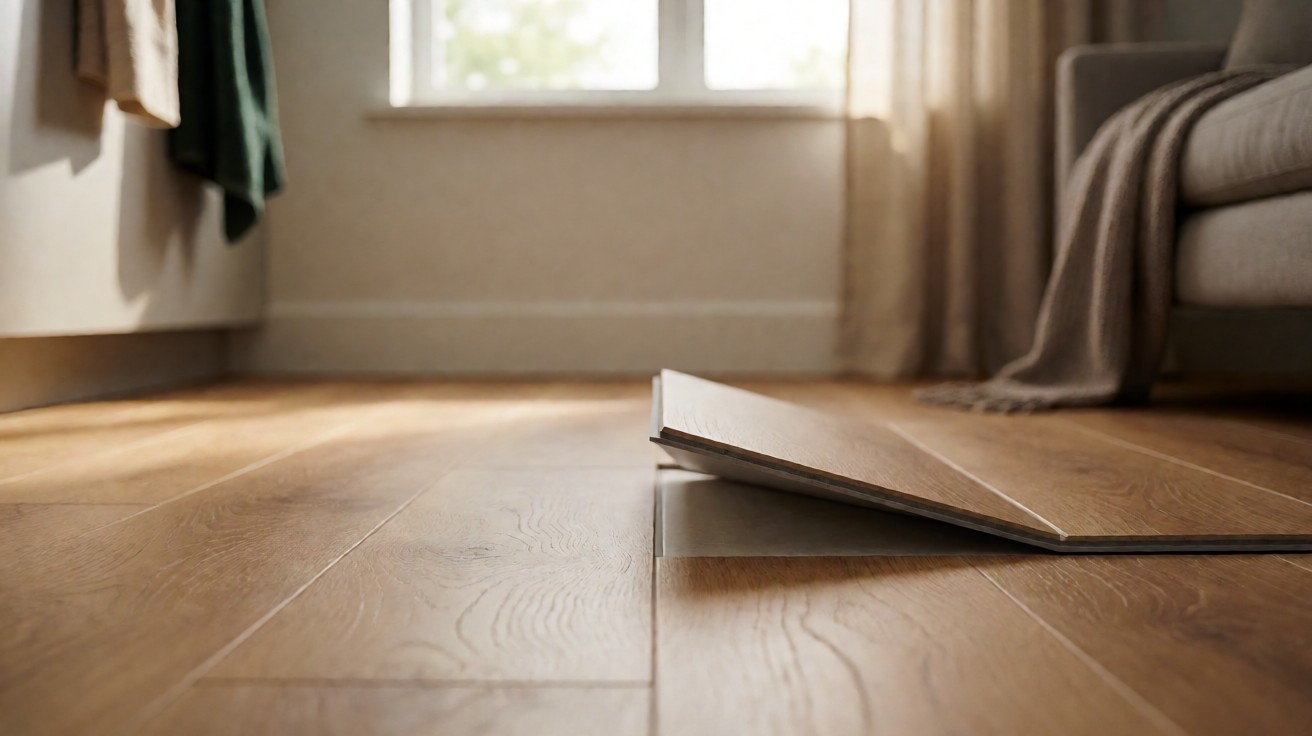
The wear layer is the part of the tile that takes the beating, and its thickness is the number that decides how long the floor looks new.
A residential wear layer is measured in mils, and the higher the number the more traffic it survives. A thin wear layer is fine for a bedroom or a low-traffic room. A busy hallway, a family room with pets, or a rental property wants a thick one, because that is the layer that keeps the printed pattern from being scratched through to the core.
Commercial-grade tiles go much higher than residential ones, which is why the same tile in a school corridor and the same tile in a bedroom are not the same product. The pattern itself also matters: a busy, mottled stone pattern hides scratches better than a clean, flat surface with fine veining, because the scratches have nowhere to stand out against.
The practical advice is simple. Buy the wear layer for the room, not for the price, and pick a pattern with some visual noise if the room is busy.
Size, Format and Grout Lines
LVT tiles come in squares, most commonly 12 inches, 18 inches, and 24 inches. The size changes the read of the floor more than people expect.
A large square tile makes a small room feel smaller and more formal, because the grid lines are close together and regular. A smaller tile, or a stone-look pattern with less obvious grout lines, makes a room feel busier and more textured.
Most LVT is made to look like it has a grout line, because that is what makes it read as stone. Some tiles are made with a bevel that forms a real, visible seam, and some are made to be laid tight with the print carrying the grout line instead.
The first is more forgiving, because a real joint hides the edge of the tile; the second looks cleaner but shows every alignment error.
That is the one thing to check in person. Look at several tiles together, and if you can, look at a laid sample, because the joint is the difference between a stone look and a tiled-room look.
Installation Formats for LVT
LVT comes in three installation formats, and the format is chosen by how permanent you want the floor to be.
Glue-down LVT is fixed to the subfloor with adhesive. It is the most permanent option and the best choice if you want the floor to last and be difficult to move. It is also the least forgiving, because a mistake in the subfloor shows through permanently.
Loose-lay LVT is laid without adhesive. It is held by its own weight and by the friction of the floor beneath it. It is quick to lay and easy to remove, which suits a rental or a floor you might replace in a few years.
Click-lock LVT is the modern default. The tiles have a tongue and groove on the edge and click together, and the floor floats over the subfloor rather than being glued to it.
It is the fastest install, it needs the least skill, and it can be lifted and relaid, which is why it is the format that suits a DIY project or a room you may change your mind about.
Choosing between them is partly about permanence and partly about the substrate. The glue-down versus click-lock comparison covers that decision in detail, and it applies to every vinyl format, not just LVT.
The Thickness Trap in Click-Lock LVT
One buying mistake catches almost everyone, and it is worth a section of its own because it looks like a minor specification detail and is not.
Click-lock LVT is installed by clicking the tongue of one tile into the groove of the next, and the floor floats above the subfloor rather than being glued to it.
For that to work, the core has to be stiff and stable enough that a floating floor does not move underfoot. Very thin click-lock tiles, the ones in the budget bin, are the ones that fail that requirement.
The symptom is a floor that feels springy, rocks under a heel, or develops gaps at the joints after a season of seasonal movement. It is not a defect claim you can easily make, because the tile meets its own published specification; it is that the specification was thin to begin with.
The practical rule is simple. Above the stated minimum, thick is better: a rigid, 5 millimetre core is the point where click-lock LVT stops feeling like a soft floor and starts behaving like a floor. If a price is dramatically under the market, the thickness is usually where the saving was made.
The table below is the format decision in one view.
The Comparison at a Glance
| Factor | LVT (tile) | LVP (plank) |
|---|---|---|
| Shape | Square tile | Long plank |
| Typical look | Stone, marble, modern grid | Wood |
| Material and core | Identical | Identical |
| Wear layer options | Same as LVP | Same as LVT |
| Water resistance | Waterproof core | Waterproof core |
| Seams | Visible grid, sometimes a real joint | Less visible, reads as boards |
| Best in | Kitchen, bathroom, anywhere stone is wanted | Anywhere wood is wanted |
LVT by Room
The comparison above sets the options against each other. This table turns the choice into a room-level assignment, which is usually faster than reasoning about format in the abstract.
| Room or situation | Choice | Why it fits |
|---|---|---|
| Kitchen | LVT stone look | Waterproof, sits next to cabinetry |
| Bathroom | LVT or sheet | Waterproof core, no grout to clean |
| Living room, wood wanted | LVP | Long planks hide the seams |
| Living room, stone wanted | LVT | Square grid reads as stone |
| Hallway, heavy traffic | Either, thick wear layer | Buy the wear layer for the traffic |
| Bedroom | Either, thinner wear layer | Softness matters more than traffic |
| Rental | Click-lock | Can be lifted at end of tenancy |
| Basement | Click-lock LVT | Waterproof rigid core over the slab |
How to Choose LVT for Your Project
Choose the shape first, which is really choosing the look. Stone and a modern grid means LVT. Wood means LVP. That decision is aesthetic and there is no wrong answer.
Then choose the wear layer for the room, not the price. A bedroom can take a thin one. A hallway with kids and dogs should not.
Then choose the installation format for how permanent you want the floor. Glue-down for a floor that will not move, loose-lay or click-lock for one that might. And always check the joint in person, because the grout line is what separates a convincing stone look from a tiled room.
Is LVT better than LVP?
Neither is better. They are the same material in a different shape, with the same core, the same wear layer options, and the same waterproofing. LVT is the square tile, usually chosen for a stone look; LVP is the plank, chosen for wood. Choosing between them is a question about the look you want, not about which one will last longer.
Can LVT be installed over an existing floor?
Usually yes, which is one of the format’s real strengths, because the tiles are thin, rigid, and stable and they do not absorb moisture from the floor below. An LVT floor can often go over an old vinyl floor, tile, or a prepared subfloor.
It cannot go over carpet, and it needs a properly flat, clean, dry base. Check that the floor beneath is sound first, because an LVT floor will show every defect in what is under it.
How This Fits With the Rest of the Choice
This page covers LVT as a format: what it is, what the layers do, and how tile differs from plank. It does not decide between sheet and luxury vinyl, and it does not cover the installation method in detail.
If you are weighing the formats against each other, the vinyl flooring guide lays out all of them. If you want the sheet-versus-luxury decision specifically, that is a separate comparison. And if you are still choosing the material overall, the material comparison sets vinyl against hardwood, tile, carpet, and the rest.