
OSB is the most common US subfloor panel, but it swells at panel edges when wet and must be completely dry before any finished flooring goes down.
It costs less than plywood, performs well when it stays dry, and fastens easily.
It also has real limits: it does not spring back the way plywood does, and it must be fully dry before any finished flooring is installed.
OSB suits dry, conditioned spaces with standard joist spacing and is the wrong choice for wet rooms or long weather exposure.
It is written for homeowners and DIY installers who want the specification, not just the brand name.
Most of the rules below come from the APA (Engineered Wood Association) and the National Wood Flooring Association (NWFA). The instructions printed on the panel you buy and on the finished flooring you install always take priority over any general guide.
What OSB Subfloors Are and When to Use Them
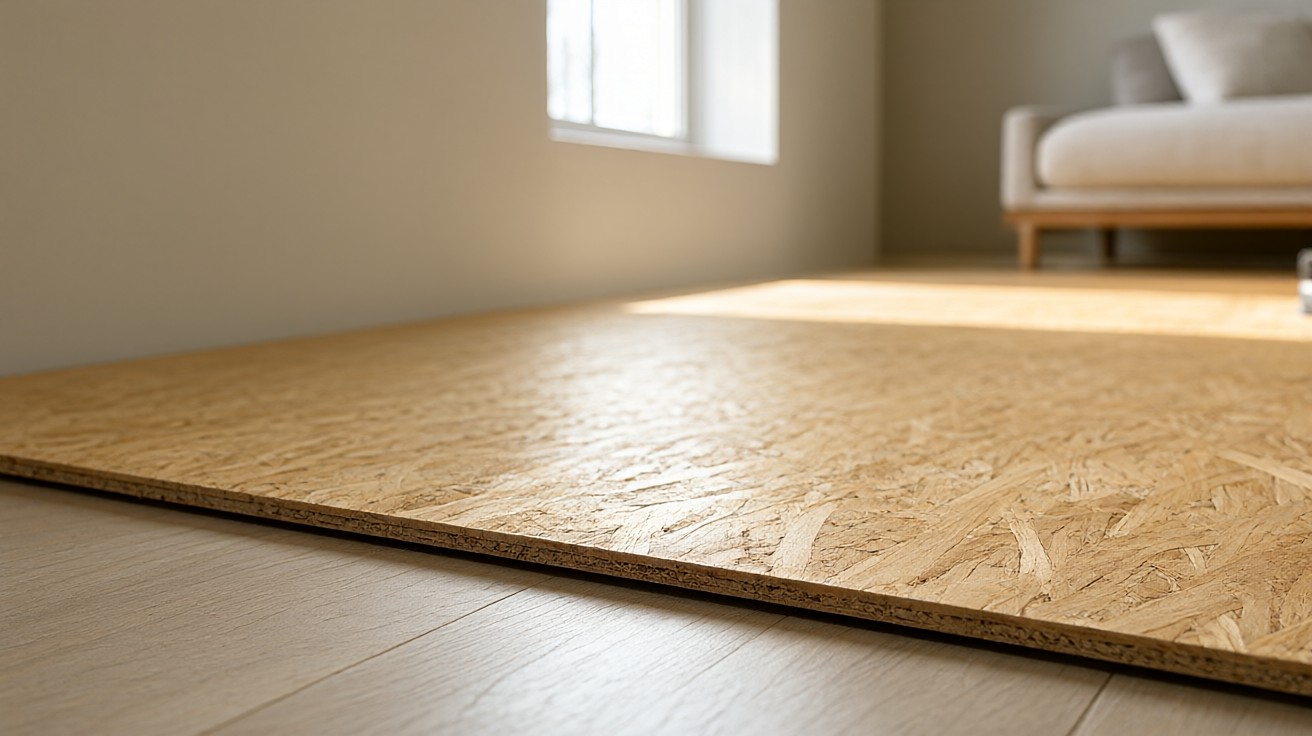
OSB is an engineered wood panel made from thin wood strands that are oriented in layers, mixed with resin, and pressed under heat. The strands run in specific directions so the panel carries load along its strength axis, which is stamped on the panel face.
For subfloor use, OSB is sold as an Exposure 1 panel, meaning it can handle normal construction delays and occasional wetting without losing structural properties.
Exposure 1 is not exterior grade: it is meant for panels that will be protected by the building envelope within a reasonable time, not for permanent outdoor exposure. Modern OSB is manufactured to meet CARB Phase 2 and TSCA Title VI formaldehyde emission limits, so indoor air quality is not a concern when the panel is dry and the finished floor is installed per manufacturer instructions. IRC R503.2 governs subfloor panel installation in residential construction.
OSB is a good subfloor choice when the panel stays protected from standing water, the finished flooring is installed only after the panel is dry, and the panel thickness matches the joist spacing. It is a poor choice for very wet rooms, for basements with chronic moisture, or where the panel will be left exposed to weather for long stretches.
When is OSB the right subfloor choice?
Use OSB when the job is a dry, conditioned space with standard joist spacing and a finished floor that tolerates a wood subfloor. For tile, wet rooms, or panels that will sit open to rain for weeks, plywood or a concrete base is usually the safer call.
OSB Grades, Thicknesses, and Span Ratings
Residential OSB subfloor panels are rated under APA PS 2-10. The grade stamp on the panel tells you the thickness, the span rating, the exposure rating, and the strength axis. Two thicknesses dominate residential work: 7/16 inch for 16 inch on center joists, and 23/32 inch for 24 inch on center joists or for tile.
| Panel thickness | Common span rating | Typical joist spacing | Common use |
|---|---|---|---|
| 7/16 in (11 mm) | 24/16 | 16 in on center | Standard wood and vinyl floors |
| 23/32 in (18 mm) | 32/16 or 40/20 | 24 in on center | Wider joist spacing, tile, heavy loads |
| 1 1/8 in (28 mm) | 48/24 | 48 in on center | Commercial or long span floors |
A span rating such as 24/16 means the panel can span 24 inches when used as roof sheathing and 16 inches when used as a floor. For subfloor work, read the second number.
Always match the thickness to the actual joist spacing on site, not to the number on the plan. If the joists are out of level or spaced wider than planned, step up one thickness rather than trusting the minimum.
What does an OSB span rating mean?
The two numbers are the maximum support spacing in inches for roof and floor use. The first is for roof, the second is for floor. A 7/16 inch panel rated 24/16 is fine at 16 inches on center for a floor, but it is not rated for a 24 inch floor span.
Preparing an OSB Subfloor for Finished Flooring
Preparation is where most OSB jobs succeed or fail. The panel must be dry, flat, clean, and fastened before any finished floor is installed. Check the moisture content of the OSB with a pin or pinless meter.
NWFA guidance calls for a wood subfloor to be at or below 19 percent moisture content, and many finished flooring products set a lower limit, so follow the stricter of the two.
Store panels flat and dry on site, keep them off the ground, and let them acclimate to the building before installation. Sweep the surface, remove construction debris, and sand any raised panel edges only after the house is closed in and the HVAC is running.
Sanding too early opens the wood cells and invites more swelling. Acclimation matters because OSB moves with humidity: panels installed at a moisture content far from the room condition will shrink or swell after installation and telegraph gaps or ridges through the finished floor.
If the panel edges have swollen from rain exposure, sand them level only after the panel has dried fully. Light sanding along the panel edge is common field practice and does not affect structural properties. For more detail on the full prep sequence, see our guide on subfloor preparation for flooring.
Fastening and Panel Layout Rules
Lay panels with the strength axis perpendicular to the joists. Stagger the end joints so they do not line up across adjacent rows. Leave a 1/8 inch gap at all panel edges and ends to allow for expansion. Do not force panels tight together.
| Fastener | Edge spacing | Field spacing | Notes |
|---|---|---|---|
| Ring shank nails or screws | 6 in | 12 in | Preferred for subfloor |
| Smooth shank nails | 6 in | 12 in | Acceptable, less withdrawal resistance |
| Construction adhesive | Continuous bead | Continuous bead | Use with fasteners, not alone |
Drive fasteners flush, not proud and not countersunk deep enough to crush the panel. H clips are used for roof sheathing, not for floors. A subfloor adhesive bead on the joists reduces squeaks and adds stiffness, but it is not a substitute for the specified fastener pattern.
Check the panel stamp for the exact fastener requirement for your panel, since some panels specify a tighter edge pattern or a minimum screw size.
How much gap should I leave between OSB panels?
Leave 1/8 inch at every panel edge and end. That gap gives the panel room to expand without buckling or ridging at the joints.
Moisture Limits and Edge Swelling
Imagine a kitchen remodel in Houston in August: the OSB subfloor sits exposed to humidity for three weeks while the contractor waits on cabinets. By the time the LVP goes down, the panel edges have swollen enough to telegraph through the finished floor. That is the failure mode OSB is known for, and it is entirely preventable.
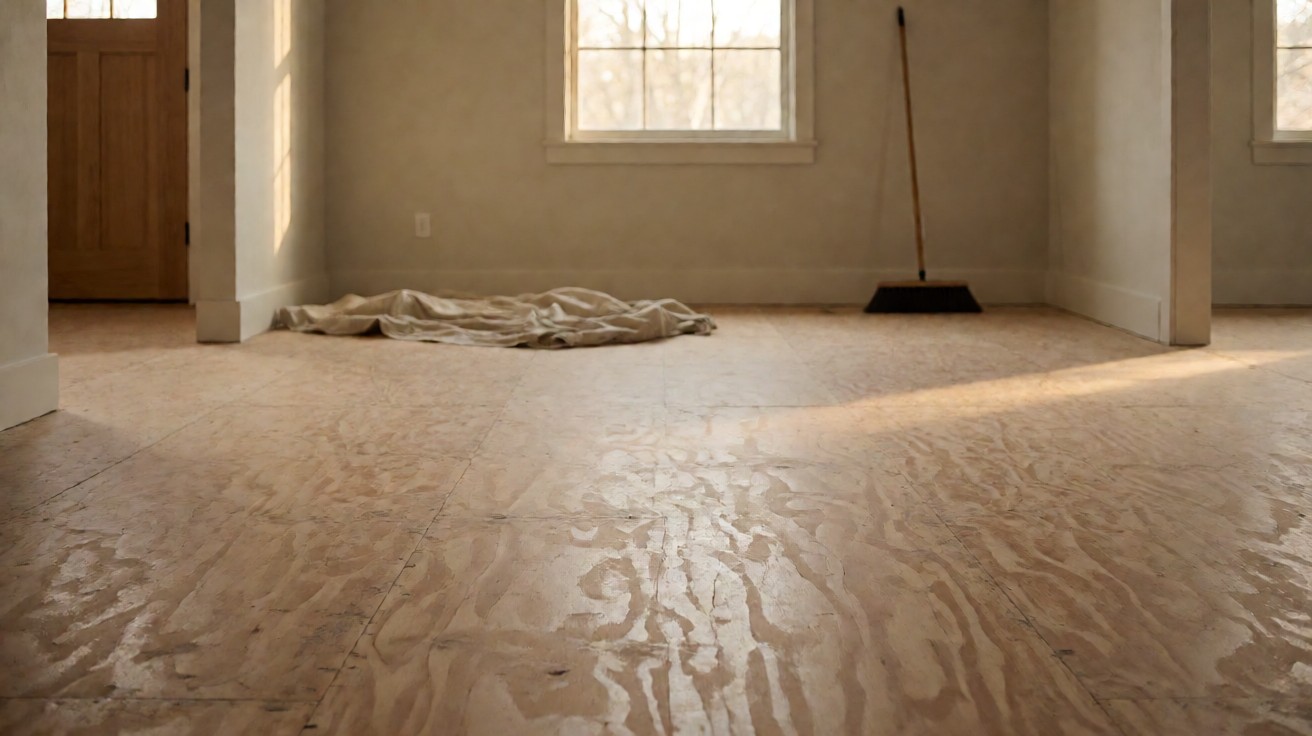
OSB and water are the real problem. Exposure 1 panels handle normal construction delays, but standing water or long exposure causes thickness swell, most visibly at the 4 foot panel ends where edges absorb moisture fastest. Swollen edges can ridge against each other and leave a slight bump in the floor.
The fix is patience, not replacement. Remove standing water, let the house dry in with the roof and windows installed and the HVAC running, then sand the ridged edges level. Sanding before the panel is dry opens the cells and makes swelling worse.
Surface flaking and edge swell from jobsite wetting do not affect the structural properties of the panel. If the panel was submerged or sat in standing water for days, inspect it for soft spots and delamination before trusting it.
Can swollen OSB edges be sanded flat?
Yes, after the panel has dried completely. Lightly sand along the panel edges to remove the ridged area. Delay sanding until the roof, windows, and HVAC are in place and the floor is dry.
OSB Compared with Plywood Subfloors
Both panels work as subfloors when installed to spec. OSB costs less and uses smaller trees, while plywood resists edge swell and holds fasteners slightly better after wetting. The choice is usually driven by budget, availability, and the moisture risk of the job. In wet climates or on jobs where the panel will see rain, plywood is the safer specification even at a higher price.
| Property | OSB | Plywood |
|---|---|---|
| Cost | Lower | Higher |
| Edge swell after wetting | More pronounced | Less pronounced |
| Fastener holding after wetting | Good | Slightly better |
| Panel consistency | Very uniform | More variable |
| Availability | Widespread | Widespread |
For a deeper look at plywood subfloor prep, see our guide on plywood subfloors preparation and suitability.
Finished Flooring Compatibility
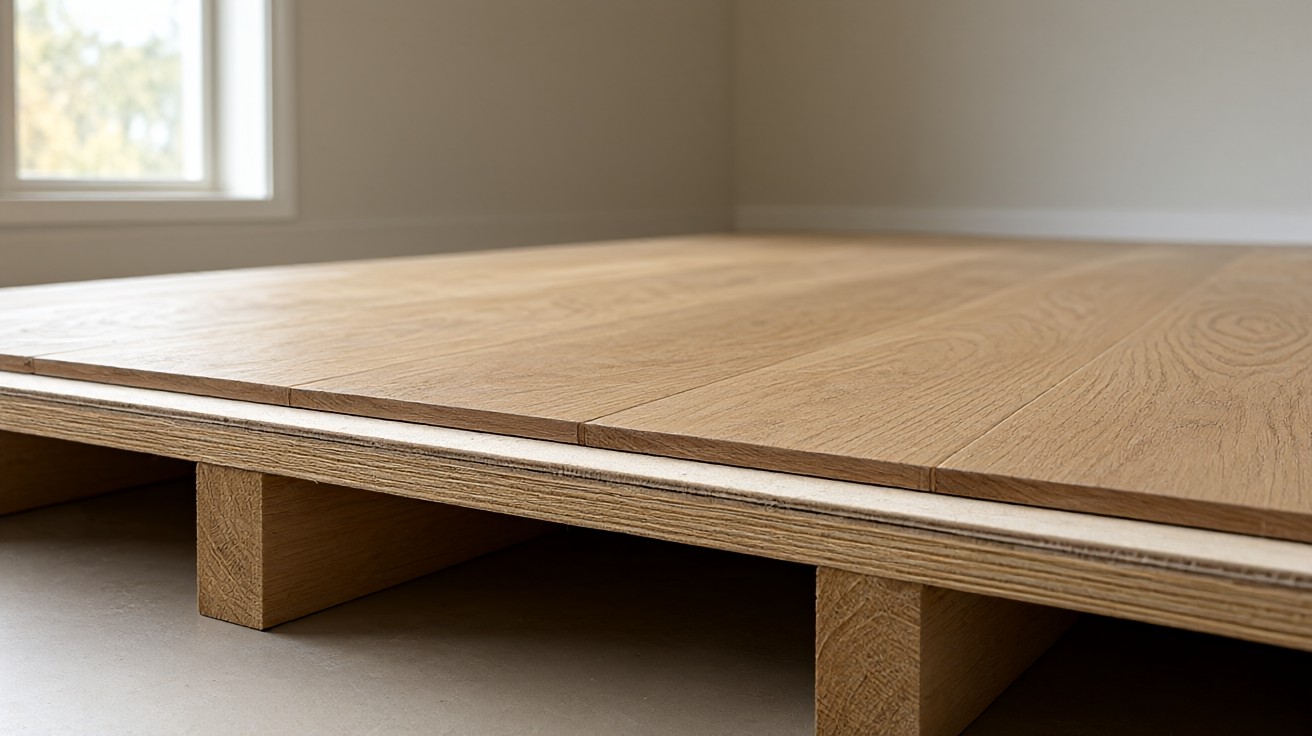
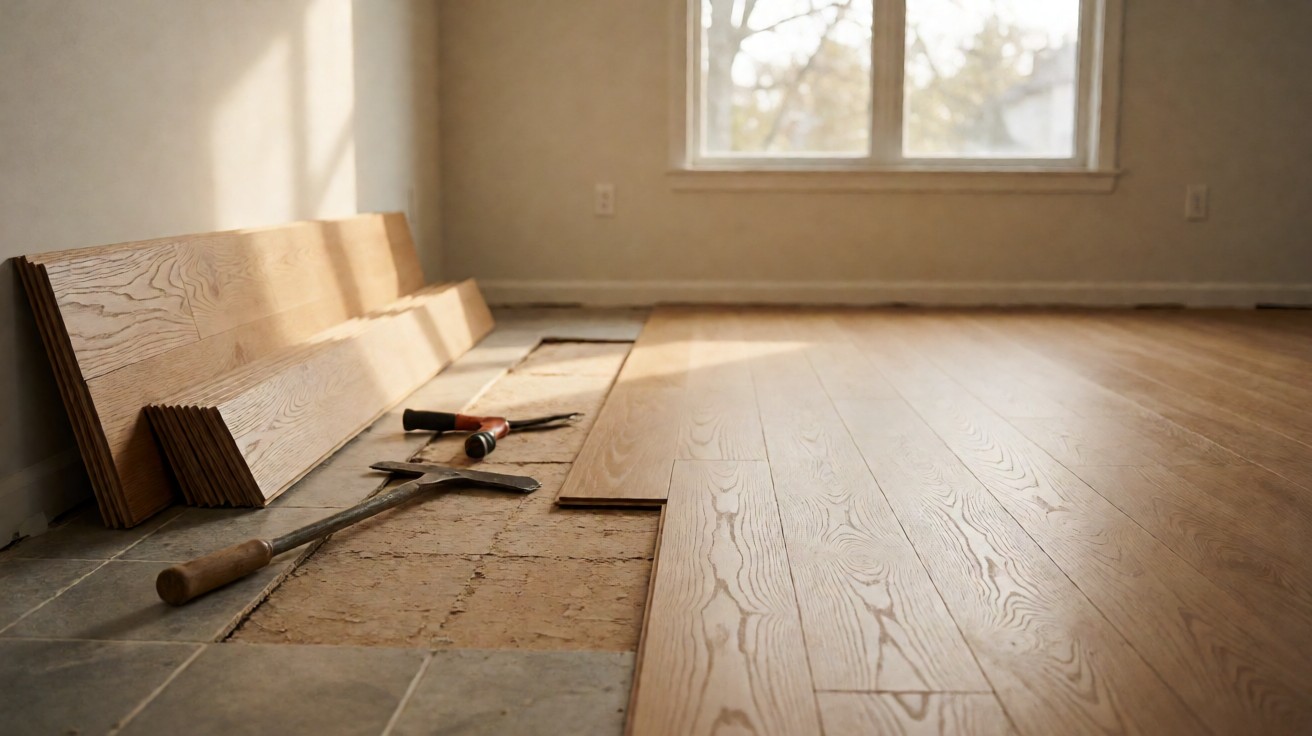
OSB accepts most finished floors when it is dry and flat: solid and engineered hardwood, laminate, vinyl plank, and carpet. Tile needs a stiffer base, so use 23/32 inch OSB or add an underlayment layer, and follow the tile manufacturer and thinset instructions.
For hardwood, the NWFA moisture limits apply to both the subfloor and the flooring. If you are unsure which layer is which, our guide on subfloor vs underlayment vs finished flooring explains the roles.
Always check the finished flooring manufacturer’s subfloor requirements, since some products void the warranty over OSB below a stated thickness.
Common OSB Subfloor Mistakes
Most OSB failures are not material failures. They come from moisture, spacing, and fastening errors that are easy to avoid on the day of installation. Review this list before you start.
- Installing finished flooring over OSB that is above the moisture limit.
- Forcing panels tight with no 1/8 inch expansion gap.
- Lining up end joints across adjacent rows instead of staggering them.
- Sanding swollen edges before the panel has dried.
- Using the wrong thickness for the joist spacing.
- Leaving panels exposed to rain for weeks without protecting them.
- Skipping the adhesive bead and relying on nails alone where squeaks matter.
How to Inspect an OSB Subfloor
Walk the floor and listen for squeaks, which point to loose fasteners or an uneven joist. Check for soft spots, delamination, and any area that feels springy. Look at the panel edges for swelling and at the fastener heads for pull-through.
Take moisture readings in several spots, including near exterior walls and plumbing. Repair or replace any panel that is soft, rotted, or badly swollen before installing the finished floor. A simple tap test with a hammer handle also reveals hollow or loose panels that need refastening.
When to Replace or Overlay OSB
Replace a panel that is soft, punky, or rotted, or one that has swelled beyond what sanding can correct. Overlay is reasonable when the panel is sound but uneven or slightly thin for a new flooring type, such as adding a layer for tile.
Do not install new finished flooring over OSB that fails the moisture test or shows active decay. When overlaying, screw the new layer to the old one and stagger the joints so no seam lines up with the panel below.
Key Takeaways
- Use Exposure 1 OSB rated for the actual joist spacing, usually 7/16 inch at 16 inches on center.
- Keep moisture at or below 19 percent before installing finished flooring.
- Leave a 1/8 inch gap at panel edges and stagger the end joints.
- Fasten 6 inches on edges and 12 inches in the field, with adhesive on the joists.
- Sand swollen edges only after the panel has dried fully.
- Choose plywood instead when wetting risk is high or the base must stay dimensionally stable.