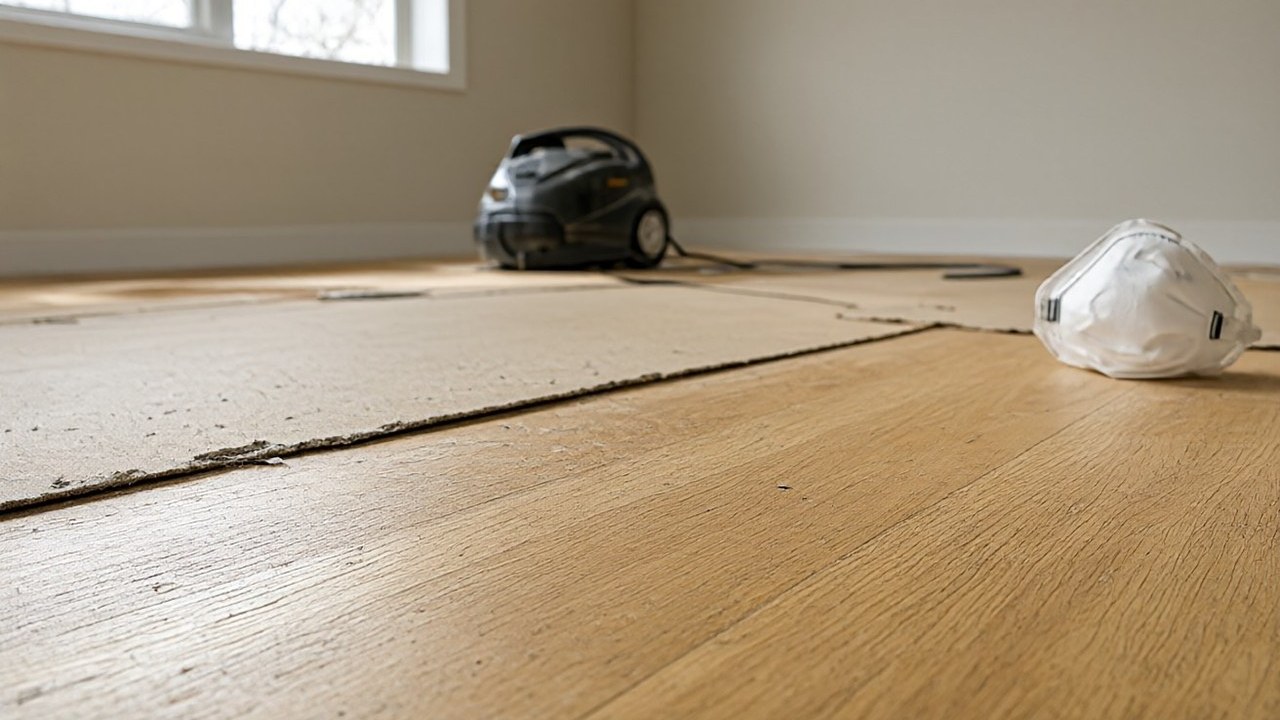

Renovation leaves a fine white dust on every surface, and the last trade out of the house decides whether your new floor looks clean or looks chalky.
Start with a HEPA vacuum and dry sweeping on every hard surface, then mop with the two-bucket method. The answer changes by material: hardwood takes a barely damp microfiber mop, laminate and vinyl take almost no water at all, tile takes a wash with no grit in it, and carpet gets extracted rather than scrubbed.
What Renovation Dust Actually Is
Renovation dust is not one substance. It is a layered mixture of drywall dust from sanding joint compound, paint overspray from the sprayed rooms, adhesive residue from where the old flooring was pulled up, and fine grit from demo work.
Each of those behaves differently on a floor, and each needs a different removal method. The drywall dust component causes the most damage, because it is the smallest and it sticks.
USG publishes the recipe for its own joint compounds in the safety data sheet, and it is more mineral than most people expect. Sheetrock Brand lightweight setting-type joint compound lists plaster of Paris, which is calcium sulfate hemihydrate, at less than 60 percent by weight, and limestone, which is calcium carbonate, at less than 50 percent.
The same sheet lists attapulgite and perlite at less than 10 percent each, and crystalline silica at less than 1.5 percent. Silica is the fraction that matters for lungs.
OSHA sets a permissible exposure limit of 50 micrograms per cubic meter of respirable crystalline silica over an 8-hour time-weighted average, with an action level of 25 micrograms per cubic meter that triggers exposure assessment.
A homeowner cleaning their own kitchen is not running a monitored job site, but the numbers explain why the dust behaves the way it does.
Drywall dust is fine enough to stay airborne for hours, and it settles into the grain of a floor rather than sitting on top of it.
That is why the dust keeps coming back after a first pass and why it will not simply be swept away.
Is Every Kind Of Renovation Dust The Same?
No. The dust from sanding is a loose powder that a vacuum can lift. Paint overspray is a cured film that has to be softened before it moves. Adhesive residue is sticky enough to grab a mop head, and grout haze is a cement film that can etch new grout if it gets wet too early.
| Dust source | What it is | What it does on a floor |
|---|---|---|
| Drywall joint compound | Calcium sulfate gypsum with calcium carbonate, attapulgite, perlite, and silica | Works into the grain of the finish and is stirred back into the air by every footstep |
| Silica fraction | Respirable crystalline silica, under 1.5 percent of the compound by weight | The part that reaches the lungs, which is why OSHA sets an exposure limit |
| Paint overspray | Airborne droplets of latex or oil paint | Bonds to the finish and needs to be softened, not scrubbed |
| Grout haze | Cement film left behind after the grouting cleanup | Etches or darkens young grout if it gets wet too early |
| Adhesive residue | Leftover flooring mastic or tape backing | Stays rubbery until a solvent or heat moves it |
Why Dry Cleaning Comes Before Wet
Wet cleaning before dry cleaning is the single most common mistake in post-renovation cleanup. Water turns fine drywall dust into a paste, and that paste gets pushed into the joints, into the seams of a plank floor, and into the texture of carpet.
A floor that looked dusty now looks stained. Dry sweeping on its own is also a problem, for a documented reason. OSHA prohibits dry sweeping and dry brushing where the activity could contribute to exposure to respirable crystalline silica, unless wet sweeping, HEPA-filtered vacuuming, or other methods that minimize exposure are not feasible.
The rule exists because a broom pushes the finest particles back into the air instead of capturing them. The practical order is fixed: vacuum everything dry first, then wipe with a damp cloth, then mop with clean water.
If you reverse that order, you will be mopping a floor that is already coated in dust paste, and the paste is much harder to remove than the powder.
Does Dry Sweeping Make The Dust Worse?
It does, and not by a small amount. A broom stirs the settled dust into the air so it can resettle on everything you just cleaned, including surfaces you will have to vacuum a second time.
Where silica may be present, OSHA treats that behavior as a housekeeping violation rather than a shortcut.
The Equipment List
The right tools are ordinary, and most of them are already on a cleaning cart. What matters is having them before you start, because the sequence depends on having the dry tools ready before you bring out any water.
A HEPA vacuum is the core of the job. Under 40 CFR 745.83, a HEPA filter is one that captures particulates of 0.3 microns with 99.97 percent efficiency, and the vacuum has to be built so all the air drawn in passes through that filter.
The EPA Renovation, Repair and Painting Rule uses the same definition for its own work practice standards. A shop vacuum with a hard floor attachment handles the grit that a HEPA unit can clog on.
The hard floor attachment is the non-beating head, and it matters: a rotating beater bar on a hard surface grinds dust into the finish and can scratch it.
The same rule appears in manufacturer care instructions for tile and stone. A wet vacuum is the tool for carpet, not for hard floors.
For hard floors, you need a microfiber mop, two clean buckets, a mop head you can rinse and wring, a tack cloth for the fine pass, and clean water.
You also need an N95 respirator if you will be working around drywall dust for more than an hour.
Do I Need A HEPA Vacuum Or Will A Shop Vacuum Do?
A shop vacuum is fine for the first pass on grit and for carpet, where the EPA rule actually calls for a HEPA vacuum with a beater bar.
For the fine drywall dust that settles on hard floors, a HEPA unit is the difference between one pass and three. If you rent one for the weekend, that cost is cheaper than refinishing a dull floor.
| Tool | What it does | Watch out for |
|---|---|---|
| HEPA vacuum | Captures particles of 0.3 microns at 99.97 percent efficiency | Empty it outside, and keep it dry |
| Shop vacuum with hard floor attachment | Picks up grit without scratching the finish | Hard floor attachment only, never a beater bar on hard surfaces |
| Wet vacuum | Pulls water and embedded dirt out of carpet | Rent it for the job rather than buying one for a single cleanup |
| Microfiber mop | Applies a controlled film of water | Keep it barely damp on wood and laminate |
| Tack cloth | Catches the fine dust the vacuum left behind | Replace it once it stops gripping the dust |
| N95 respirator | Filters the fine particulate fraction you stir up | It has to fit tight to the face or it does nothing |
| Two buckets | Keeps wash water separate from rinse water | Never rinse a mop in the bucket you washed it in |
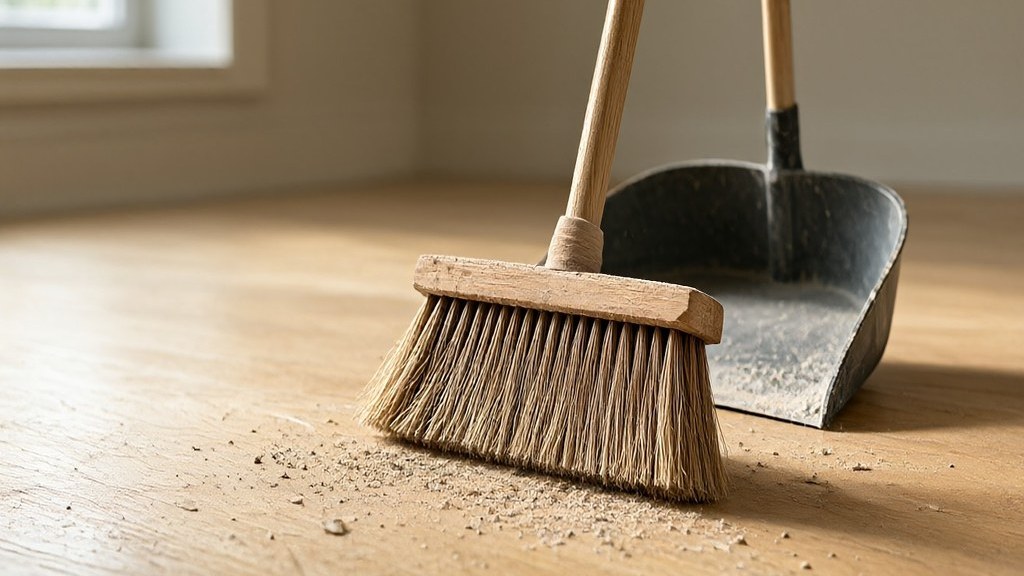
Step By Step Cleanup Sequence
Work from the top of the room down, and from the back of the room toward the door. If you mop the floor first, you will carry dirt back across everything you already cleaned.
Contain the area before you start. The EPA work practice standards in 40 CFR 745.85 require the work area to be isolated so that no dust or debris leaves it.
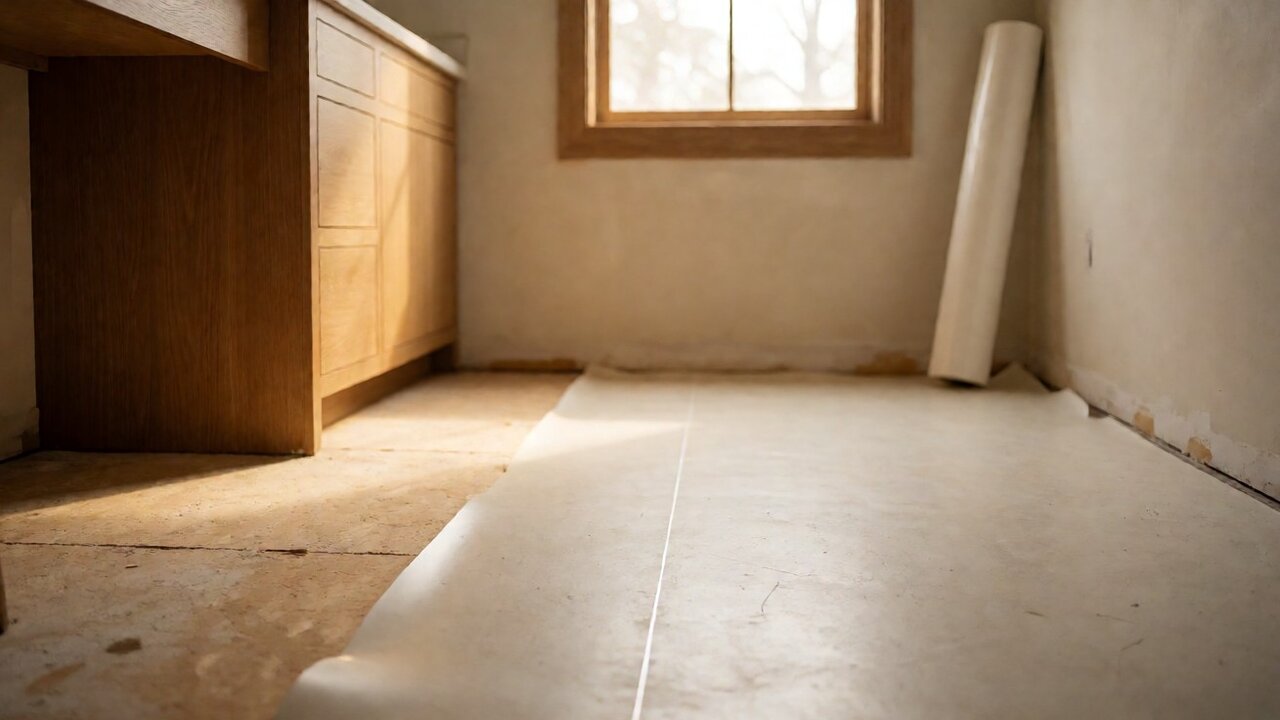
For interior renovations they also require the floor to be covered with taped-down plastic sheeting 6 feet beyond the perimeter of the work being done, or a sufficient distance to contain the dust, whichever is greater.
Then clear the debris. Pick up or bag the dropped drywall, broken tile, trim, and packaging. The EPA rule requires that paint chips and debris be collected without dispersing them and sealed in a heavy-duty bag.
Do this before any vacuuming, because loose debris on the floor will be driven around by the vacuum head. Vacuum dry. Work the HEPA vacuum slowly, letting the head sit on the surface rather than hovering, and go back over the edges where dust collects.
Then follow with the tack cloth on hard floors, which picks up what the vacuum left clinging. Mop with the two-bucket method. The EPA standard for interior renovations says to mop uncarpeted floors thoroughly using a mopping method that keeps wash water separate from rinse water, such as the 2-bucket mopping method, or a wet mopping system.
One bucket holds clean water, the other holds the dirty water you wring into, and you change the wash water whenever it turns gray.
Verify before you walk away. The EPA cleaning verification procedure is the most useful habit here: wipe the floor with a wet disposable cloth, and if the cloth is darker than the cleaning verification card, the floor is not clean.
If the surface is greater than 40 square feet, divide it into sections of less than 40 square feet and wipe each section with a new cloth.
Finally, wait 1 hour, or until the surface has dried completely, whichever is longer, if a section still fails. Wipe it again with a dry disposable cloth.
Only after the floor passes does it get furniture back on it.
Should You Clean Top Down Before You Touch The Floor?
Always. The EPA work practice standards require cleaning from higher to lower, starting at the ceiling and working down to the floor, and they require that all objects and surfaces in the work area and within 2 feet of the work area be cleaned as well.
Dust you leave on a ledge above the floor simply falls back onto the clean floor later.
Protecting Yourself While You Clean
Clean up for renovation dust is not as dangerous as sanding it, but it is not nothing either. The OSHA housekeeping rule applies to employers, and the same habits protect a homeowner who spends a weekend cleaning their own house with the windows open and a fan running.
Wear the N95 respirator when you are in a room with visible dust in the air, and replace it if it gets damp or dusty.
OSHA requires a tight-fitting respirator to pass a fit test, because filtration efficiency on paper means nothing if the mask does not seal against your face.
Ventilate by moving air out, not just around. If you run a fan, point it toward an open window so the dust leaves the room instead of circulating.
Keep other people out of the space while you work, especially children and pets, and do not sweep dust toward a door you will need to open repeatedly.
Do not use compressed air to blow dust off surfaces. OSHA prohibits it where it could contribute to respirable crystalline silica exposure, and in practice it just relocates the dust to the next room.
Is A Dust Mask Enough For A Weekend Cleanup?
A cloth mask is not. It catches the coarse pieces and lets the fine fraction through, which is the fraction that reaches the lungs.
If you cannot get an N95 respirator, wet the surface down before you vacuum and open the windows, and keep the job short.
Hardwood And Engineered Wood
Wood floors are the most sensitive surface in the house after a renovation because the finish is thin and the wood moves with humidity.
Drywall dust on hardwood has to come off with a vacuum and a tack cloth, and only then can you use water, and only barely.
Keep the mop barely damp and never let it sit. A microfiber mop that has been wrung out properly leaves a film that dries rather than soaks.
If you need to know how the floor should be cared for once the dust is gone, our guide to cleaning hardwood floors covers the routine method in detail.
Mind the moisture of the floor itself, not just the surface. The NWFA and NOFMA standards for unfinished solid wood flooring set the moisture content standard at 6 percent to 9 percent, with a 5 percent allowance for pieces outside that range up to 12 percent.
Wood outside that range moves enough after a wet cleaning to open seams or cup the boards. If the renovation included a new slab, the concrete under the floor also matters.
ASTM F1869 sets the calcium chloride test limit at 3 pounds of moisture per 1,000 square feet over 24 hours, and ASTM F2170 caps in-situ relative humidity at 75 percent.
Miss either limit and the floor traps moisture against itself, which shows up as cupping and as a finish that refuses to dry evenly.
Do not steam clean a new wood floor to speed things up, and do not flood the seams of an engineered plank. If dust keeps returning in one area, look at what is above that area, because something is still shedding.
Can You Wet Mop A New Hardwood Floor?
You can damp mop it once the dust is gone, but only with a well wrung mop and clean water, and never over a wet area.
If the floor was just installed and the finish is still curing, wait. If a plank sounds hollow when you tap it, there is moisture under it and more water will make it worse.
Laminate, Vinyl And Luxury Vinyl Plank
Laminate and vinyl floors tolerate renovation dust better than wood, but they tolerate water worse. Most laminate is a printed paper or plastic wear layer bonded to a fiber core, and once water gets into a seam or a swelling core, the plank is done.
Vacuum thoroughly, mop with a microfiber pad that is damp and not wet, and dry the floor behind you. Do not use a steam mop on laminate or on any locking vinyl floor, because the heat drives moisture into the joints and the plank will not lay flat again.
Vinyl plank that was glued down also needs the adhesive residue addressed before anything is laid over it. For the routine cleaning method that follows the renovation cleanup, our guide to cleaning laminate floors covers the damp mopping limits and the products to keep away from the surface.
Why Does Steam Mopping Damage Laminate?
Because heat and moisture together soften the core and swell the edges, and the wear layer loses its bond to the core. The planks lift at the joint, and the damage shows up months later as a wavy floor that no amount of cleaning will fix.
Tile And Grout
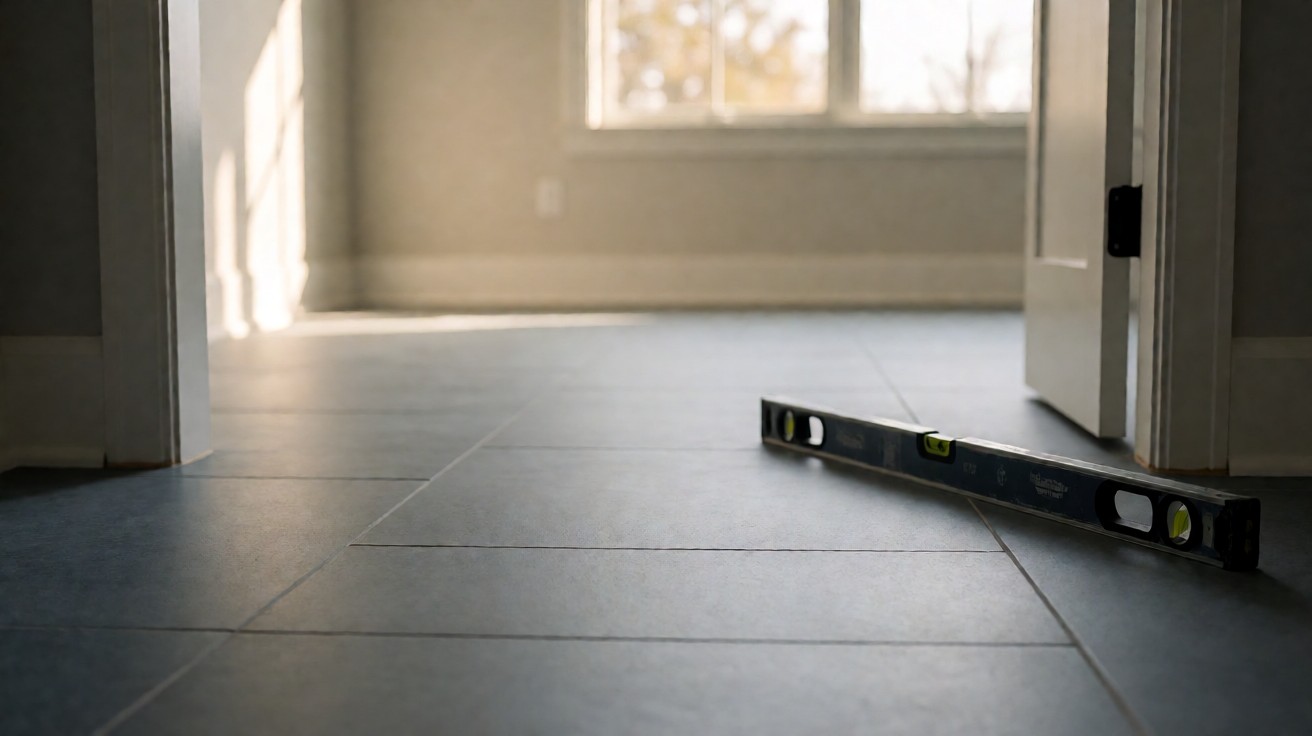
Tile is the easiest surface to clean and the easiest to damage, because the grout is fresh and vulnerable. Manufacturer care instructions for tile and stone are clear about timing: allow the new tile and grout to dry for at least 72 hours before any type of maintenance occurs.
For the dust itself, dry sweeping and vacuuming are enough, and a damp mop over the tile is safe once the grout has cured.
Grout haze is a different job entirely, because it is a cement film rather than dust. It is normally buffed off after the grout has cured for 12 to 24 hours, and if it is still visible after 48 hours, a dedicated grout haze remover is used.
If the grout is epoxy, a standard cement haze remover is the wrong product and can etch the surface, so an epoxy haze remover is used instead.
Our guide to removing grout haze from tile covers the acid and timing questions in detail. Use a neutral pH cleaner and never one with acids, chlorine, vinegar, or ammonia, because those agents attack grout and dull the tile surface.
Check the grout standard before you assume it is ready for water. ISO 13007 classifies a cementitious grout like this as CG2WAF, which carries a shrinkage limit of 0.30 percent at 28 days, water absorption of 5 grams or less after 4 hours, and compressive strength of 2,175 psi or more after 24 hours.
The companion ANSI A118.7 figures put flexural strength at 1,000 psi or more at 28 days and tensile strength at 500 psi or more at 28 days.
The practical consequence is that a CG2WAF grout can take wet cleaning once it has cured, because the water absorption limit is what keeps the joint from wicking cleaner into the body of the grout.
If a tile floor is being cleaned before grout has cured, restrict the work to vacuuming.
When Is It Safe To Remove Grout Haze?
After the grout has cured for 12 to 24 hours for a buffed haze, and after 48 hours before you reach for a haze remover.
Cement grout installed under ANSI A108.10 and A118.6 typically needs about 72 hours before the installation is immersed in water, with manufacturer data sheets calling out a curing time of 3 days and at least 24 hours of cure before regular cleaning. If you are near that window, wait, or use a dry method only.
Carpet
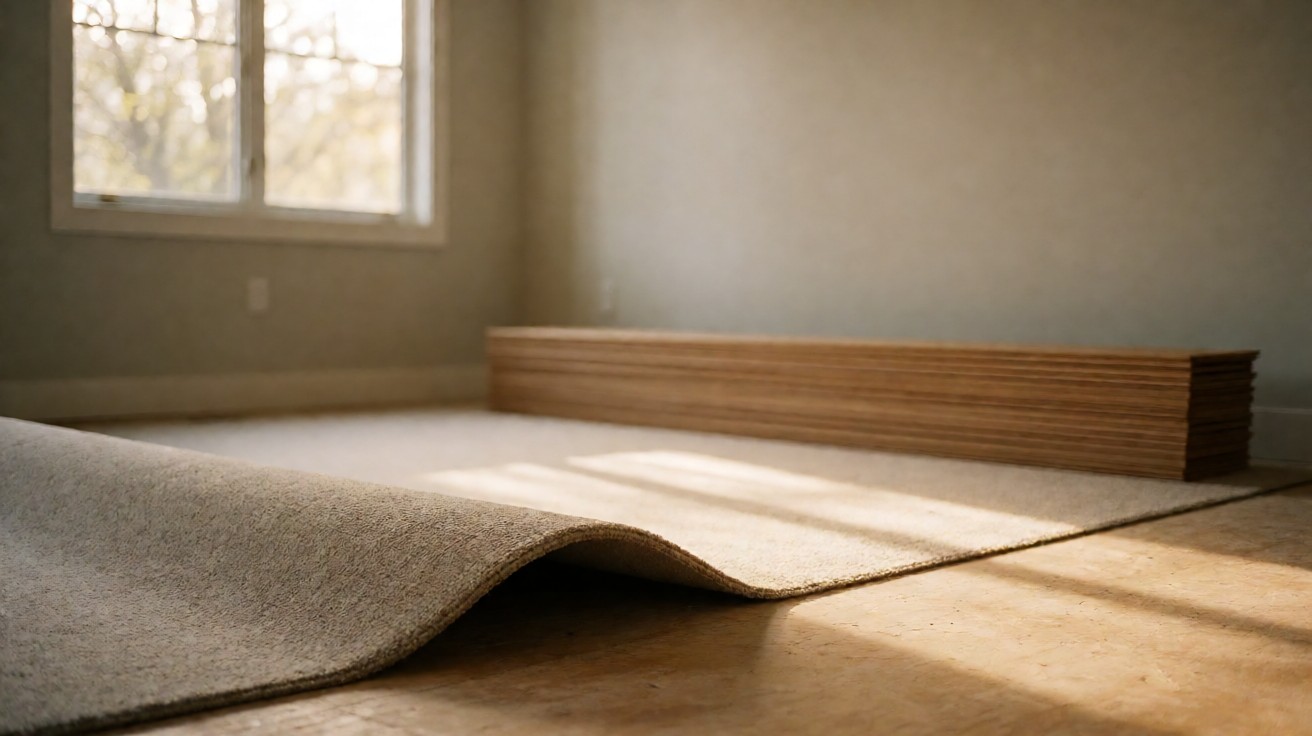
Carpet is the hardest surface to clean after a renovation because the dust gets down into the pile, where it cannot be lifted by a vacuum alone.
The EPA work practice standards call for vacuuming carpets and rugs with a HEPA vacuum equipped with a beater bar, because the bar is what lifts embedded soil to the surface.
Vacuum in two directions and go slowly, because a fast pass leaves the soil where it was. Any spot that was soaked during the renovation should be treated before the whole carpet is cleaned, so you do not set the stain into the pile while you work around it.
For carpet that was wet during the work, extraction is the answer, and a wet vacuum is the tool. The ANSI/IICRC S100 standard for professional textile floor covering cleaning treats pre-cleaning and post-cleaning inspections as separate steps, and that inspection habit is what keeps a renovation cleanup honest.
If you want the method for the carpet itself, our guide to cleaning carpet covers the extraction process in detail.
Should You Vacuum Carpet Before Or After Wet Cleaning?
Before, every time. Dry soil turns to paste in the extraction water, and that paste settles deep in the pile where the machine cannot reach it.
Vacuum first, then extract, then let the carpet dry fully with fans before you put furniture back.
Dust That Will Not Come Out
Some dust does not come off with a vacuum and a mop, and knowing which kind you have saves a lot of scrubbing. If the mark is a uniform pale film that reappears after mopping, it is dust that has bonded to the finish, and it usually needs a different chemistry, not more pressure.
Paint overspray on a hardwood floor is a classic example. It is a cured film, so it will not come off with water, and scrubbing it dries it into the finish.
If the film is thick, a plastic scraper held at a low angle lifts it, and then a cleaner that is safe for the floor removes the residue.
If the overspray is on carpet, it has to be clipped out or treated with a product that dissolves the binder. Adhesive residue behaves like tar.
If it is old and brittle, a plastic scraper and heat will lift it. If it is still soft, a solvent-based adhesive remover is the tool, and you test a spot in a corner first because some solvents strip a finish.
One warning about solvents and bleach: check what the floor is made of before you use them, and never mix a solvent with a bleach product.
If a mark resists both dry and damp cleaning, it may not be dust at all.
How Do You Tell Dust From A Stain?
Wipe it with a white cloth and look at the cloth. Dust transfers evenly and lightly, paint and grout haze transfer in a colored patch, and adhesive residue comes off as a sticky film.
That test takes a minute and it tells you which of the four problems you are actually dealing with.
How To Know You Are Done
The EPA cleaning verification procedure is the standard worth borrowing, because it is written to be objective. Divide the floor into sections of less than 40 square feet, wipe each section with a new wet disposable cloth, and compare the cloth to the cleaning verification card.
If the cloth matches the card or is lighter, the section is clean. If a section fails, clean it again and re-wipe it. If it still fails, wait 1 hour or until the whole area is dry, whichever is longer, then wipe that section with a dry disposable cloth.
That last step catches the pale film that a wet cloth lifts but leaves behind. Three practical checks finish the job. Run a clean white towel along the floor and look for transfer.
Look at the baseboards and the tops of the door casings, because settled dust shows there first. And leave the room empty overnight before furniture goes back, because dust that is still airborne lands on whatever you put down first.
Once the renovation is behind you, the job shifts from cleanup to routine care, and the routine cadence for each floor type is a different job from the one you just finished.