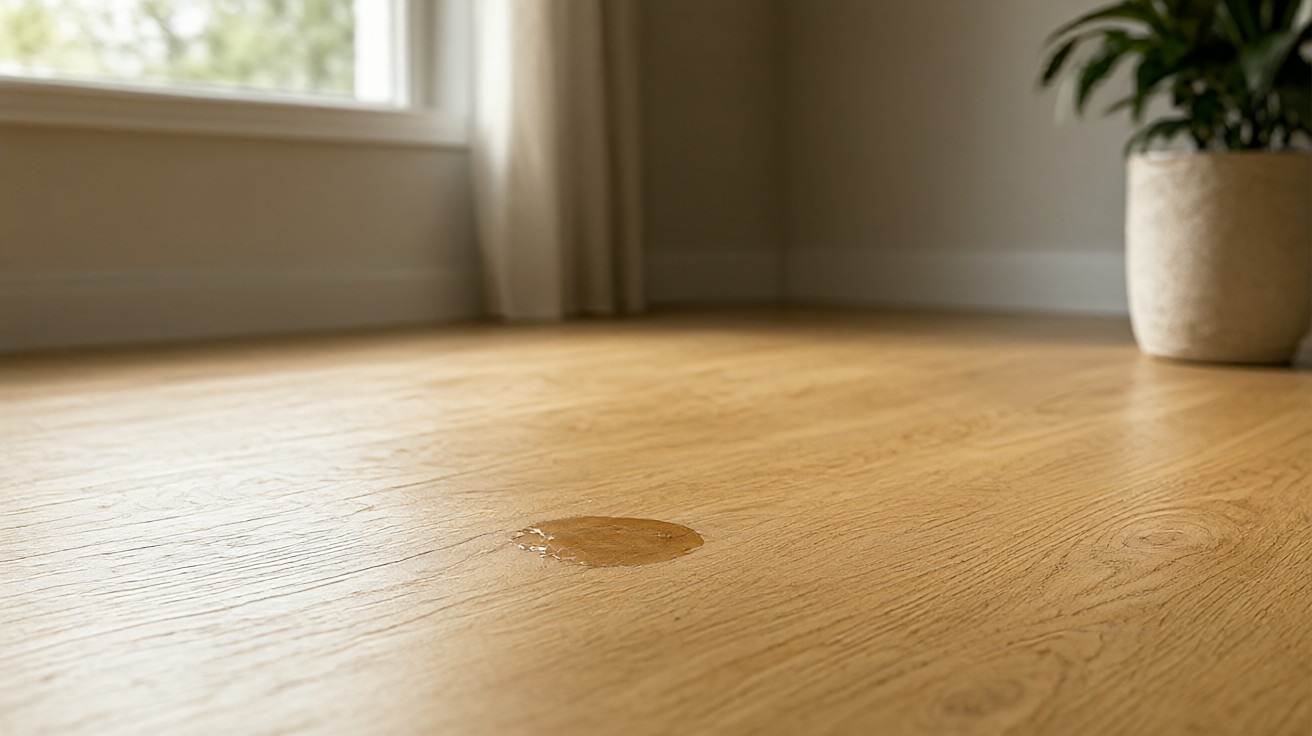

A water stain on a wood floor is a diagnosis problem before it is a cleaning problem. The color and depth of the mark show where the moisture sits now.
White rings are finish-level moisture: dry first, then clean with a barely damp cloth. Dark spots are in the wood: sand to bare wood and use oxalic acid bleach. Every method below assumes a finished residential wood floor; unfinished or newly installed floors follow the manufacturer’s care instructions first.
Read the Stain Before You Touch It
Two different problems wear the same label. A white or cloudy ring means moisture is trapped in the finish film. The wood underneath is usually fine, and the mark often fades on its own once the moisture leaves.
A dark brown or black spot means water has passed through the finish. It reacted with the wood, often with tannins or iron in the grain. That mark sits inside the wood fiber.
Color alone does not prove depth, so test before treating. Press a fingernail gently at the edge of the mark in an inconspicuous spot. If the finish catches or peels, you are dealing with a finish problem.
Rub a drop of mineral oil on the ring with a cotton ball. If the ring fades, the stain sits in the finish rather than the wood. If the mark is dark, follows the grain, or sits under worn coating, surface cleaning will not reach it.
Always start with the least aggressive option and stop the moment the finish or wood begins to change in an unexpected way. A compatibility test on a hidden area, evaluated after it has dried, is the only safe way to know whether a treatment is suitable.
Dry the Floor First
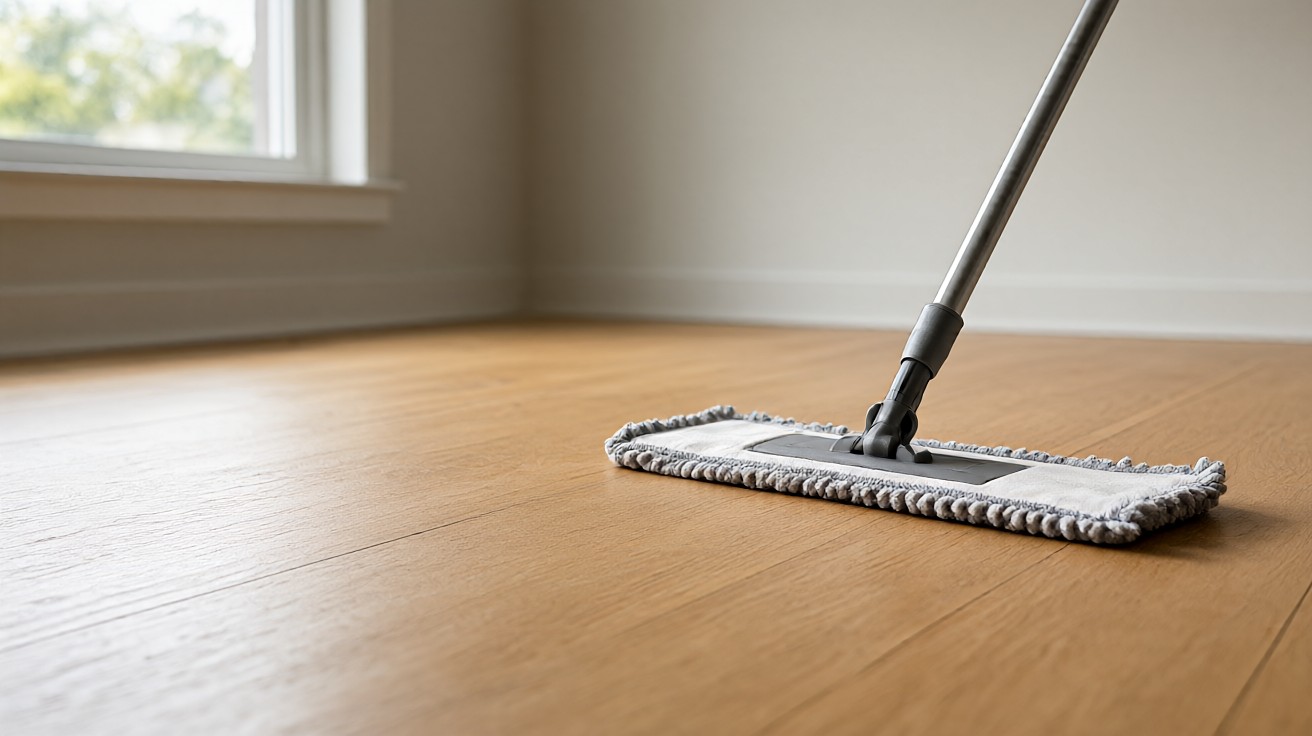
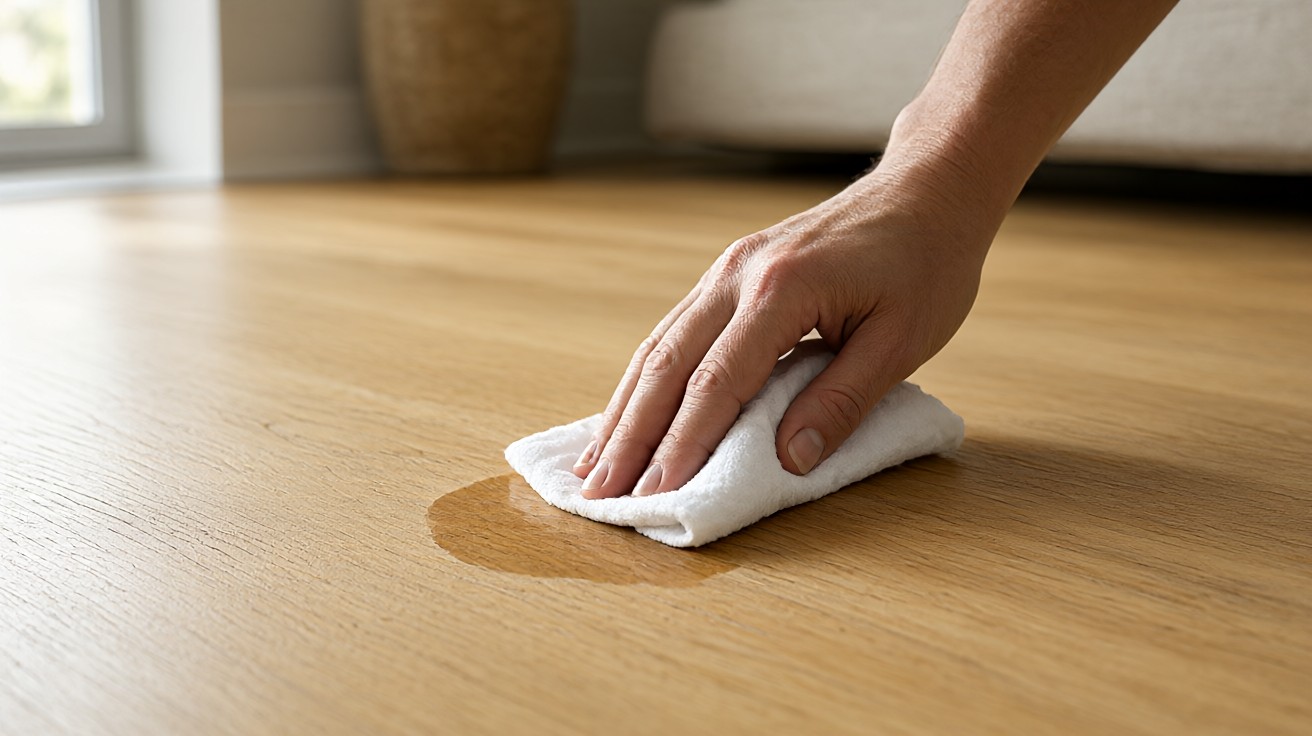
Before any treatment, remove the moisture source and let the area dry fully. Move the damp rug, plant pot, wet footwear, or leaking container. Blot visible moisture with a dry microfiber cloth and allow ordinary air circulation to do the rest. Do not add heat or another wet treatment immediately, because adding water to a water mark increases moisture exposure without correcting finish clouding.
Many minor stains dissipate or even disappear entirely as the flooring dries over time. If the mark has faded after drying, leave it alone and monitor it. If removable residue remains, use a soft cloth with a compatible hardwood cleaner and dry the boards and seams immediately.
A finished hardwood floor tolerates surface moisture for only 10 to 15 minutes before the finish softens, so blot within 5 minutes and never leave a wet cloth in place. Engineered hardwood with a 3mm wear layer can be sanded 1 to 2 times, while solid 3/4-inch (19mm) boards allow 3 to 5 sandings over their lifetime.
White Surface Rings: Trapped Moisture in the Finish
For a white ring that has not faded on its own, the goal is to release trapped moisture from the finish without flooding the floor. Work in small sections and keep everything barely damp rather than wet.
| Step | Action | Caution |
|---|---|---|
| 1 | Wipe with a dry microfiber cloth. | Do not scrub across the grain. |
| 2 | If residue remains, apply a small amount of approved cleaner to a barely damp cloth. | Never pour cleaner directly on the floor. |
| 3 | Wipe gently along the boards. | Keep liquid away from seams and gaps. |
| 4 | Dry immediately with a separate cloth. | Excess water can swell or warp boards. |
If the area is smooth but still cloudy, moisture may have altered the finish itself. In that case a light buffing with a non-abrasive pad and a compatible finish restorer, following the finish manufacturer’s instructions, is the next step. Do not use steel wool, abrasive powders, or scouring pads on a finished floor.
When Surface Cleaning Is Not Enough
If the mark is dark, follows the grain, or appears beneath worn coating, the stain has moved past the finish and into the wood. Surface cleaning cannot reach it. The decision at this point is between living with a cosmetic mark, refinishing the affected area, or replacing the board.
For a finished floor with a dark stain, the honest sequence is sanding to bare wood followed by wood bleach and refinishing. That is restoration work, not cleaning, and it changes the sheen and color of the patch. Plan for that before you start.
Dark Stains: Oxalic Acid on Bare Wood Only
Oxalic acid is the standard wood bleach for iron, tannin, and water stains. It cannot work through a finish, so the spot must be sanded to bare wood first. That is the real cost of a deep stain: the repair means refinishing the area, not just cleaning it.
Safety comes first. Oxalic acid is toxic and corrosive to skin and eyes. Wear nitrile gloves and splash goggles, work with windows open, keep children and pets out of the room, and wear a respirator when handling dry crystals. Never mix it with chlorine bleach, ammonia, or any other cleaner. Acid plus chlorine bleach releases chlorine gas.
The procedure, per the wood-flooring references:
- Mask the area. Tape off the boards around the stain so only the spot is exposed.
- Sand to bare wood. Remove the finish from the stained area only, going in the direction of the grain, until the wood looks raw and absorbs a drop of water.
- Mix to the label. Dissolve the crystals in warm water at the strength your product label gives, using a glass or plastic container, never metal.
- Apply and wait. Brush or sponge it on, keep the spot wet for the label’s contact time, and check progress without rubbing. Repeat once if the stain is lighter but not gone.
- Neutralize and rinse. Wipe with a baking soda and water solution, then with clean water, and let the wood dry completely before sanding lightly.
- Refinish. Stain-match if needed and apply the same type of finish as the rest of the floor, feathering the edges so the patch does not show.
Test oxalic acid on a scrap or hidden board first. It lightens the wood around the stain slightly and can raise the grain, which is another reason the patch needs a light sanding and a finish coat afterward. If the stain still shows after two passes, it is likely a dye or heavy rot damage, and that board may need replacement.
Hydrogen Peroxide: A Gentler Alternative
For dye-type stains such as wine, juice, or coffee on a finished floor, ordinary three percent hydrogen peroxide on a cotton pad can help. Keep contact short and check a hidden spot first, because peroxide can dull some finishes. It will not lift a black stain that sits under the finish, because it cannot reach the wood.
Hydrogen peroxide may lighten dark discoloration. It may also bleach surrounding wood, alter the floor’s intentional color, or affect its protective coating.
The resulting pale patch may be more conspicuous than the original mark. Do not assume a wet compress, long dwell time, or repeated application is safe. Use peroxide only when the relevant product label and flooring or finish instructions permit it. Stop if the finish clouds, softens, dulls, transfers to the cloth, or if surrounding wood lightens.
Never mix peroxide with vinegar in one bottle. The two together form peracetic acid, which irritates skin and eyes.
What Not to Use
Several common household remedies do more harm than good on finished wood floors:
- Steam mops. NWFA advises against wet mopping and steam mopping, which damage the finish and the wood over time.
- Strong vinegar or citrus solutions. These can dull polyurethane and damage the wood.
- Bleach, ammonia, steel wool, or abrasive powders on finished floors.
- Pouring any cleaner directly on the floor. Apply to a cloth instead.
- Forcing water toward joints, cracks, baseboards, or gaps beneath appliances.
Test any treatment on a hidden board first and wait 24 hours before judging the result.
If a product is not labeled for the intended use and surface, or the flooring instructions prohibit it, do not proceed.
When to Replace the Board
Replacement is the right call when the stain cannot be sanded out, when structural issues remain, or when the damage has become permanent. Pet feces and urine stains that cannot be sanded out often require replacement of the affected area. A buckled floor requires replacement wherever the buckling has occurred, because once the flooring has buckled the fasteners or adhesives are no longer effective.
Factory-finished floors may require replacement of affected boards; refer to the manufacturer’s recommendations for proper repairs. For site-finished floors, an isolation repair using fillers, putties, or colored markers can make a blemish disappear, followed by sheen-level matching.
Preventing the Next Stain
Prevention is cheaper than restoration. Most finish manufacturers recommend re-coating every 3 to 5 years in high-traffic rooms. Elsewhere, every 7 to 10 years refreshes stain resistance.
A single large 1-gallon (3.8L) container of cleaner plus a second bottle of finish restorer for touch ups of compatible cleaner typically covers 500 to 800 square feet (46 to 74 square meters) of floor area.
Clean spills immediately with a dry or slightly damp cloth. Use a cleaner made specifically for the finish on the floor. Place protective pads under plant pots and furniture, and use entry mats to catch moisture. Keep indoor humidity in the range the flooring manufacturer specifies, since excess moisture from below causes dark staining and white haze between seams.
For routine care, see our guide on how to clean hardwood floors, and if a stain turns out to be part of broader water damage, review how to repair water-damaged wood flooring. For surface marks that are scratches rather than stains, how to repair scratched hardwood floors covers the matching repair path.
White vs Dark Stain: Quick Comparison
| Feature | White or cloudy ring | Dark brown or black spot |
|---|---|---|
| Location | In the finish film | In the wood fiber |
| Common cause | Trapped moisture, ~60-80% relative humidity excursions | Tannin reaction, iron, pet urine |
| First fix | Dry, then barely damp cloth and approved cleaner | Sand to bare wood, then oxalic acid |
| Time to resolve | 24 to 72 hours drying | 1 to 3 days including refinishing |
| Risk if ignored | Finish clouding, dulling | Permanent discoloration, board replacement |
The NWFA and ASTM standards for wood flooring moisture content, along with ANSI/HPVA guidelines for engineered products, set the baseline for safe indoor conditions. Keep relative humidity between 30% and 50% and temperature between 60°F and 80°F (15°C to 27°C) to reduce stain risk. NWFA recommends acclimating flooring for 3 to 5 days before installation.
Sources
National Wood Flooring Association, Problems, Causes, and Cures (moisture and chemical stains). National Wood Flooring Association, Maintenance guidance on damp mopping and steam mops. WoodFloorDoctor, The Three Wood Bleaches. Bona, Maintenance of Domestic Timber Floors.