

Most vinyl floors do not need a separate underlayment, and adding the wrong one can void the warranty or trap moisture under a waterproof floor.
Use underlayment only when the product lacks an attached pad, the subfloor is uneven or cold, or the warranty calls for a specific IIC rating.
What Underlayment Does For Vinyl Flooring
Underlayment sits between the finished vinyl and the subfloor. It absorbs minor irregularities, reduces footfall noise, and adds a thin cushion underfoot. For vinyl, its main job is sound and comfort, not moisture control, because most vinyl is already waterproof.
How It Differs From Laminate Underlayment
Laminate underlayment often includes a vapor barrier and thicker foam because laminate swells when wet. Vinyl needs thinner, denser material, and an attached pad on the plank already covers many of those needs.
Sound And Comfort Ratings
Look for an IIC rating of 50 or higher for multi story buildings, and a delta IIC of at least 20 points. These numbers come from ASTM E492 testing, and a manufacturer may require a specific value to honor the warranty.
When You Need Underlayment
You need a separate layer when the plank has no attached pad, when the subfloor is slightly uneven, or when a condo association requires a minimum sound rating. Glue down vinyl usually needs none, while click lock floating floors benefit from a thin foam or cork layer.
Rooms With Hard Subfloors
Concrete and tile subfloors feel hard underfoot. A 1 to 2 millimeter foam layer softens the step without raising the floor enough to cause door clearance problems.
Upper Floors And Apartments
Sound travels downward. A cork or rubber underlayment rated for 65 IIC or higher reduces impact noise and keeps you inside building code limits.
When To Skip It
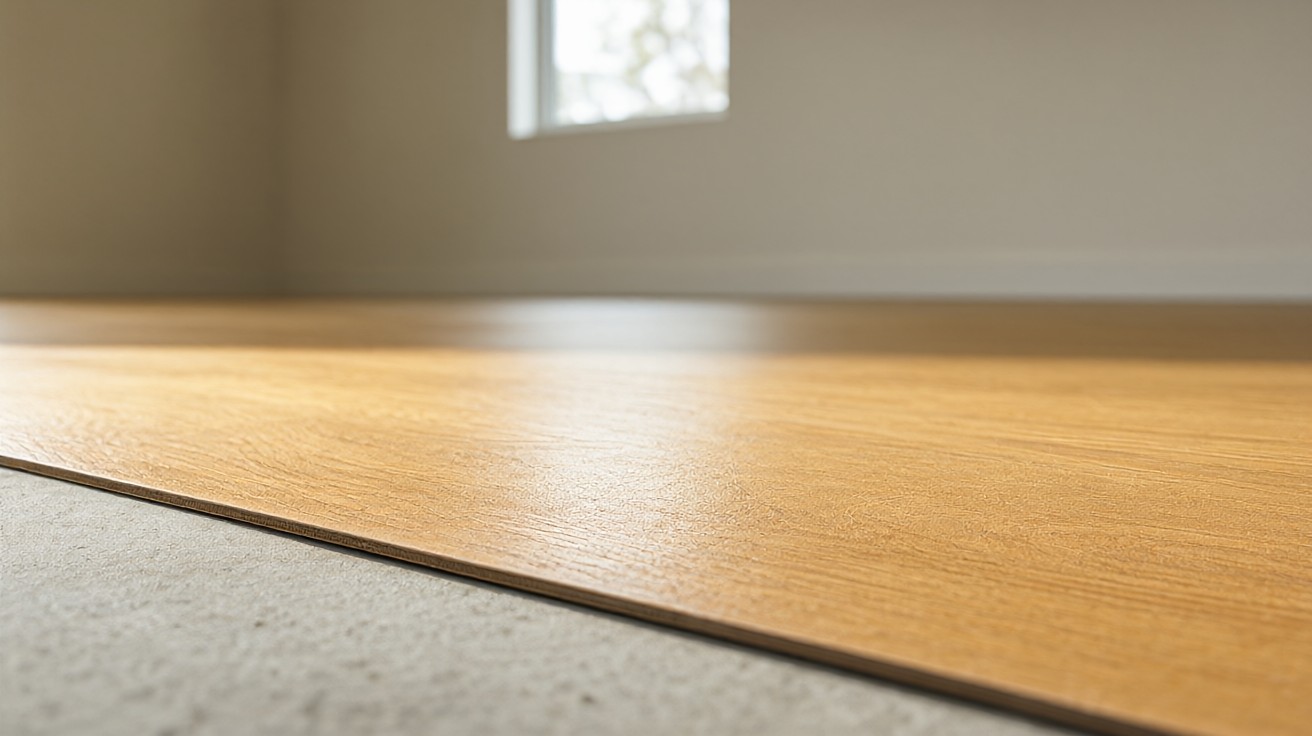
Skip underlayment when the vinyl already has an attached pad, when the manufacturer forbids extra layers, or when moisture is present. Adding foam over a damp concrete slab traps water and can lead to mold or adhesive failure.
Attached Pad Products
Many LVP and SPC planks include a pre attached foam or cork backing. Adding another layer creates a double cushion that stresses click joints and can void coverage.
Glue Down Installations
Glue down vinyl bonds directly to the subfloor. Any underlayment between them breaks the bond, so installers trowel adhesive straight to a clean, flat surface.
Types Of Underlayment
Four materials dominate the vinyl market: foam, cork, rubber, and combination pads. Each trades cost, sound, and moisture handling differently.
| Material | Thickness | Best Use | Main Limitation |
|---|---|---|---|
| Foam | 1 to 2 mm | Click lock LVP over concrete | Low sound reduction |
| Cork | 2 to 3 mm | Upper floors, apartments | Costs more per square foot |
| Rubber | 2 mm | Commercial or high traffic | Heavy and hard to cut |
| Combination | 1.5 mm | Moisture plus sound control | May exceed thickness limits |
Foam Underlayment
Basic foam costs about 0.15 to 0.30 dollars per square foot and works for light residential traffic. Choose closed cell foam so it does not compress permanently under furniture legs.
Cork Underlayment
Cork is renewable and naturally resists mold. It also adds warmth, which matters over concrete in basements and ground floors.
Rubber Underlayment
Rubber delivers the best sound reduction and lasts decades. It is the right call for second floor condos with strict IIC rules.
Attached Pad Vs Separate Underlayment
Attached pads save labor and guarantee compatibility with the plank. Separate layers give you control over sound rating and thickness, but you must match the manufacturer approved list.
| Option | Pros | Cons | When To Choose |
|---|---|---|---|
| Attached pad | Fast install, guaranteed fit | Fixed sound rating | Standard residential rooms |
| Separate layer | Custom IIC and thickness | Extra labor and cost | Condos and upper floors |
Checking The Approved List
Manufacturers publish approved underlayment lists. Using an unlisted product can void the warranty even if it performs well.
Subfloor Requirements
Underlayment cannot fix a bad subfloor. The surface must be flat within 3/16 inch over 10 feet, clean, dry, and structurally sound. Moisture testing matters most over concrete.
Flatness And Leveling
Fill low spots with a leveling compound and grind high spots. Underlayment bridges only small gaps, not ridges or dips.
Is Moisture Testing Really Necessary?
Run ASTM F2170 in slab relative humidity testing. Readings above 85 percent RH mean you need a moisture mitigation system, not just a vapor barrier.
Wood Subfloors
Plywood and OSB must be at least 3/4 inch thick and free of movement. Screw down any loose panels before laying vinyl.
Installation Tips
Roll out the underlayment in the same direction as the plank, butt seams without overlapping, and tape them with the manufacturer approved tape. Leave the recommended expansion gap at walls.
Acclimation And Layout
Let both the underlayment and vinyl acclimate for 48 hours in the room. Plan the layout so joints do not line up with underlayment seams.
Cutting And Seaming
Use a sharp utility knife and a straightedge. Overlap creates bumps that telegraph through thin vinyl, so butt edges tightly.
Common Mistakes
The most common errors are doubling up layers, ignoring moisture, and using laminate grade foam. Each can ruin a vinyl floor within a year.
Can You Double Up Underlayment?
Two layers feel softer at first but crush over time and break click joints. One approved layer is enough.
Ignoring Moisture
Vinyl is waterproof, but the subfloor is not. Trapped moisture grows mold and breaks adhesive bonds.
Cost Considerations
Underlayment adds 0.15 to 0.75 dollars per square foot. For a 300 square foot room, that is 45 to 225 dollars. Compare that to replacing a failed floor, which costs far more.
Budget Planning
Include underlayment, tape, and leveling compound in the estimate. Skipping these line items leads to mid project surprises.
How Underlayment Affects Warranty And Lifespan
Most vinyl warranties run 15 to 25 years for residential use. Using an approved underlayment protects that coverage, while an unapproved layer can void it. A proper install also keeps the floor flat and quiet for its full life.
Warranty Documentation
Keep the product label and receipt. If a claim arises, the manufacturer will ask for proof of approved materials.
Moisture Barriers And Vapor Control
A vapor barrier is not the same as underlayment. In many vinyl systems the barrier is a separate 6 mil polyethylene sheet, or it is built into the plank backing. Adding a second barrier can trap moisture between layers and cause cupping.
When Do You Need A Separate Barrier?
Over a damp concrete slab, a 6 mil polyethylene sheet with sealed seams reduces vapor transmission. Follow the manufacturer moisture limit, and never stack two barriers.
Attached Vapor Barriers
Many combination pads include an integrated film. These are convenient, but you must still test slab moisture before installation.
Sound Testing And Building Codes
Condo and apartment rules often cite IIC 50 or higher for hard surface floors. Test the full assembly, not just the underlayment, because the subfloor and ceiling below change the result.
Reading A Test Report
Ask for the full ASTM E492 report with the exact floor and ceiling assembly. A single number without assembly details is marketing, not proof.
Working With An Inspector
Share the report and product label before installation. Inspectors can reject a floor that does not match the approved assembly, and rework is expensive.
Working With Installers
Share the product label and approved underlayment list before work begins. Installers who see the requirements upfront can order the right materials and avoid delays.
DIY Planning Checklist
Measure the room, add 10 percent for waste, check door clearances, and confirm the subfloor is ready. A checklist prevents mid project trips to the store.
Storage And Handling
Store rolls flat in a dry room. Kinked underlayment creates ridges that telegraph through vinyl and cannot be fixed after installation.
Seaming And Tape
Use the manufacturer approved tape and follow seam direction. Some products require perpendicular seams, while others allow parallel.
Transition Strips
Plan transitions at doorways and between rooms. Underlayment thickness affects transition height, so choose strips that match the final floor level.
Baseboards And Trim
Remove baseboards before installation for a cleaner edge. Reinstall them after the floor and underlayment are complete.
Expansion Gaps
Leave the recommended gap at walls and fixed objects. Underlayment does not remove the need for expansion space.
Final Inspection
Walk the floor and check for hollow sounds or movement. Address issues before furniture returns.
Underlayment selection also depends on the room type, the expected traffic, and the finish of the vinyl. Bedrooms need comfort, while kitchens need stability and easy cleaning. Match the layer to the room instead of using one product everywhere.
Over a radiant heat system, choose an underlayment rated for the maximum temperature. Some foams break down under heat and release odors, so check the specification before buying.
In basements, moisture is the main concern. Use a combination pad with an integrated barrier, and always test the slab first. If moisture is high, fix the source before installing any floor.
For stairs and landings, underlayment is usually skipped. The thin vinyl bonds better to a solid surface, and a soft layer can create a tripping hazard on the nosing.
When replacing an old floor, remove all residue and adhesive before laying underlayment. Leftover material creates bumps that show through thin vinyl and shorten the life of the floor.
Color and pattern do not affect underlayment choice, but plank thickness does. Thicker planks need less cushion, while thin planks need a firmer base to avoid flex.
Keep extra underlayment in case of future repairs. Matching a discontinued product is hard, so store a spare roll in a dry place for touch ups.
Document the installation with photos and receipts. If a claim arises, the manufacturer will want proof of the subfloor condition and approved materials.
Finally, revisit the floor after the first season. Seasonal humidity changes can reveal gaps or movement that need attention before they become permanent damage.
By planning carefully and following the manufacturer specification, you can install a vinyl floor that stays quiet, flat, and comfortable for years without costly rework.
Edge cases also matter. In sunrooms and spaces with large temperature swings, choose a stable underlayment that will not expand or contract. In laundry rooms, combine vinyl with a moisture barrier and keep the underlayment thin.
One final check: confirm the underlayment is approved for your specific vinyl product and subfloor. When both match, the floor performs as designed.
Keep the receipt and label for warranty records, and note the installation date for future reference.
Choosing The Right Underlayment For Your Project
Match the layer to the plank, the subfloor, and the building rules. When in doubt, follow the manufacturer specification rather than marketing claims. For more on vinyl construction, see vinyl wear layers, cores, and backing and how to evaluate vinyl flooring construction and quality. Start with the vinyl flooring guide, then compare LVT, SPC, and WPC options.




