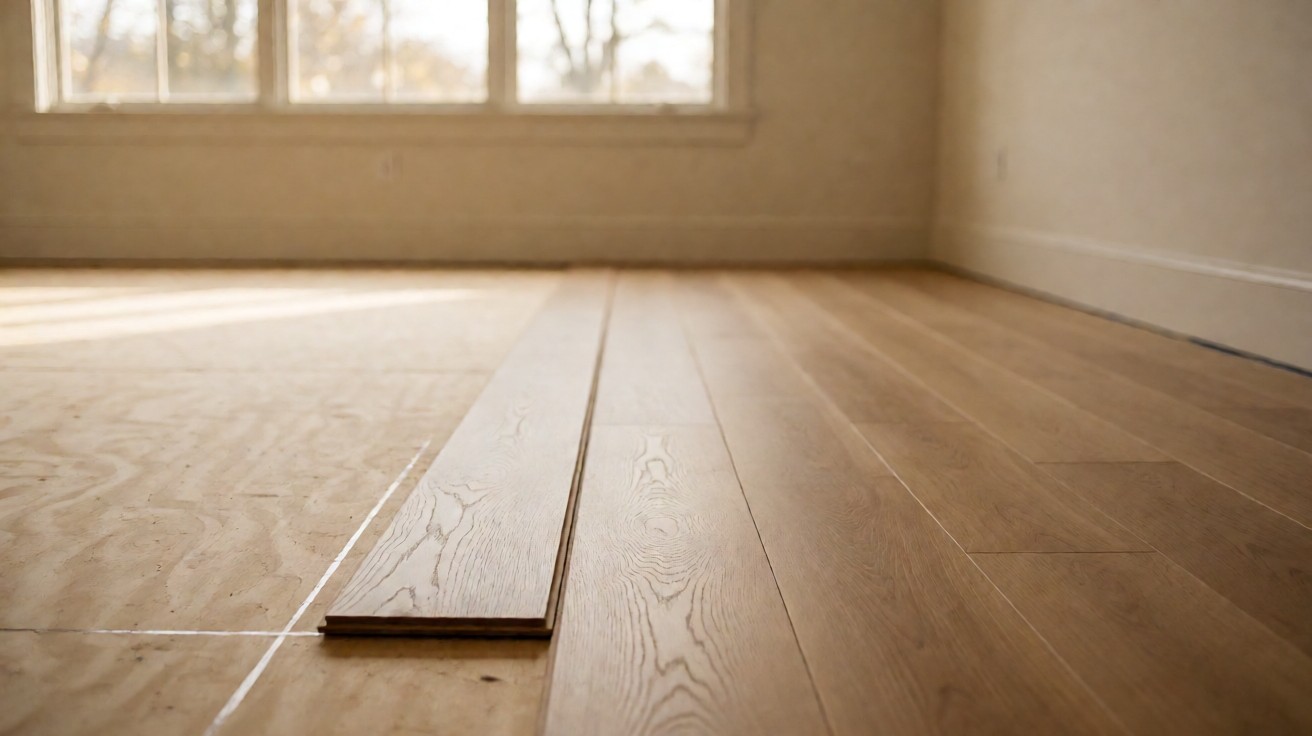
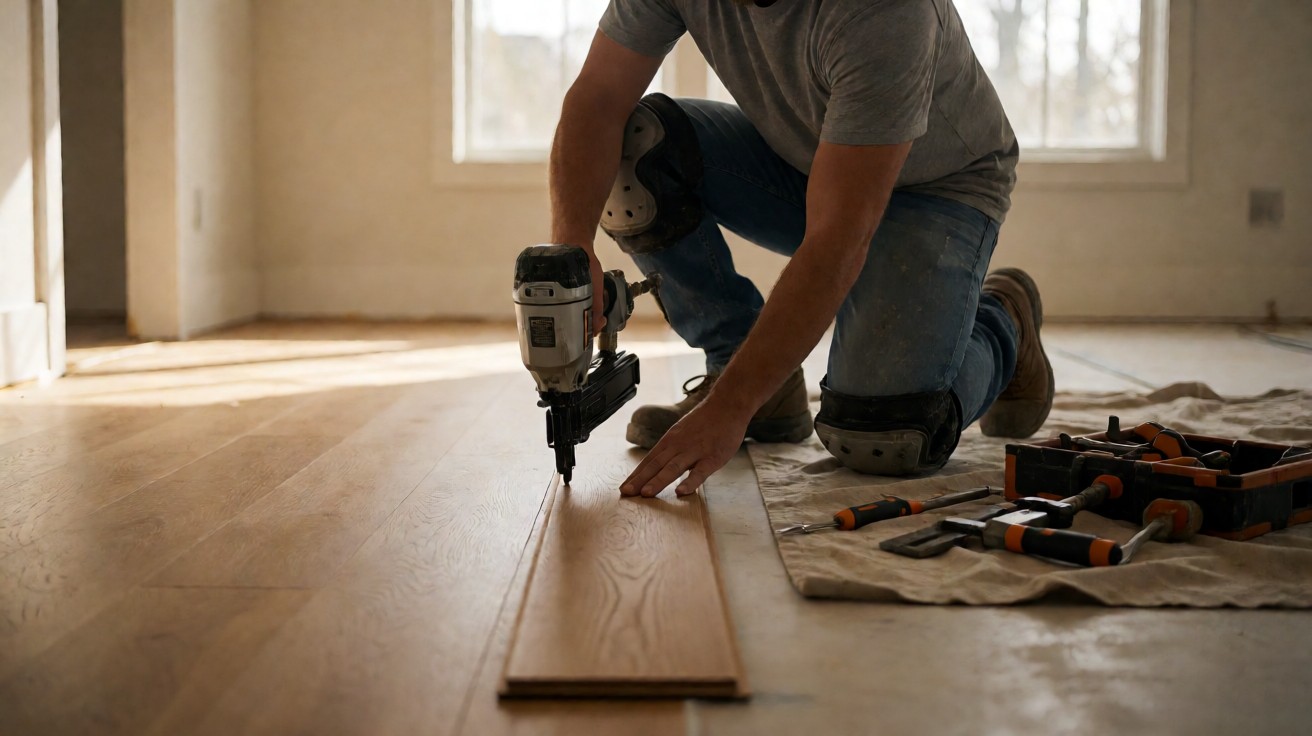
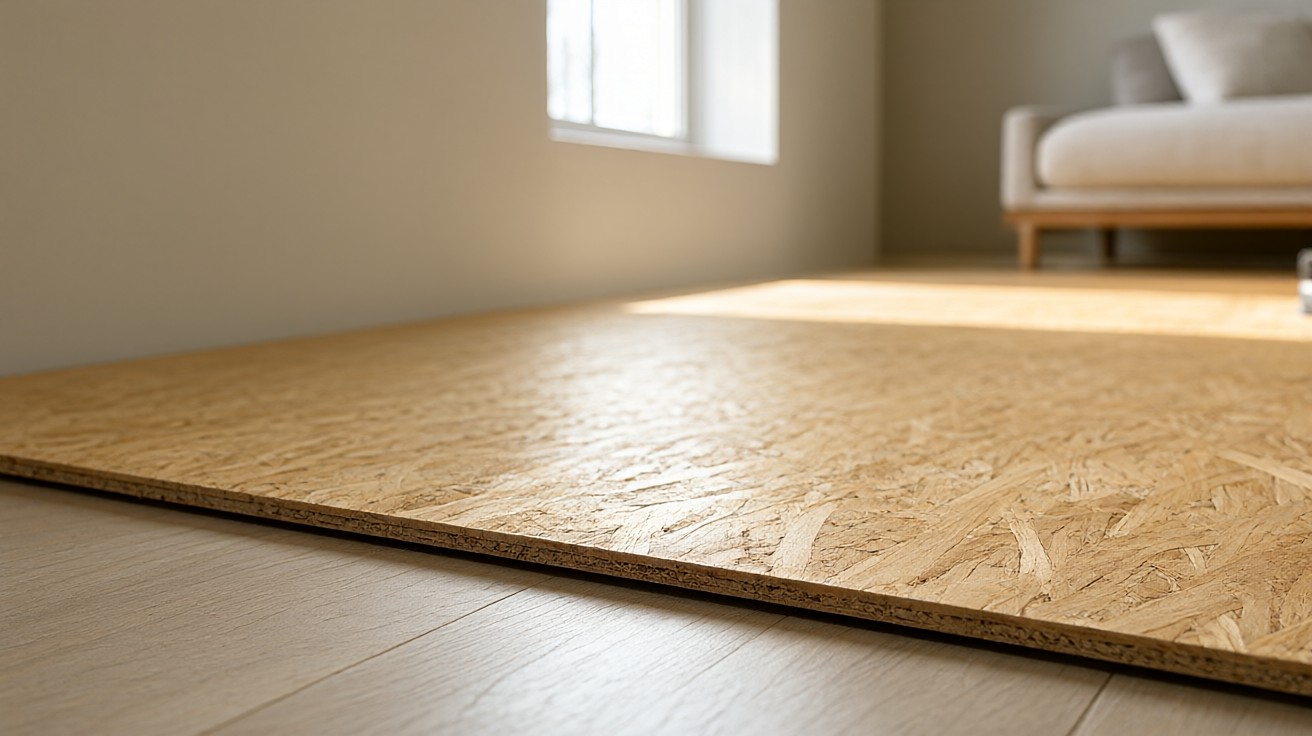
Moisture is the number one cause of flooring failure over concrete and wood. The answer is: test before installing. Looks deceive badly now and forever.
A slab that feels dry to the touch can have 90% relative humidity at 40% depth. A wood base that reads 8% on a pin meter can have 14% in the center of the panel. The surface does not tell you what is happening inside. Only measurement does. See concrete slab subfloors and how to inspect a subfloor for the full context.
The Problem Moisture Creates
Moisture moves through concrete and wood by capillary action and vapor diffusion. In concrete, water from the ground rises through the slab and evaporates at the surface. In wood, moisture from the air or from below the subfloor is absorbed into the fibers, causing them to swell.
When a finished floor is installed over a wet subfloor, the moisture has nowhere to go. It accumulates between the subfloor and the finished floor, causing adhesive failure, mold growth, and dimensional change in the flooring material. The result is cupping, buckling, bubbling, cracking, or delamination, depending on the flooring type.
The damage is not immediate. It takes weeks or months for the moisture to migrate from the subfloor into the finished floor. By the time the homeowner notices, the floor is often beyond repair. The only way to prevent this is to test before installing.
What Moisture Does to Different Flooring Types
Each flooring material responds to moisture differently, but all fail when the subfloor is too wet.
Solid hardwood absorbs moisture and expands. The planks cup (edges rise above center) or crown (center rises above edges). The finish cracks and the floor becomes uneven. Cupping is the most common hardwood moisture failure.
Engineered hardwood is more stable but still fails. The top veneer can delaminate from the core if moisture exceeds the adhesive’s limit. The planks can also cup if the moisture differential between top and bottom is too large.
Luxury vinyl plank (LVP) and luxury vinyl tile (LVT) are waterproof on the surface but not immune to moisture. Moisture under the floor causes the adhesive to fail (glue-down) or the click-lock joints to separate (floating). Mold can grow under the planks if moisture is trapped.
Laminate flooring swells when moisture gets under the planks. The edges rise and the surface delaminates. Laminate cannot be repaired; it must be replaced.
Ceramic and porcelain tile are not affected by moisture in the same way, but the adhesive and grout are. Excess moisture in the subfloor causes adhesive failure, tile loosening, and efflorescence (white mineral deposits on the surface).
Testing Methods for Concrete
Two ASTM standards govern concrete moisture testing. Both are required for a complete evaluation.
ASTM F2170 (in-situ relative humidity): drill holes to 40 percent of the slab depth. IRC R506.2 governs concrete slab construction for residential buildings. Slab compressive strength is typically 3000 to 4000 psi for residential floors. Insert RH probes and seal them. Wait 72 hours. Read the RH. Most flooring adhesives tolerate up to 75 percent RH. Some tolerate up to 85 percent.
Check the adhesive manufacturer’s specification.
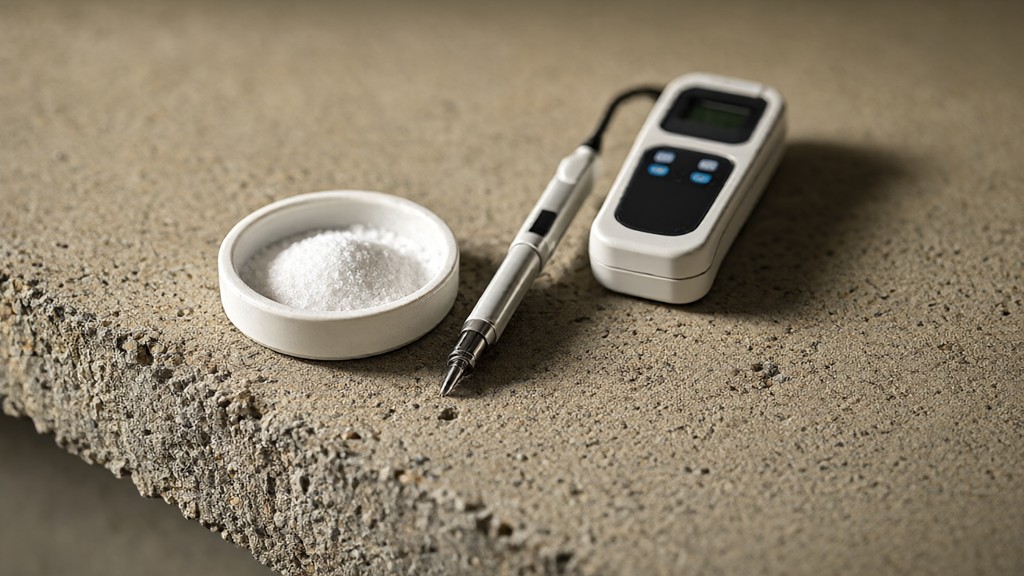
ASTM F1869 (calcium chloride): place a calcium chloride dish on the slab surface, seal it with a dome, and wait 72 hours. Weigh the dish before and after. Calculate the moisture vapor emission rate (MVER) in lbs per 1000 square feet per 24 hours. Most adhesives tolerate up to 3 lbs. Some tolerate up to 5 lbs.
Both tests should be run. F2170 measures internal moisture. F1869 measures surface emission. A slab can pass one and fail the other. Run both and use the more conservative result.
Test location: minimum 3 tests per 1000 square feet. Test near walls, in the center, and near any cracks or joints. Test in the area that will receive flooring, not in a closet or storage area.
Testing Methods for Wood
Wood subfloor moisture is tested with a moisture meter. Two types are available.
Pin meter: two pins are driven into the wood. The meter measures electrical resistance between the pins. The pins must be driven to at least 1/4 of the wood thickness. For 3/4 inch plywood, that is 3/16 inch. Take 20 or more readings per room. Average the results.
Pinless meter: a sensor pad is pressed against the wood surface. The meter measures the dielectric constant of the wood. The reading covers a larger area (about 1 inch diameter) and is faster than a pin meter. But it is less accurate for thick panels and can be affected by metal fasteners.
Both meters work. Pin meters are more accurate for thick panels. Pinless meters are faster for large areas. Use both for cross-checking if the results are borderline.
Wood subfloor moisture limits: below 12 percent for solid hardwood installation. Below 14 percent for engineered hardwood. Below 12 percent for LVP and laminate. Within 4 percent of the finished flooring moisture content for hardwood (NWFA requirement).
What the Numbers Mean
Moisture numbers are not pass-fail by themselves. They must be compared to the flooring material’s tolerance and the adhesive’s specification.
| Test Method | Material | Acceptable Range | Action if Failed |
|---|---|---|---|
| Pin meter (MC%) | Wood subfloor (hardwood) | Below 12% | Dry the subfloor or replace panels |
| Pin meter (MC%) | Wood subfloor (engineered) | Below 14% | Dry the subfloor or replace panels |
| Pin meter (MC%) | Wood subfloor (LVP/laminate) | Below 12% | Dry the subfloor or replace panels |
| ASTM F2170 (RH%) | Concrete slab | Below 75% (most adhesives) | Mitigate or use moisture-tolerant adhesive |
| ASTM F1869 (MVER) | Concrete slab | Below 3 lbs/1000 sq ft/24h | Mitigate or use moisture-tolerant adhesive |
| Differential (wood) | Subfloor vs flooring | Within 4% | Acclimate or dry before installing |
If the numbers are borderline (within 10 percent of the limit), retest in a different season. A slab that reads 72 percent RH in January may read 80 percent in July. Test when the HVAC is running at normal living conditions.
Wood vs Concrete Testing Comparison
Wood and concrete require different testing methods, different limits, and different remediation approaches.
| Property | Wood Subfloor | Concrete Slab |
|---|---|---|
| Test method | Pin or pinless meter | ASTM F2170 (RH) or F1869 (MVER) |
| Acceptable range | Below 12% MC | Below 75% RH or 3 lbs MVER |
| Test points | 20+ per room | 3 per 1000 sq ft |
| Test duration | Immediate | 72 hours |
| Remediation | Dry or replace panels | Mitigate or use tolerant adhesive |
| Cost of test | $0 (meter owned) | $50 to $150 per test |
What to Do When Numbers Are Too High
High moisture does not always mean you cannot install. It means you need a different approach.
For concrete: if RH is 75 to 85 percent, use a moisture-tolerant adhesive. These adhesives are formulated to cure in high-moisture conditions. They cost more but avoid the need for mitigation. If RH is above 85 percent, apply an epoxy moisture mitigation system. This seals the slab and reduces RH to acceptable levels. Cost: $3 to $8 per square foot.
For wood: if MC is above 12 percent but below 16 percent, increase ventilation and run a dehumidifier. Re-test in 1 to 2 weeks. If MC is above 16 percent, the subfloor is likely in contact with a moisture source (ground water, plumbing leak, or poor drainage). Find and fix the source before installing.
For both: if the moisture source cannot be eliminated, consider a moisture barrier underlayment. Polyethylene sheet (6 mil) under floating floors blocks vapor transmission. For glue-down installations, use a moisture-cured adhesive or a two-part epoxy adhesive.
A dehumidifier running for 2 to 4 weeks can reduce wood subfloor MC by 2 to 4 percentage points. Run it with the HVAC and monitor with a moisture meter. For concrete, a dehumidifier has minimal effect because the moisture is in the slab, not the air. Concrete requires active mitigation or a moisture-tolerant adhesive.
Common Mistakes
The most expensive moisture failures come from testing shortcuts, not test equipment failures.
Mistake one: testing only the surface. A pin meter reading of 8 percent on the surface does not mean the center of the panel is dry. Drive pins to 1/4 of the thickness for an accurate reading.
Mistake two: testing in the wrong location. Testing in a closet or storage area does not represent the conditions in the living room. Test where the flooring will be installed.
Mistake three: testing at the wrong time. Testing in January when the HVAC is off does not represent summer conditions. Test when the HVAC is running at normal living conditions.
Mistake four: using only one test method. F2170 measures internal moisture. F1869 measures surface emission. A slab can pass one and fail the other. Run both.
Mistake five: ignoring the numbers. A reading of 80 percent RH is not close enough. It is a fail. Do not install over a slab that exceeds the adhesive’s limit.
Quick Reference
Before installing any flooring, verify these moisture limits.
- Wood subfloor (solid hardwood): below 12% MC, within 4% of hardwood MC.
- Wood subfloor (engineered hardwood): below 14% MC.
- Wood subfloor (LVP, laminate): below 12% MC.
- Concrete slab (most adhesives): below 75% RH (F2170) or below 3 lbs (F1869).
- Concrete slab (moisture-tolerant adhesive): below 85% RH or below 5 lbs.
- Test location: 3 tests per 1000 sq ft, near walls, center, and cracks.
- Test timing: HVAC running at normal living conditions.
- Both concrete tests (F2170 and F1869) should be run. Use the more conservative result.
When to Call a Professional
Most moisture testing is DIY-friendly. But some situations require professional help.
Call a professional when: the moisture source is unknown (no visible leak, no plumbing nearby, but moisture is high). When the slab has active cracks that move or widen. When the RH is above 90 percent (extreme moisture). When the flooring is high-value (natural stone, exotic hardwood) and the cost of failure exceeds the cost of professional testing.
A professional moisture assessment costs $200 to $500 and includes multiple test methods, a written report, and remediation recommendations. For a $10,000 flooring project, that is cheap insurance. Do not skip this step on high-value installations. Testing is the cheapest insurance you can buy. The cost of a failed floor is ten times the cost of testing.
Key Takeaways
- Moisture is the number one cause of flooring failure. Test before installing.
- Concrete: use ASTM F2170 (RH) and ASTM F1869 (MVER). Most adhesives tolerate 75% RH or 3 lbs.
- Wood: use a pin or pinless moisture meter. Below 12% MC for hardwood, 14% for engineered.
- Test at 20+ points per room for wood. 3 tests per 1000 sq ft for concrete.
- Test when HVAC is running. Surface dryness does not mean internal dryness.
- High moisture is not always a stop. Use moisture-tolerant adhesive or mitigation. Always verify results. The key is knowing the limit and choosing the right product for the condition.