
Tile floors show their age in the grout, and the wrong cleaner dissolves cementitious grout or leaves a sticky film that makes a wet floor slippery.
The answer is a three-part routine: a pH neutral cleaner for the tile face, an alkaline cleaner with a stiff grout brush for the joints, and a shop vac to pull the dirty water and the soap film back out of the joint.
Why Grout Is the Hard Part
The face of a ceramic or porcelain tile is fired glass. It does not drink and it does not stain, so a damp cloth moves across it. The joint between two tiles is a different material, and it is a different cleaning job.
Cementitious grout is mostly portland cement and sand, and that mixture is porous. A porous joint takes in grease, soap and food color the way a dry sponge takes in water.
A stain that sets in a joint darkens over time instead of wiping away, which is why most grout complaints are really grout complaints even when the tile looks clean.
The width of the joint matters too. ANSI A108.02 sets the floor at a grout joint no narrower than 1/16 inch, and the Tile Council of North America recommends a minimum of 1/8 inch for rectified tile and 3/16 inch for pressed tile.
A wide joint gives dirt a deeper channel to sit in, and a narrow joint gives it almost nowhere to hide. Cleaning the face of the tile is fast work, and cleaning the joint is where a tile floor is won or lost.
| Property | Cementitious grout | Epoxy grout | What it means when you clean |
|---|---|---|---|
| Base material | Portland cement and sand | Epoxy resin and filler | One is alkaline and dissolvable, the other is not |
| Porosity | Porous, absorbs stains | Virtually stain proof | Cementitious joints need sealing, epoxy joints do not |
| Standard | ANSI A118.6, and ANSI A118.7 for high performance cement grout | ANSI A118.3, and ANSI A118.8 for modified epoxy emulsion | Ask which standard the grout was bought under |
| Water exposure | Can weaken and crumble over time | Unaffected by water | Epoxy suits showers, cementitious suits dry rooms |
| Repair | Can be raked out and re-packed | Hard to repair, usually replaced | Choose deliberately on the first install |
Cementitious Grout and Epoxy Grout Compared
Two grout families cover nearly every tile floor you will stand on, and the cleaning method changes with them.
Cementitious grout is a cement and sand product covered by ANSI A118.6. Epoxy grout is a resin product covered by ANSI A118.3. Two related standards sit alongside them: ANSI A118.7 covers high performance cement grout, and ANSI A118.8 covers modified epoxy emulsion mortar and grout, which is a cement-based grout mixed with a resin rather than with water.
ANSI A118.6 sets hard limits on cement grout. Water absorption after 27 days is capped at 18 percent, linear shrinkage after 27 days at 0.30 percent, and compressive strength after 28 days at a minimum of 3000 psi.
The 18 percent absorption figure is the whole reason cement grout stains. That much open pore is what a stain soaks into, and it is why the same floor that looks clean can still take a mark in the joint.
The practical difference is that cement is alkaline and epoxy is not, so an alkaline cleaner lifts grease out of a cementitious joint without attacking the joint itself.
The same cleaner does nothing for an epoxy joint, because epoxy has no cement to react with and no pores to soak into. The Tile Council of North America describes epoxy grout as virtually as stain proof as the tile, so when you know the joint is epoxy, the job changes from extraction to wiping.
You are not lifting a stain out of a pore. You are removing a film that is sitting on top of a surface that already resists absorption, and that difference decides which cleaner you buy.
The Tile Council of North America puts it more bluntly, noting that because the grout joint is commonly lower and more porous than the tile, the dirt tends to be observed in the joint, and in severe cases it will discolor the tile as well.
There is a third case worth knowing about. ANSI A137.2 covers glass tile, where a different joint system is used because glass cannot be bonded with the adhesives that work on ceramic.
When the installer can tell you which standard the job was built under, you know which of these methods applies before you open a bottle.
The Daily Routine
The daily routine on tile is short because the tile face does not need much. Warm water, a pH neutral cleaner and a sponge mop handle dust and tracked-in grit.
Consumer Reports notes that chemicals such as ammonia or petroleum can damage both tile and grout and void the warranty, so the daily product should be the mildest thing you own.
Pick a pH neutral cleaner rather than one labeled heavy duty. For stubborn grout stains the same source recommends a grout brush dipped in a solution of half a cup of bleach to a gallon of water.
If a cleaner has to be diluted to a strength you cannot describe, it is too strong for a routine you will use every week. Use it at the manufacturer dilution and no more, then dry the floor after you mop it.
Water left on a floor with a cementitious joint gives that joint a drink it does not want. Standing water also leaves a mineral haze on the tile face when it dries.
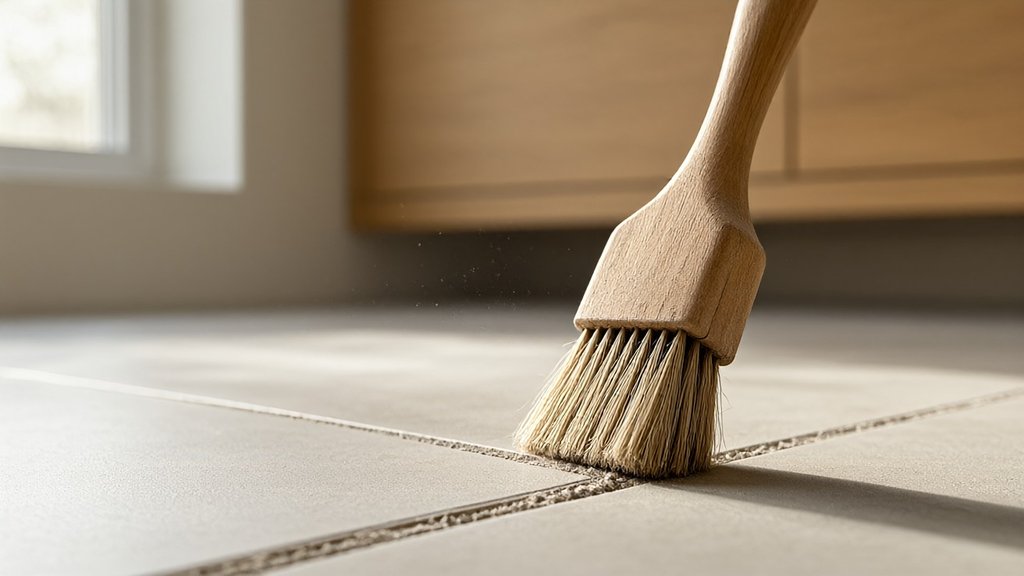
Mopping the Tile Without Leaving a Film
Most sticky floors are not dirty floors. They are floors where cleaner was applied, moved around with a mop, and left to dry. The residue that dries is a soap film, and a soap film is what turns a clean tile into a tacky one.
The fix is rinsing, and the fix is separate from scrubbing. A damp mop that spreads cleaner across the floor moves the film around rather than lifting it, so work in sections a few tiles wide and use a clean mop head on each section.
When the head is dirty the water is dirty, and dirty water spreads residue instead of removing it. On a floor that has already developed a film, a second pass with clean warm water and a fresh head removes it.
If a film keeps coming back, the problem is usually the cleaner concentration rather than the floor.
Cleaning Grout Joints Step by Step
When the joint needs real work, the sequence matters more than the product. Work in small sections so the cleaner does not dry on the joint before you can lift it.
What order should the steps go in?
First, dry brush the joint. A stiff grout brush loosens surface soil and shows you the color of the joint underneath, and that color tells you whether the next step is needed at all.
Then apply the cleaner and let it dwell for the time printed on the label, then agitate the joint with the grout brush again and extract.
Extraction is the step people skip. Rather than letting the dirty water stay on the floor, the Tile Council of North America recommends applying the cleaner and vacuuming up the dirty water with a shop vac.
Then apply rinse water and vacuum that up as well. That second vacuum lift is what removes the leftover soap film from the joint.
A nylon grout brush with stiff bristles is the tool for this. A toothbrush works in a tight corner, but it does not move much water, so use it on edges rather than the middle of a run of joint.
Choosing a Grout Cleaner and Why Alkaline Works
Grout is based primarily on cement and sand, and the two halves react differently. Sand is unaffected chemically by most cleaners, while cement is alkaline based and is dissolved by acids.
That is why an acidic cleaner on a cementitious joint removes grout as well as the stain, and it is why the Tile Council of North America says it is better to clean grout with an alkaline cleaner than an acid based cleaner.
Specialty tile and grout cleaners exist for this job. Enzyme cleaners attack stains the way enzyme pre-soaks work on laundry, by breaking down the organic material holding the stain.
Two household habits cause real damage. Baking soda and vinegar react with each other, and grout and vinegar react as well, so a weak acid is not the answer to a dirty joint.
| Cleaner type | Best used on | Avoid when | Why |
|---|---|---|---|
| pH neutral cleaner | Daily mopping of the tile face | For deep joint work | Too mild to lift a stain out of a cementitious joint |
| Alkaline cleaner | Cementitious grout, grease, soap film | On natural stone | Cement is alkaline, so it lifts the stain and spares the joint |
| Enzyme cleaner | Organic stains such as food and grease | On epoxy grout | Works on the organic material rather than dissolving the joint |
| Acidic cleaner | Very few tile jobs | On any cementitious grout | Dissolves the cement, which is how grout gets eaten away |
| Oil or wax cleaner | Nowhere on a tile floor | Always | Leaves a waxy or oily film in the joint and on the tile face |
Sealed and Unsealed Grout
Many owners seal their grout, and sealing changes the method. A grout sealer is a treatment that fills or coats the pores of the joint so that stain has less to grab.
A penetrating sealer soaks into the cement and sits inside the pore, while a topical sealer forms a film on the surface of the joint.
On unsealed cementitious grout, a stain that has set usually needs a second and third treatment, and each cleaning will be a little less complete because the pore still takes color.
On sealed grout the same cleaner usually lifts the stain on the first pass, and the sealer has to be renewed on a schedule rather than by guesswork, which is one more reason to test the joint before you buy anything.
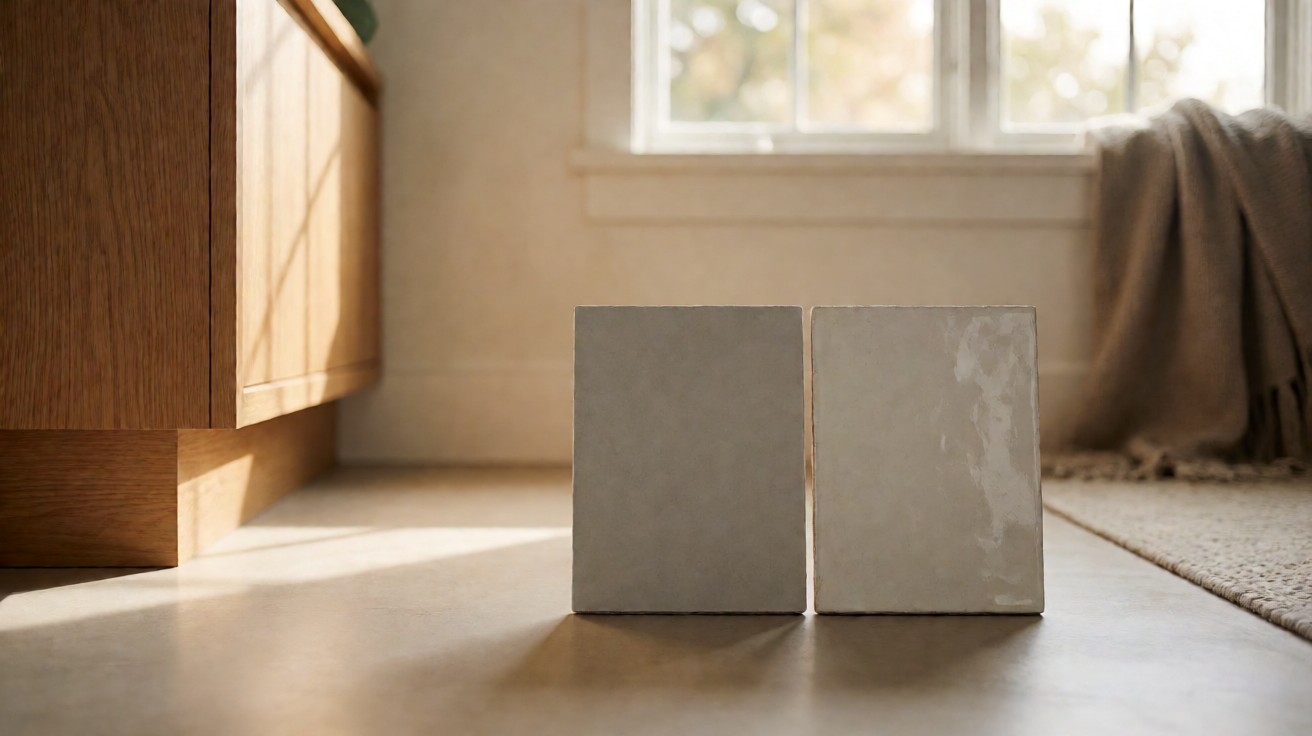
Test before you commit. A drop of water on an unsealed joint disappears into the surface in seconds, and on a sealed joint it beads.
Sealers do not last forever, and the label tells you the interval. Laticrete’s STONETECH Heavy Duty Grout Sealer technical data sheet lists a full cure of 24 to 48 hours and a surface use time of 4 hours.
MAPEI’s UltraCare Grout Sealer technical data sheet calls for resealing interior and exterior surfaces every 1 to 3 years and protects against most common stains for up to 3 years.
Those intervals are product specific, which is the reason the label matters more than a rule of thumb. A sealer that was applied 4 years ago on a busy kitchen floor may be gone, and the same sealer in a low traffic hallway may not be.
How do you know when a grout sealer has worn off?
When the sealer has worn down in the traffic lane, you see the same difference there, and that lane is where resealing starts.
Porcelain, Glazed and Unglazed Surfaces
The tile face decides how much attention it gets. A glazed tile carries a glassy surface that a damp mop cannot scratch, so face cleaning is quick. An unglazed tile is fired body with no glaze over it, so it takes more attention and it accepts an abrasive cleaner more readily.
Porcelain tile is the hardest of the three to damage. Under ANSI A137.1 and the ASTM C373 test method, porcelain tile has a water absorption of 0.5 percent or less, which is the impervious class.
Vitreous tile runs above 0.5 percent and up to 3.0 percent, semi-vitreous tile runs above 3.0 percent and up to 7.0 percent, and non-vitreous tile runs above 7.0 percent and up to 20.0 percent.
That range is why glazed wall tile behaves the way it does. Under the same ANSI A137.1 table, glazed wall tile is classified as non-vitreous, which means the face is more porous than a porcelain tile and picks up soil that a porcelain face shrugs off.
That is why it barely takes a stain, and why a strong cleaner buys you nothing on the face of it. If you are choosing between the two tile bodies, the full comparison is in our guide to porcelain versus ceramic tile.
The broader question of how each body is built and where it belongs is covered in our tile flooring guide, and the difference between a glazed and an unglazed surface has its own page in glazed versus unglazed tile.
Cleaning the Baseboard, Edges and Corners
The narrow strip along the baseboard is where a mop never reaches and where a stain survives longest. Baseboard lines collect the grey film that the mop pushes sideways, and the joint where the tile meets the wall collects it too.
Work along the edge with a stiff brush, a narrow nylon bristle tool, or a folded strip of melamine foam pressed into the joint. When the film has set, a low concentration alkaline cleaner applied with a cloth and left to work for the dwell time printed on the label will soften it.
Keep the tool flat against the joint so you are scrubbing cement out of the joint, not out from under the baseboard.
Corners need the same treatment and more patience. A small angled brush reaches the internal corner where the baseboard returns to the wall.
Is vinegar safe on a tile floor?
Not on a cementitious joint. Vinegar is an acid, and acid dissolves the cement that holds a sanded joint together, so a vinegar solution leaves the joint softer than it found it.
Products That Cause Problems
The Tile Council of North America is direct about this one. Do not clean grout with oil or wax based cleaners, such as Murphy’s Oil Soap or Pine Sol, because these leave a waxy or oily film in the grout.
That film is what holds dirt against the joint afterward, which is how a clean-looking floor keeps turning dirty again.
Some installers remove stubborn stains with an acid, which dissolves the top layer of the grout. Grout manufacturers do not recommend that method, and the result is often a floor that needs to be regrouted.
If a stain will not lift with an alkaline cleaner and an enzyme cleaner, the answer is a spot repair, not a stronger acid.
Steam is worth a separate mention, because it is a common purchase and a poor fit here. A steam cleaner drives heat and moisture into a cementitious joint and into the sealer.
On a floor that has already been sealed, a sponge mop and warm water is the safer routine.
White Residue and Efflorescence On Grout
White haze on a joint comes from more than one cause, and telling them apart saves you from cleaning the wrong thing.
Efflorescence is the first cause to rule out. Water moving through the slab dissolves minerals, carries them up through the grout, and leaves them on the surface as the water evaporates, the same way a drinking glass leaves a white ring.
The Tile Council of North America notes that ordinary cleaning does not cause efflorescence, because it takes far more water than a mop delivers, and that saturating the joints during periodic cleaning generally does not cause it either. So if you see it, the moisture is coming from below the floor rather than from your routine.
The second cause is polymer migration. Polymer-modified grout that gets too much water too early, or is cleaned before the polymers coalesce, pushes the polymer to the surface, where it dries as a white film.
The third is detergent residue. Where cleaner on the tile has not been fully rinsed out of the joint, the residue combines with soil to form a sticky film that builds up over time.
How do you tell efflorescence apart from soap film?
Efflorescence is a dry, powdery mineral deposit that brushes off in a powder, and it will keep coming back as long as the moisture keeps moving. Soap film is a greasy film that feels sticky underfoot and reappears where traffic carries it. A damp cloth tells them apart quickly, because soap film smears and efflorescence rinses away.
For soap film, the answer is more rinsing. For polymer migration, solvents or strong cleaners are needed, and no single cleaner works on every polymer because grouts use many different ones. For efflorescence, cleaning the joint is a temporary fix, and the real remedy is to address the moisture below the slab.
Rinsing and the Soap Film
Even good alkaline cleaners, if they are not properly rinsed, leave a sticky soap film, and that film attracts dirt. This is the single most common reason a clean tile floor turns dirty again within a few weeks.
Rinsing means two things: clear water, and mechanical removal. The Tile Council of North America describes the method as applying the cleaner, vacuuming up the dirty water with a shop vac, applying rinse water, and vacuuming that up too.
The rinse water and the second pass are what lift the remaining film out of the joint.
The same pattern solves white residue. Where polymer migration has left a white haze in a joint, solvents or strong cleaners are needed, and multiple rinsings with clear water plus brushing the joints removes it.
Vacuum extraction gives the best result, because it removes the residue instead of redistributing it.
How Cleaning Affects Slip Resistance
A floor that was safe to walk on wet can become a hazard because of the film left on it after cleaning.
Slip resistance on a wet floor is measured as wet DCOF, the dynamic coefficient of friction. ANSI A137.1 requires a DCOF of 0.42 or greater for tile recommended for level interior spaces that are walked on when wet, measured under ANSI A326.3, which is the standard test method rather than the threshold itself.
NFSI B101.3-2022 uses its own bands for hard surface walkways: below 0.30 calls for professional intervention, 0.30 to 0.44 calls for monitoring and regular testing, and 0.45 or above on a level surface calls for no immediate action. Every one of these figures is a threshold for comparison rather than a promise.
A measurement does not by itself predict whether a particular person will slip on a particular floor, which is why installers and buyers read it as one number in a comparison rather than a verdict.
What it does tell you is that a surface which has lost grip compared with the rest of the field is worth fixing.
A soap film, a wax film and a hard water haze all reduce the grip of a tile surface. When you are choosing a finish, the difference between a polished surface and a matte or textured one changes how the floor feels underfoot.
Our guide to polished, honed, matte and textured tile finishes covers that in detail.
The practical rule is that the cleanest tile is not always the safest tile. Rinsing until no film remains is what keeps a floor’s slip resistance where the manufacturer measured it.
When you are putting together a routine for a whole house, our flooring cleaning and maintenance guide has the room by room schedule.