
Judge a flooring sample by the cut edge, the wear layer, and the locking profile before you buy. The label states a specification, the sample proves it.
A specification is a claim. A sample is evidence. The gap between them is where a bad purchase hides.
The checks below turn a claim into an observation, in the order that catches the most problems.
Why the Sample Beats the Label
A label states a wear layer thickness, a core type, and a rating. It does not show you whether the core is dense, the profile clicks, or the finish holds up.
A sample lets you verify the construction with your hands. You can see the cut edge, feel the profile, and measure the thickness. You cannot judge twenty years of wear on a sample, but you can judge the construction that determines it.
The value of a sample is that it changes the conversation. Instead of asking whether the product is good, you ask whether this sample matches the specification.
Most buyers never pick up a sample. They read the box, trust the rating, and discover the problem after the floor is down. The sample is the cheapest insurance on the project.
The Wear Layer
The wear layer is the clear top layer that takes the damage. It sits above the printed or veneered layer and below nothing. When it is gone, the floor is gone.
On a vinyl plank, a residential wear layer runs from 12 mil to 20 mil, and commercial grades go higher. On an engineered wood floor, the wear layer is the real wood face, and it runs from 2 mm to 6 mm. A thicker face is what lets a floor be refinished rather than replaced.
Thickness alone is not quality. A thick wear layer over a soft core still dents, and a thin wear layer over a rigid core still performs. The two have to be judged together.
On a laminate floor, the wear layer is the melamine overlay, and the AC rating describes the use class. The NALFA certification assigns AC1 through AC5, and AC3 is the threshold for a standard residential floor.
On a sample, look for the clear layer at the edge, and compare its thickness across two samples. If one sample shows a visibly thicker clear layer, the specification is real.
How Thick Should a Wear Layer Be?
For a home, a 12 mil vinyl wear layer is the entry point and a 20 mil one is the safer choice. For an engineered wood floor, a 2 mm face is the minimum and a 4 mm face can be refinished. If the sample shows no visible clear layer at the edge, the specification is not being met.
The Cut Edge and the Core
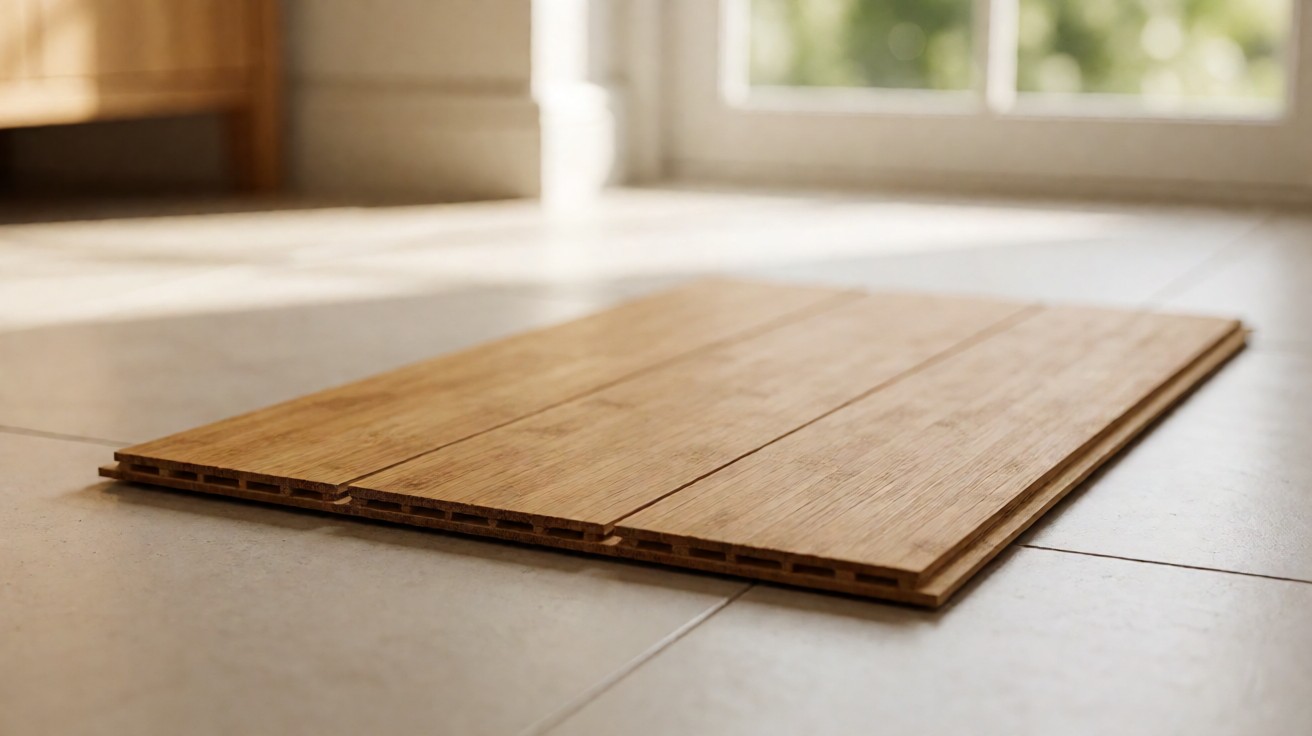
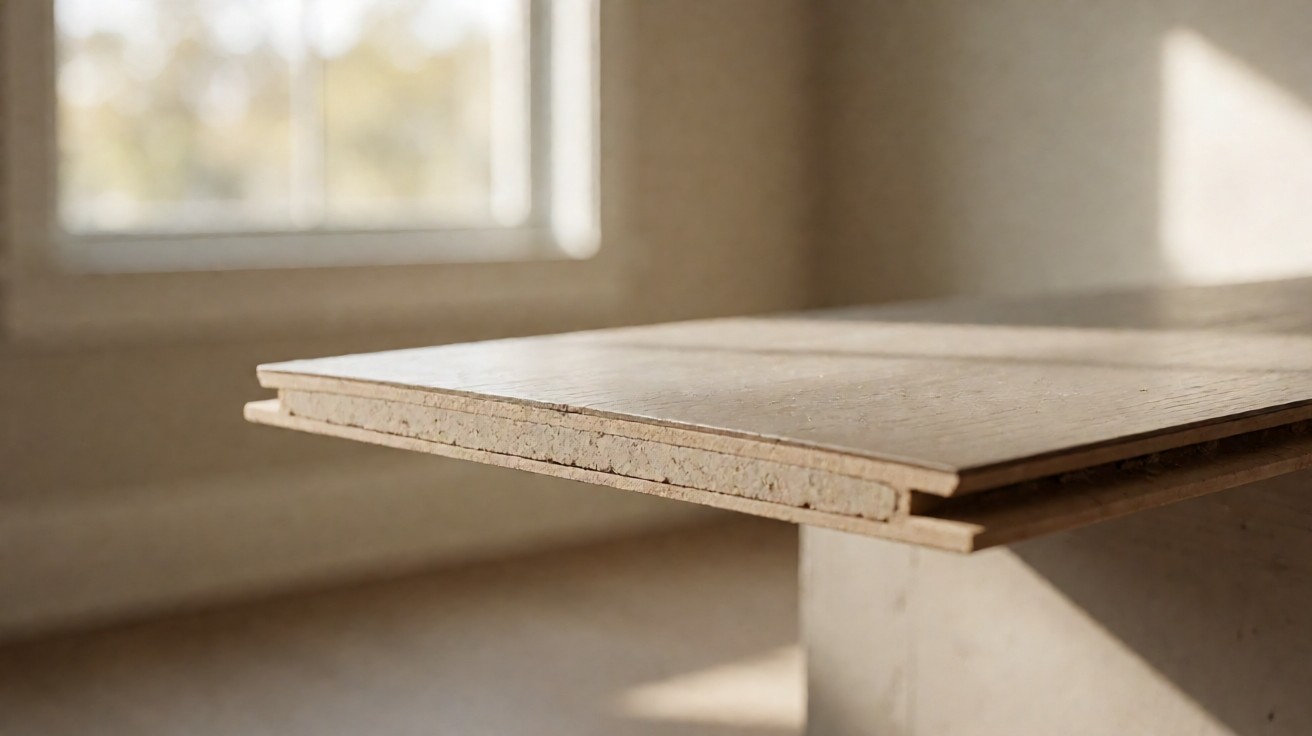
The cut edge is the fastest way to read construction. It shows how many layers the product has, how dense the core is, and whether the cut is clean.
A plywood core shows distinct plies. A fiberboard core shows a uniform, dense board. An SPC core shows a rigid, pale stone-plastic composite. Each is a different answer to the same question: how does the floor handle moisture and load?
Look for three things on the edge: voids, delamination, and a clean cut. A void is a gap in the core. Delamination is a layer that has separated. A rough cut is a sign of a rushed mill.
A dense, uniform core is better than a thick, soft one. The core decides how the floor feels underfoot and how it behaves when the room is humid.
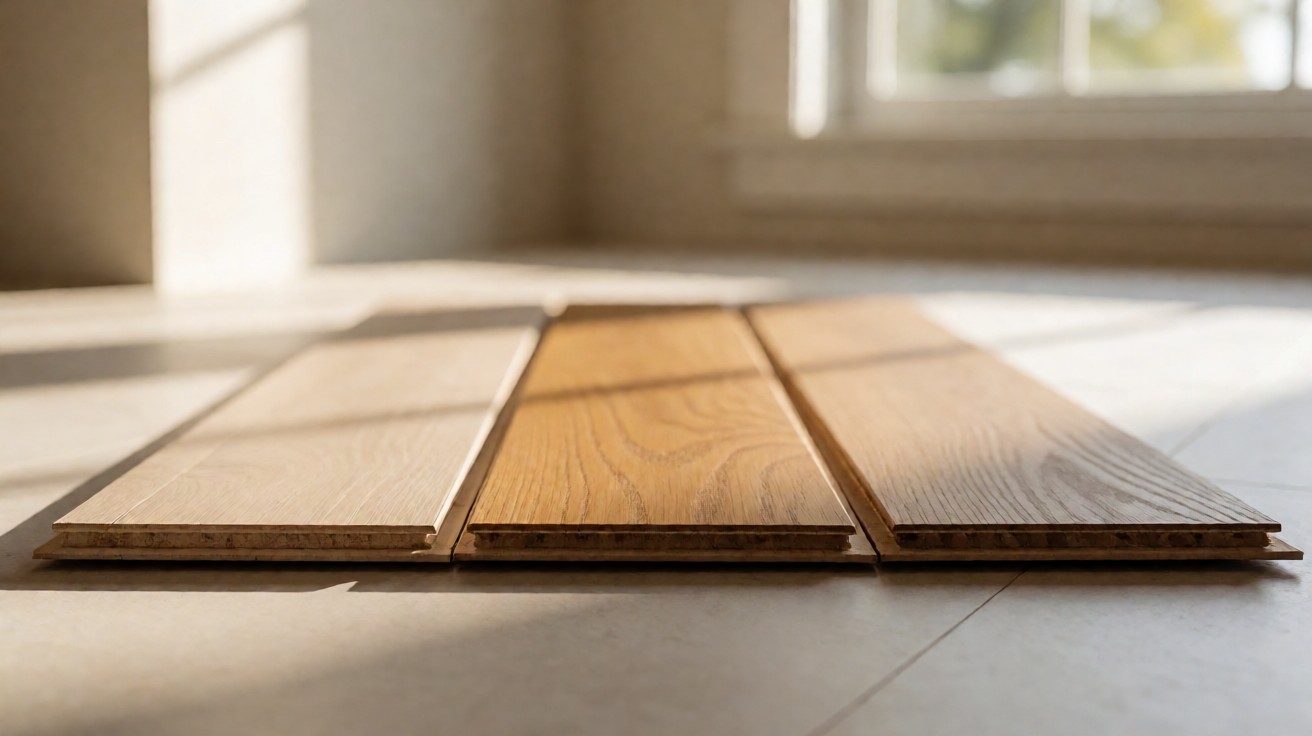
Take two samples of the same thickness and compare the edges side by side. The better core is the one with the tighter, more uniform grain and no visible gaps.
| Core type | What the edge shows | What to watch for |
|---|---|---|
| Plywood | Distinct plies, alternating grain | Voids between plies |
| Fiberboard | Uniform, dense board | Soft or crumbly texture |
| Stone plastic composite | Rigid, pale composite | A chalky or porous look |
The Locking Profile
The locking profile is the tongue and groove that holds the boards together. A floor is only as good as the joint that keeps it flat.
Click a sample and check the fit. The joint should engage with a firm click, not a crunch and not a slide. A crunch means the profile is too tight; a slide means it is too loose.
Check the profile on the long edge and on the end. A profile that clicks on the long edge but gaps on the end will open up over a room.
A sample that does not click cleanly is a profile that will not hold. This is the one test you cannot do from a photograph.
Is the Locking Profile a Deal Breaker?
Yes. A floor with a poor profile will gap, lift, and creak, and no amount of subfloor preparation will fix it. If the sample does not click together cleanly, the product will not perform.
The Surface Texture and Finish
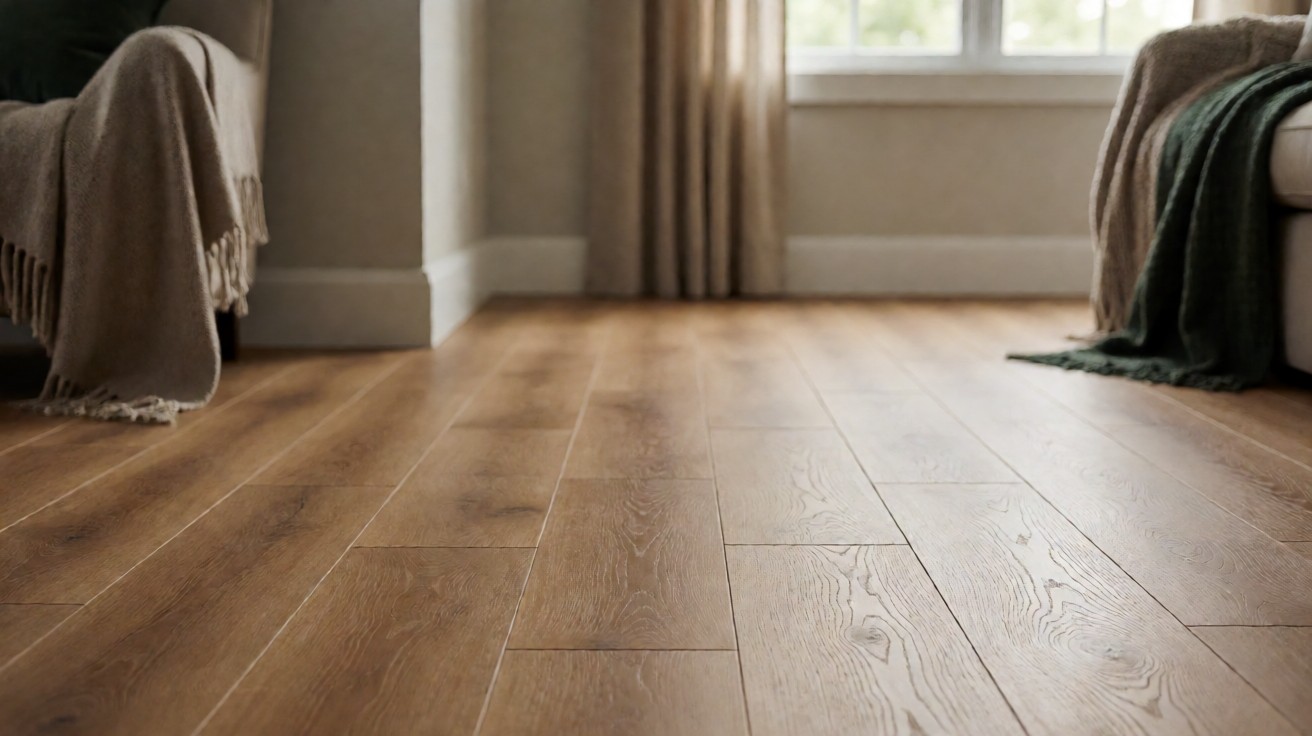
Texture hides wear, and a smooth finish shows it. A floor with a deep texture hides a scuff; a smooth floor shows every mark.
The finish is a wear layer plus a coating. The coating is what you feel and what you clean. Look for a consistent texture across the sample, and a clean, even bevel along the edge.
Run a fingernail along the bevel. A crisp bevel holds its line; a soft bevel rolls. A rolled bevel is a sign of a finish that will wear unevenly.
On a wood sample, look for the grain to continue through the texture. On a vinyl sample, look for the print to match the texture. A mismatch is a sign of a cheaper product.
The Dimensions and Thickness
Measure the sample. A specification on a label is a number; a sample is a measurement you can check.
A laminate plank runs from 6 mm to 12 mm thick. A vinyl plank runs from 4 mm to 8 mm. An engineered wood plank runs from 3/8 inch to 3/4 inch, and a solid plank is typically 3/4 inch.
A thicker plank is more stable, but it is not always better. A thick plank on a soft core is still a soft floor. Judge thickness against the core, not against itself.
Check the squareness. Lay the sample flat and look at the corners. A plank that is not square will not lay flat, and the gap will show.
How Do You Judge Thickness on a Sample?
Measure it with a tape, and compare it to the specification. A 6 mm laminate that measures 5.5 mm is a different product from the label. If the sample is thinner than the specification, the specification is not being met.
| Material | Typical thickness | What to measure |
|---|---|---|
| Laminate | 6 mm to 12 mm | Plank thickness and squareness |
| Vinyl plank | 4 mm to 8 mm | Wear layer and core thickness |
| Engineered wood | 3/8 inch to 3/4 inch | Face thickness and plies |
| Solid wood | Typically 3/4 inch | Thickness and tongue integrity |
The Weight and the Density
A dense core is heavier than a soft one of the same thickness. Lift two samples of the same thickness and compare the weight.
A heavier sample usually means a denser core, and a denser core resists dents better. The weight test is a quick screen, not a verdict.
Tap two samples with a fingernail. A dense core gives a hard, high sound, and a soft core gives a dull one. The sound test is the fastest screen of all.
Weight alone is not quality. A heavy, brittle core can still fail under point load. Judge the weight against the edge and the profile, not on its own.
The Box and the Batch
Open the box and count the planks. A box that is short is a problem you can catch before you pay.
Check the colour variation across the box. A grade allows some variation, and too much is a reject. If one plank is a different species or a different stain, the box is mixed.
Check the batch number. Planks from the same batch match. Planks from different batches can differ in colour even when they are the same product.
A box with wide colour variation is a grading problem, and it is the reason to order extra. The flooring sample ordering guide covers how to order and compare across boxes.
The Water and Stain Test
Drop water on the finish and leave it for 24 hours. Porcelain should absorb less than 0.5 percent water by weight, which is the threshold in ASTM C373 and ANSI A137.1. A floor that absorbs more than that is not porcelain.
On a wood sample, water will bead or soak depending on the finish. A finish that beads is doing its job. A finish that soaks is not.
A stain test shows the finish quality. A coffee or red wine ring that wipes away is a good finish. A ring that stays is a finish that will fail.
On a laminate sample, water on the core is the real test. The finish may bead, but a soaked core will swell at the edges.
The product specification comparison guide covers the specification table behind these thresholds.
Comparing One Sample Against Another
You cannot judge one sample in isolation. Put two samples side by side and compare the thickness, the core density, and the profile.
The comparison is the gain. A single sample tells you what it is; two samples tell you which is better.
If the two samples are from different price points, the comparison tells you what the extra money buys. If it buys nothing visible, it buys nothing.
What You Cannot Judge on a Sample
A sample cannot tell you how the floor will look in five years, how it will fade in sunlight, or how the warranty will perform.
A sample cannot tell you whether the subfloor is ready, or whether the installer will do the work well. Those are different questions, and they need different evidence.
Judge what you can see, and leave the rest to the specification and the installer.
The Closing Procedure
When you hold a sample, run this list before you decide.
- The cut edge: is the core dense, uniform, and cleanly cut?
- The wear layer: is there a visible clear layer, and how thick is it?
- The locking profile: does it click together with a firm, clean joint?
- The surface: is the texture consistent and the bevel crisp?
- The dimensions: does the sample measure to the specification?
- The box: is the colour variation within the grade, and is the box complete?
- The water test: does the finish bead or soak?
Choose the sample that matches its specification, and walk away from the one that does not. The label makes a claim, and the sample either proves it or it does not.