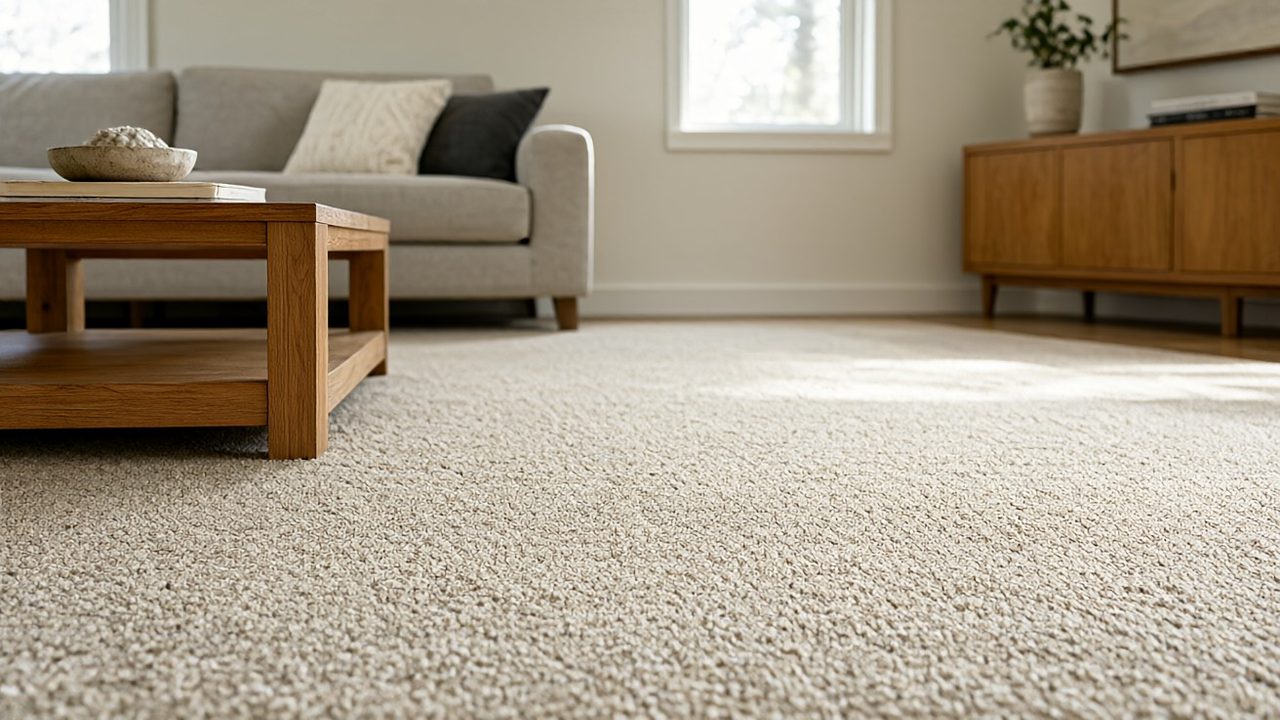

Carpet in a lived-in house collects soil every day, and most carpet problems come from cleaning it in the wrong order rather than from the wrong product.
The answer is a programmed routine: vacuum on a schedule that matches your traffic, blot and treat every spill the day it happens, extract only after the dry soil is gone, and let the carpet dry fully before furniture goes back down.
What A Carpet Cleaning Program Actually Is
A carpet cleaning program is a schedule, not a shopping list. The Carpet and Rug Institute organizes residential carpet care into recurring steps: regular vacuuming, immediate spot and spill treatment, interim cleaning, and periodic professional cleaning.
Each step handles a different kind of soil. Skip one and the next one works harder. Vacuuming lifts dry grit, spot treatment handles fresh spills, interim cleaning refreshes worn areas, and professional cleaning removes what is embedded.
The value of programming is that the small, frequent steps carry most of the load. Soil never builds into an embedded layer, so deep cleaning stays an occasional event instead of a rescue operation.
The same habit matters when you are choosing a material. Our carpet versus LVP flooring comparison covers how the two behave under identical household traffic.
How Often Should Carpet Be Cleaned Professionally?
Clean as needed, but at a minimum of every 24 months. That is the CRI 205 Residential Carpet Standard for Maintenance and Cleaning, the reference residential document from the Carpet and Rug Institute.
One manufacturer care guide frames the same rule as a range of 6 to 18 months between cleanings, depending on traffic, with at least one cleaning every 18 months to protect appearance and carpet life.
If your home has pets, a busy entry, or children who track soil in, choose the shorter end of that range. Traffic decides, not the calendar.
Does Carpet Cleaning Follow A Written Standard?
Yes. Professional carpet and rug cleaning is specified by ANSI/IICRC S100-2021, the American National Standard for Professional Cleaning of Textile Floor Coverings.
It covers 13 areas of practice, from principles of cleaning and carpet selection through soil management, equipment, spot and stain removal, safety, and area rugs.
For a residential job, ask two questions. Does the technician work to S100-2021, and does the company belong to the IICRC?
Vacuuming Routine And Technique
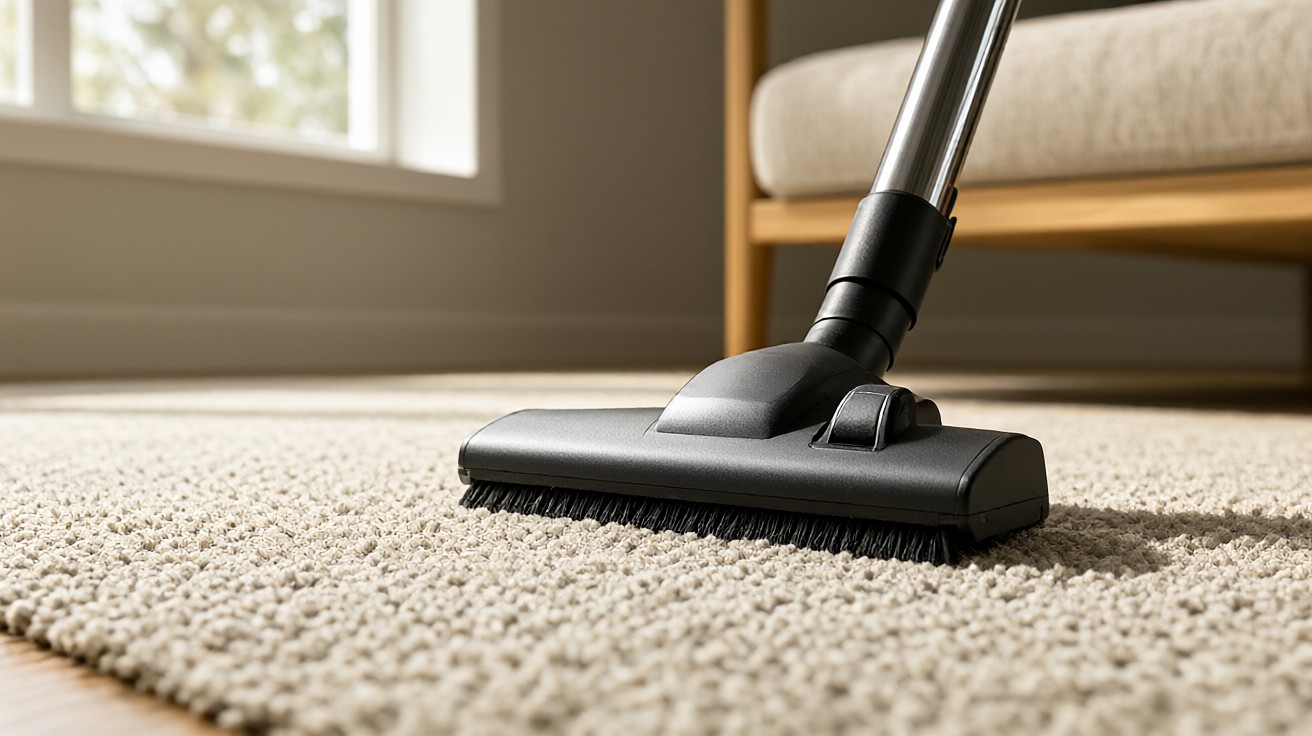
Vacuuming is the single most important carpet cleaning activity, and the cheapest one. The reason is mechanical.
Grit left in the pile acts like sandpaper underfoot and abrades the fibers. Every pass that lifts grit out before it grinds in protects the carpet twice.
Technique matters as much as frequency. Move the vacuum slowly, overlap every pass, and let the brush do its work.
If you rush a carpet, the brush agitates the pile without lifting the soil. You only move the dirt around.
Set the vacuum to the correct height for the carpet and check the beater bar often, because a worn or misaligned brush will not lift embedded soil.
Whether a carpet needs a beater bar at all depends on construction. Our guide to carpet density, pile height, and twist explains why a dense, tall pile and a short, tight pile respond differently to the same machine.
Which Vacuum Should You Buy?
Choose one that carries the CRI Seal of Approval, the industry test program for cleaning efficacy. The published criteria grade a vacuum on soil removal and dust containment.
The top Gold rating requires at least 55.0 percent soil removal with a surface appearance change of 3.5 or better. Silver models land between 50.0 and 54.9 percent. Bronze sits between 45.0 and 49.9 percent.
That rating tells you something concrete before you ever plug the machine in.
For low pile or surface-textured carpet measuring roughly 1/4 inch or less, look for a vacuum approved for that style. A powerful agitator can pull yarns out of a shallow carpet.
Empty the bag or canister when it is two thirds full. Keep the brush roll free of hair, and check for staples or sharp objects that can cut the pile.
Traffic Lanes And The Daily Schedule
Traffic lanes are the paths every person walks through, and they are the first place carpet shows its age.
One manufacturer maintenance handbook singles out main entrances, elevators, coffee service areas, and traffic lanes as high spillage areas needing particular attention. Soil and wear concentrate there instead of spreading evenly.
Match the schedule to the traffic, not to a habit. Vacuuming frequency for the whole house follows the levels below, and the same schedule applies to the areas that see the most foot traffic.
| Traffic level | Vacuuming | Deep cleaning |
|---|---|---|
| Light | 2 to 3 times per week | Annually |
| Medium | Daily | Twice per year |
| Heavy | 1 or more times per day | Quarterly |
| Severe | 1 or more times per day | Minimum monthly |
If the schedule feels impossible on a noisy week, vacuum the traffic lanes daily and give the rest of the house a thorough pass on your slowest day. The lanes carry the visible soil, and the other rooms tolerate a longer gap far better.
Pile lift is the companion step for an open plan. It is a rotary grooming tool that lifts the pile back up after traffic has crushed it.
The frequency table above pairs pile lifting with quarterly grooming at medium traffic and monthly at heavy traffic. It matters most where furniture sits in one spot for years.
Spot Treatment Basics: Blotting, Not Scrubbing
Spot treatment is the most misused part of carpet care, and the misuse is almost always the same. People scrub.
Scrubbing distorts the pile, frays the fibers, and leaves a permanent texture change that no amount of further cleaning will fix.
The method that works is a three-step sequence. Absorb the spill first, by pressing a dry white absorbent cloth or plain white paper towel straight down and lifting, repeating until the area is barely damp.
Then treat the spot with a cleaner, working from the edges toward the center and blotting rather than scrubbing. Finally, rinse with clear water once or more so no cleaner is left behind.
Two details make the difference. Never use a printed or colored towel, because ink can transfer to damp carpet.
And always pretest any cleaner on a scrap of carpet or an inconspicuous area. Hold a white cloth on the wet test spot for 10 seconds and look for color transfer before you touch the stain itself.
How Long Should A Spot Remover Sit?
Follow the dwell time on the product, because chemistry differs. Hydrogen peroxide based spot treatments typically need 20 to 30 minutes under a weighted pad of clean, dry white paper towels.
Repeat the application until the spot is gone. Dry powder cleaners need about 1 hour of drying time before you vacuum them out.
The weighted pad is the part people skip. A half inch pad of clean white paper towels, placed on the treated spot under a flat weight and left overnight, wicks the last traces of liquid and foreign material out of the pile instead of pushing them back down.
Should You Use Baking Soda On A Carpet Spill?
Sometimes, yes. One manufacturer procedure for fresh food spills starts by applying dry baking soda, then scraping and vacuuming it.
Next comes rinsing the area with a damp sponge so the carpet is not over-wet, blotting, applying a pre-soak solution, and finishing with a dry powder cleaner after the area is dry.
Baking soda absorbs moisture and loosens residue. It never replaces blotting or rinsing.
Stain Types And What To Use
Different stains need different chemistry, and one product rarely handles more than a couple of categories. The table below maps common household stains to a first action, a treatment, and a realistic dwell time from published manufacturer care guidance.
| Stain | First action | Treatment | Dwell time |
|---|---|---|---|
| Food and grease | Blot, scrape solids | Dry powder cleaner after rinsing | 1 hour, then vacuum |
| Wine and juice | Blot with a white cloth | Clear dish detergent, 1 teaspoon per 1 cup of warm water | About 10 minutes, then blot |
| Pet urine | Blot, then rinse | 1/4 teaspoon detergent per 1 cup of lukewarm water, then 1 cup white vinegar to 2 cups of water | Weighted towels overnight |
| Discoloration | Blot | 3% hydrogen peroxide | Several hours, never on wool |
Oily and waxy stains behave differently from water based ones. That is why dry solvents and dry powder cleaners exist alongside detergent solutions, and why a solvent that works on grease can set a food dye.
Household bleach and other harsh chemicals can permanently damage carpet fibers and dyes. Check with the manufacturer before you use anything harsh on a stain you care about.
Timing sets the ceiling on what any product can do. A spill treated the same day is usually a ten minute job.
The same spill left overnight is a permanent stain, because the dye and the fiber have already started to bond.
Pet Urine, Encrustation, And Odor
Pet urine is the most common carpet problem that owners underestimate, because the odor and the stain are two separate problems with two separate clocks. The stain is visible. The odor is chemistry, and it keeps working after the spot looks clean.
Fresh urine is manageable at home. Blot damp areas with plain white paper toweling, then apply a solution of 1/4 teaspoon of nonbleach, nonlanolin liquid dishwashing detergent in one cup of lukewarm water by saturating paper towels and blotting.
Rinse with warm water and repeat. Follow with a solution of one cup white vinegar to two cups of water and blot dry.
Older accidents are a different job. What stays behind is an encrustation of dried residue in the pile and the backing, and once urine has been sitting for weeks the dyes can be permanently damaged.
In beige carpet, blue dyes are attacked by pet urine and leave behind the red and yellow dyes, so the spot reads as red, yellow, or orange rather than a clean area.
Odor follows from the same chemistry. Unless the urine is completely removed, complete odor removal is unlikely, and some products only mask the smell, which reappears in humid weather.
Enzyme based treatments are available over the counter and from veterinary clinics for this reason. They break down the residue rather than covering it with fragrance.
When Does Pet Urine Need A Professional?
When the odor survives a careful home treatment. At that point the contamination has likely moved past the face of the carpet into the backing and the pad.
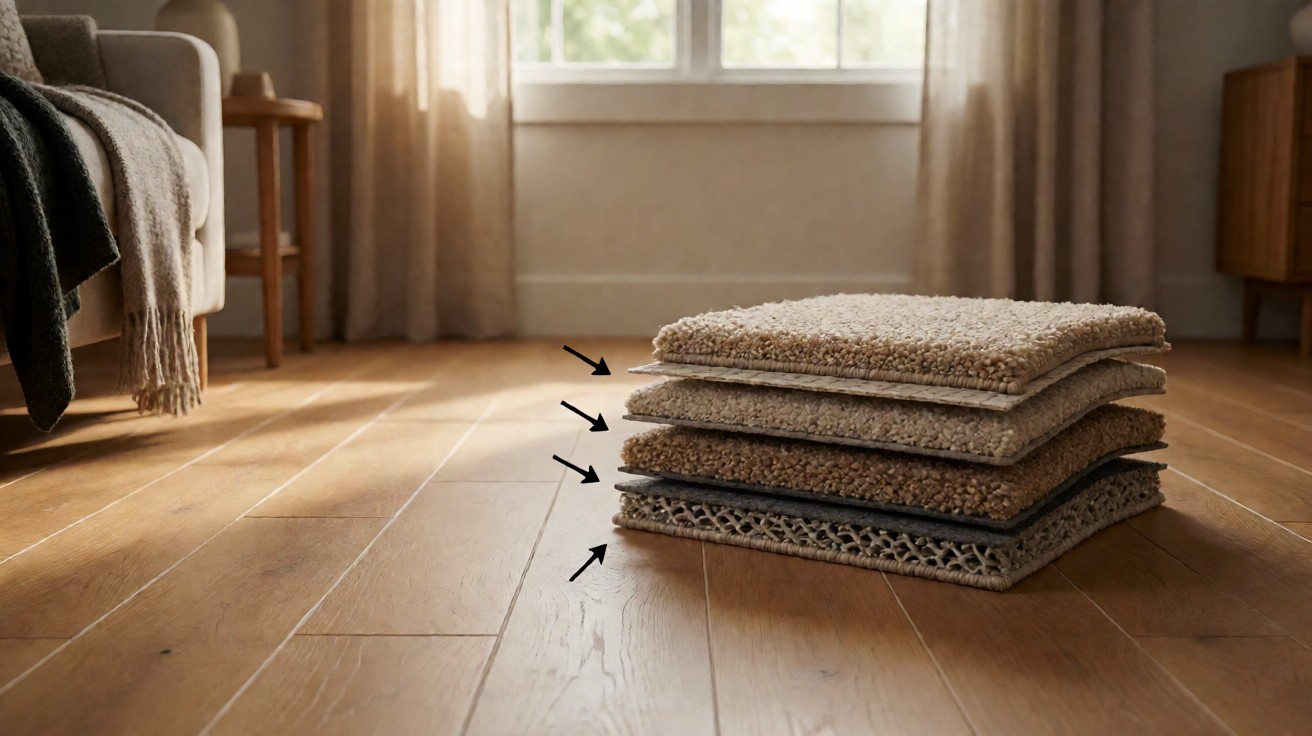
Our carpet padding and underlay guide explains what sits under the carpet and why a soaked pad can hold odor after the surface looks clean.
If the smell returns after drying, replacing or treating the underlay is usually the honest answer. Another round of deodorizing is not.
DIY Extraction Machines Versus Professional Cleaning
Renting an extraction machine is reasonable for an open-plan living room. It is a bad idea for a house with wool, an unknown stain history, or a warranty you care about.
The difference comes down to control, dilution, and how much water stays in the carpet.
The residential DIY procedure published by the Carpet and Rug Institute is specific. Vacuum thoroughly first, since most loose dry soil comes out that way.
Prespray and rinse with water only, because adding chemicals beyond the recommended dilution leaves residues that cause rapid resoiling. Work from the farthest point in the room back toward the door.
Then make a dry pass after the wet pass to pull out as much water as possible. Use only Seal of Approval cleaning solutions and equipment.
Professional cleaning adds two things you cannot rent: a specification to work to, and control of the drying.
A cleaner working to ANSI/IICRC S100-2021 inspects the carpet before starting, pre-treats traffic lanes and spots, extracts with approved systems, places protection under furniture, and grooms the pile to remove wand marks.
On a properly performed extraction, roughly 95 percent of the cleaning solution is recovered, so very little moisture is left behind.
| Step | DIY extraction | Professional cleaning |
|---|---|---|
| Before cleaning | Thorough vacuuming | Vacuuming plus a walk-through inspection |
| Cleaning solution | Water only, no added chemicals | Seal of Approval solutions, pre-treatments for traffic lanes and stains |
| Drying time | 6 to 12 hours, faster with fans | 2 to 4 hours with air movers |
| Warranty | Holds if dilution rates are followed | Performed to ANSI/IICRC S100-2021 with documented inspections |
One more detail separates the two. Manufacturer guidance caps extraction nozzle pressure at a maximum of 150 psi, high enough to lift soil and low enough to avoid injecting water under carpet modules and damaging pile yarn.
Rented machines vary widely. Pushing a stronger machine over the same carpet is how people cause delamination.
Drying Time, Re-Entry, And Furniture
Drying time is not a detail you get to skip, because a carpet that stays wet is a carpet that develops a problem.
The CRI 205 residential standard says drying after cleaning can take 6 to 12 hours, and that you should aim for the carpet to be dry within 12 hours. If it is still wet past 12 hours, contact a professional.
The reason is biological. The US Environmental Protection Agency states that in most cases mold will not grow if wet or damp items are dried within 24 to 48 hours.
Its carpet guidance is specific. Remove water with a wet vacuum, pull the carpet and pad off the floor, and dry them with a fan. A dehumidifier pulls humidity out of the room.
Speed the drying with airflow. Run the HVAC fan, open windows if the outdoor air is dry, set fans in the room, and use air conditioning in warm weather or heat in cold weather at a moderate setting.
Never close up a room with a wet carpet. And do not allow traffic on moist carpet.
When Can You Put Furniture Back?
Wait until the carpet is dry. If a piece is too heavy to move, place plastic film or foil tabs under and around its legs.
Those tabs prevent discoloration from the furniture transferring into the carpet, and they keep dye from wicking back up through a damp patch.
Carpet must dry for 8 hours following any maintenance procedure. Plan the re-entry around the whole house, not just the one room.
What If You Walk On Damp Carpet?
Expect a visible mark. Moisture that reaches the backing and the pad can weaken the bond between the carpet layers and separate the backing material.
Seams are particularly vulnerable to delamination. If you have to cross a damp area, lay down clean boards or towels rather than walking the pile.
Residue, Resoiling, And Warranty
Residue is the reason clean carpet gets dirty again so fast. Excess cleaner leaves a sticky film that attracts soil, and the carpet looks worse a few weeks after cleaning than it did before.
Using more solution than the recommended dilution makes this worse, not better.
Rinse after you spot treat, and rinse after you extract. There is a simple test for a product before you use it on the carpet at all.
Place a half ounce of the product at its recommended dilution in a small glass and let it evaporate. If you can detect any sticky residue in the glass, assume the same residue is waiting in your carpet.
Warranties turn on this. The Carpet and Rug Institute notes that many carpet manufacturers now require the use of Seal of Approval certified products and certified cleaning methods to keep a warranty valid.
One manufacturer handbook states plainly that flooding and spin bonnet cleaning voids manufacturer warranties. The commercial standard also lists rotary machines and bonnet systems among the equipment not recommended for carpet cleaning.
Does Cleaning Carpet Void The Warranty?
Not by itself. Warranties generally void when the carpet is abused rather than cleaned.
So the practices to avoid are flooding the carpet, using spin bonnet or bonnet systems, and exceeding the recommended dilution.
One manufacturer handbook also advises against optical brighteners and silicone protectors, because those products leave deposits that mask soil and dull the carpet over time.
Follow the care instructions that came with your carpet, keep up with the schedule, and clean to the published dilution. If you are unsure whether a product is safe, test it in an inconspicuous area and let it dry completely before looking for color change.
Natural Fiber And Wool Carpet Rules
Wool and other natural fiber carpets need different chemistry and different patience. Many of the stronger cleaners that work on synthetic pile are too aggressive for natural fiber, and bleach and alkaline overcleaning can cause color loss that never comes back.
The published guidance is cautious about one common remedy. Residual color may be removed with 3% hydrogen peroxide, but this is not recommended for wool or other natural fibers without extensive testing for possible color loss.
Test on a scrap of the actual carpet, not on a swatch. Wool blends behave differently from pure wool.
For natural fiber carpet generally, blot rather than scrub, dry the area thoroughly, and avoid flooding. The full rules for natural fiber, including wool carpet construction and what it means for cleaning, are covered in our natural fiber carpet and wall to wall carpet guide.
A Maintenance Schedule You Can Keep
Pull the numbers together and the schedule is simple. Vacuum daily where traffic is medium or higher, and 2 to 3 times per week where traffic is light.
Treat every spill the same day. Blot first, never scrub, and pretest every cleaner. Extract only after the dry soil is gone, and rinse so no residue is left behind.
Plan for a professional clean at least every 24 months, and every 6 to 18 months if pets, children, or a busy entry put heavy traffic on the floor.
Expect 6 to 12 hours of drying after any wet work. Keep furniture off the carpet until it is dry and protected with tabs or film.
One last standard deserves mention because it affects the first weeks after installation. The CRI residential standard pairs the emissions test method ASTM D 5116 with a ventilation window of 48 to 72 hours after installation, accompanied by good ventilation.
That is separate from cleaning, but it is why a new carpet may smell strongly for a few days and then settle.
None of this is complicated. It is a sequence that respects how carpet holds soil, and a sequence is easier to keep than a shopping list of products you are supposed to know how to use.